Share and get feedback
Share your projects with your colleagues, stakeholders, and key users so they can review your designs and give you feedback. You can share your projects with an unlimited number of viewers for free.
Adding and managing viewers
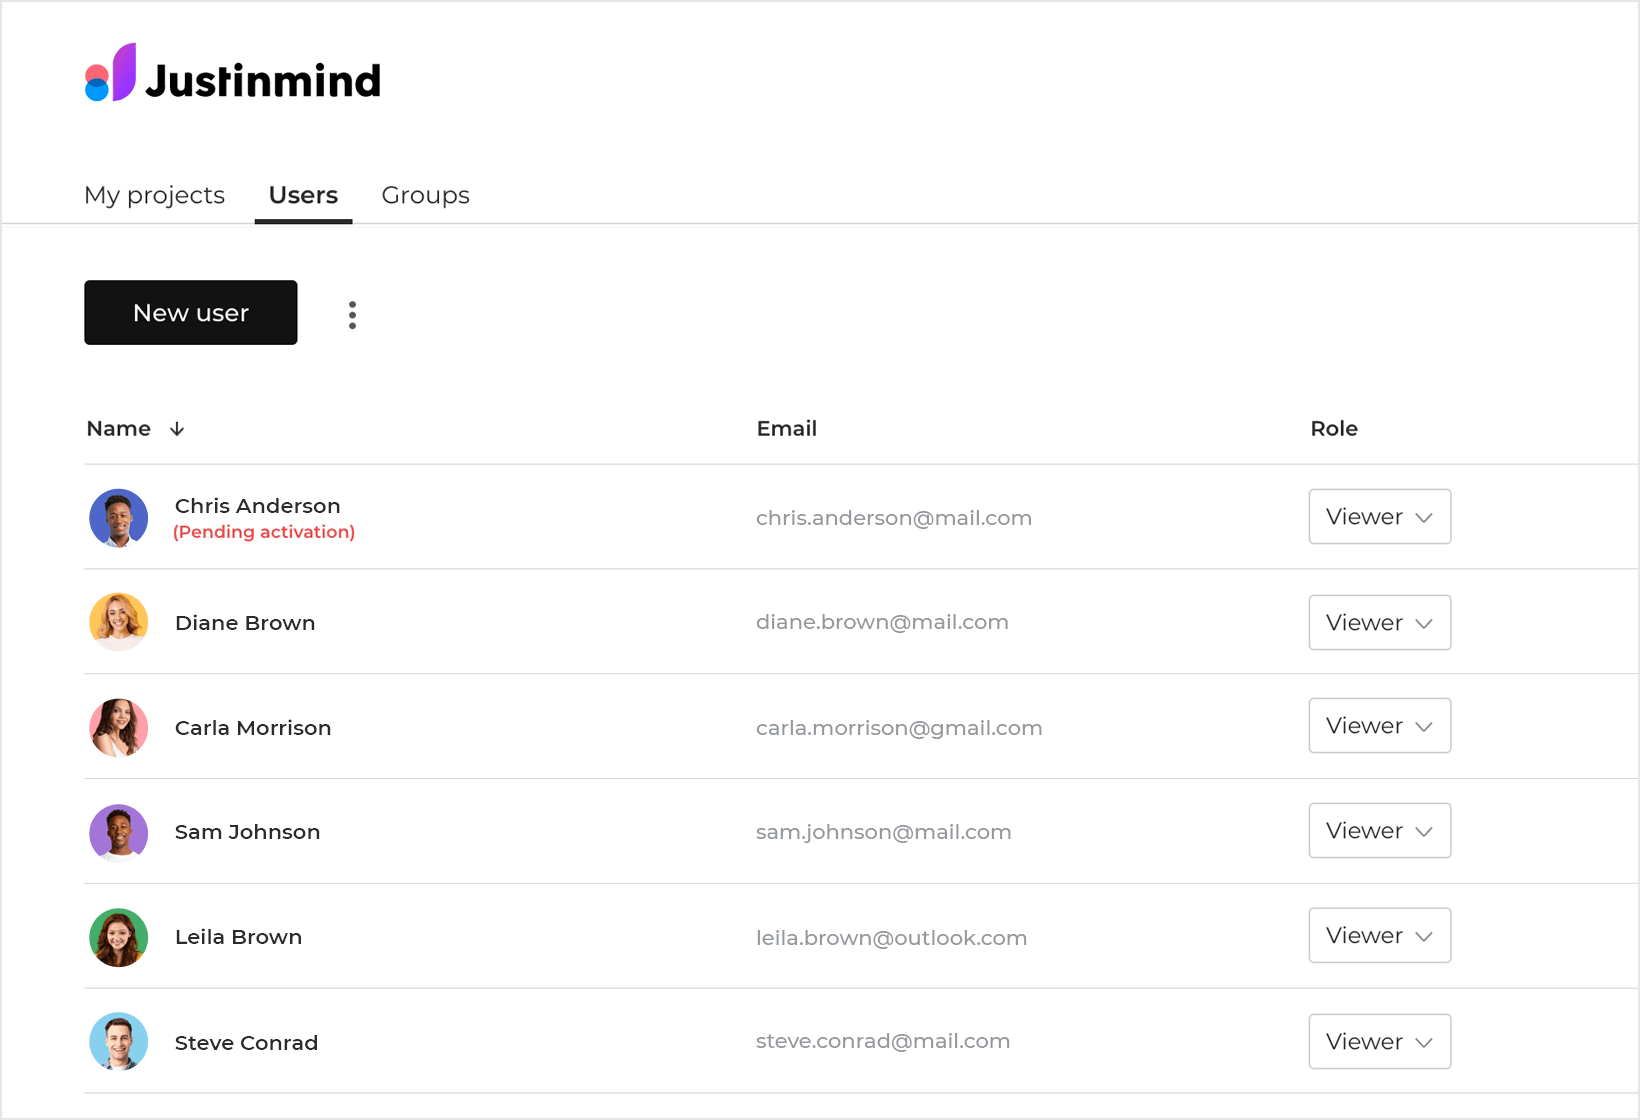
In the “Team” section, you can view the list of users as well as their respective information, such as name, email and role.

In the upper right, you can invite new viewers by clicking “+ New user”.

- In the “New User” dialog write the email of the person you want to invite.
- (Optional) Set a “First name” and “Last name”.
- In the “Role” options, select “Viewer” and click “OK”.
After a person has been invited to view a project they will get an email notification with a link to activate their user.
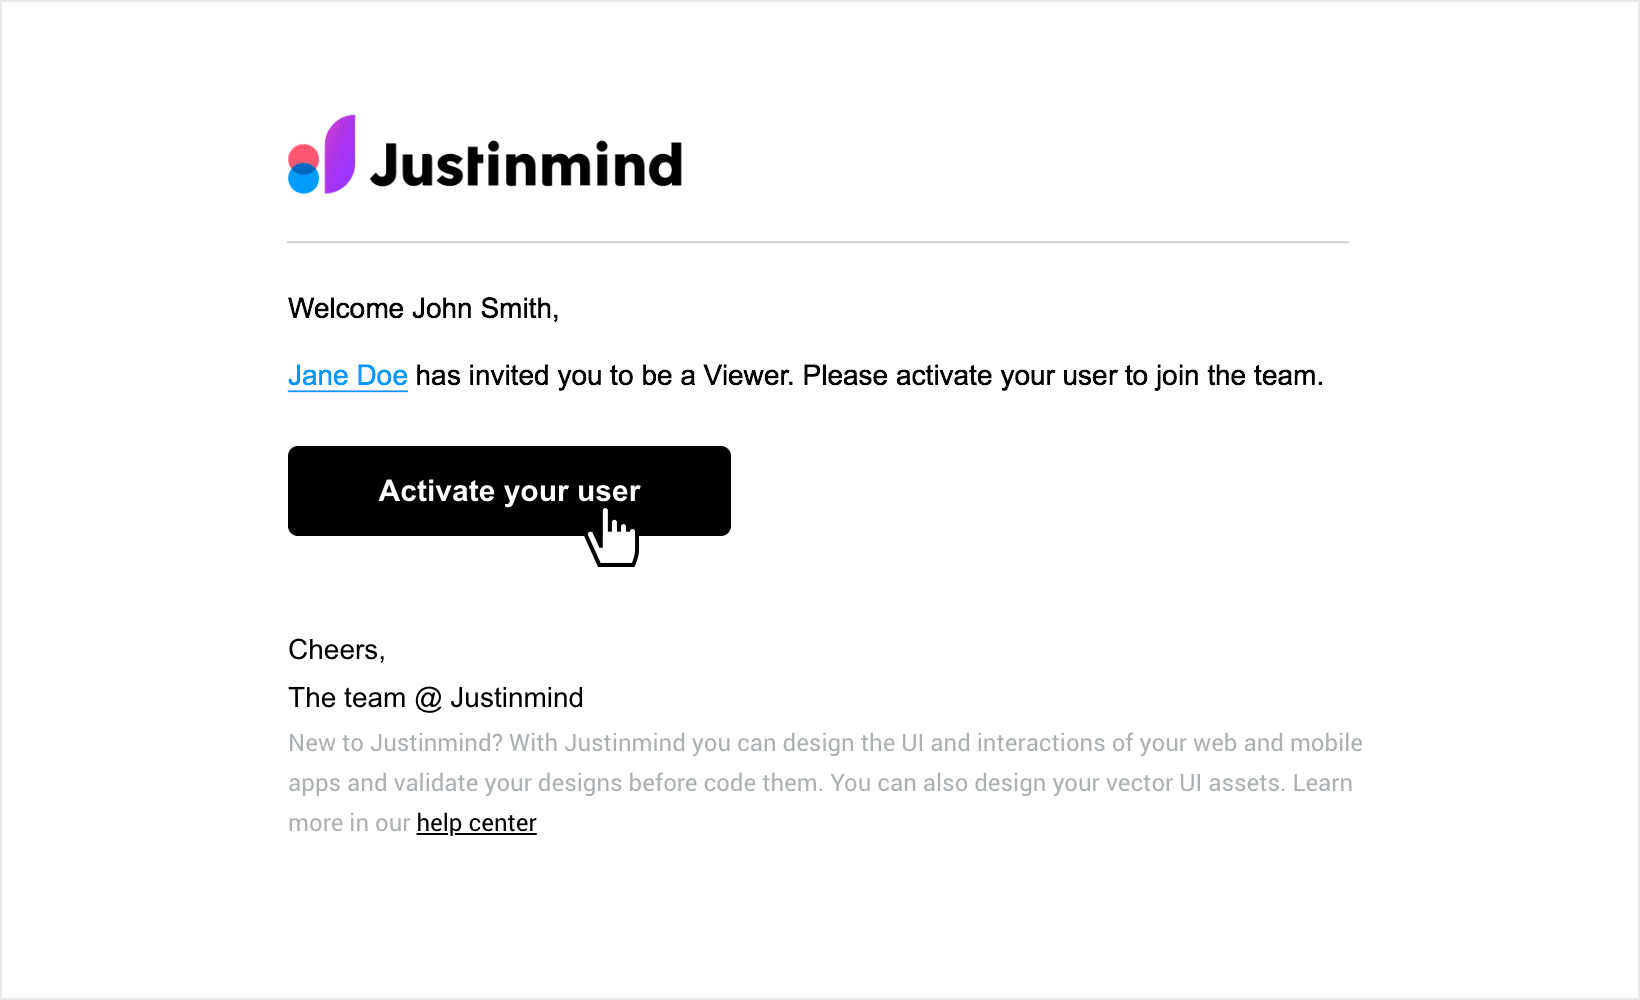
To activate a user, they should enter their First name, Last name, and enter a password.

Once the user has been activated, they will appear in the user list with their corresponding role. If the user is pending activation you will see the corresponding message next to their name.
Creating viewer groups
You can create viewer groups to make it easier to find and share with others.
To create a viewer group, go to the “Groups” tab in the “Team” section and click the “+ New group” button.

- In the dialog, enter a name for the group.
- In the “Type” options, select “Viewers”
- Click OK.
A new dialog will appear to add group members, here you’ll be able to select any existing user with viewing permissions and add them to the group.

To add a group member:
- Click on the textbox to open the existing viewers list.
- Select a viewer. Note: a same person can be added to different groups.
- Click “Add” and repeat for everyone you want in that group.
- Click “Done”.
Once the group is created, it will appear in the list of groups with its respective information, such as type and number of members.

To manage a group from the list, right-click on the specific group to display the options.

- Add / remove members : Add new members to the group or remove them.
- Rename: Rename the group.
- Delete: Delete the group permanently.
You can also invite users as viewers from the “Invite users” section in the sidebar. Just click on “Invite users” to open the dialog, enter the email address of those you want to invite and select the “Viewer” option. This dialog allows you to invite several people at a time.

Share and get feedback
You can invite people to view a specific project directly from “My projects”/ “Could” tab. Open the right-click menu of the project and select the “Share” option.

The “Share with editors and viewers” dialog will open. Here, select “Can view”, then click on the textbox to open the existing users list or add new viewers by entering their email addresses, or selecting the “Add viewer” link at the bottom.

From this dialog, you will also be able to get a link to share your project.
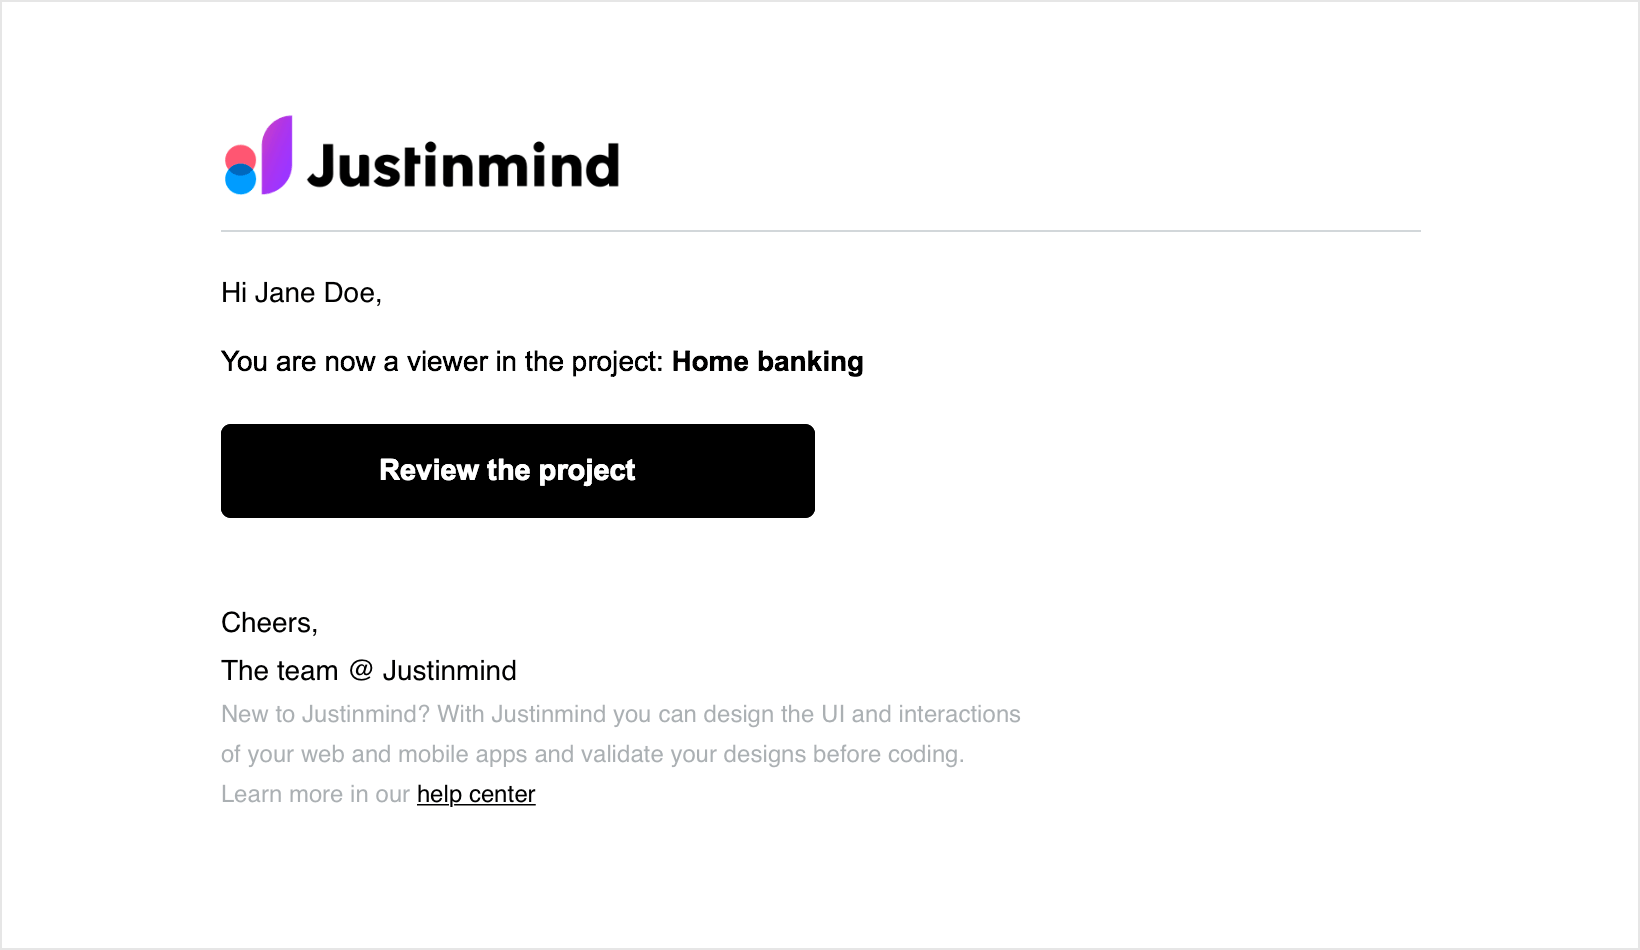
After a person has been invited to view a project they will get an email notification to view the project.
You can remove viewers at any time by clicking the three dot menu to the right of each user and selecting “Remove”.

You can also add viewers to your project when you are designing, by clicking the “Share” icon in the top toolbar of your workspace.
![]()
![]()
The same “Share with editors and viewers” dialog will open.
Get link option
You can get a shareable link by right-clicking on the project and selecting the option “Get link”.

The “Get link” dialog will open where you can decide how you want to share the link. You can share with specific people with the option “Only people with access can view” or you can make the link public by selecting the option “Anyone with the link can view”.

The option to get the link to share your project is also available at the bottom of the “Share with editors and viewers” dialog when you select “Share” in the right-click menu of a project.

How to view a project
If you are given “Can view” permissions to a project, you will receive a notification email with a link to access that project. Click the link to open the project in your browser. Here’s what you will see:

- Name of the prototype and current screen.
- Design information for developers.
- Simulation mode.
- Comment mode.
- Open right panel – click to expand the right panel, which displays the prototype’s screens, scenarios and requirements.
- Screen list – this is the list of all the screens in the prototype. Click on a screen to navigate directly to it.
- Click “Rotate” to change the orientation of the simulation from landscape to portrait, and vice versa.
- Use the “Gestures” drop down to select which gesture you want to use (one finger, two finger pinch or two finger rotate).
- Zoom: allows you to zoom in and out on the simulation screen.
Bulk importing viewers from a .csv file
You can add multiple viewers to your account at the same time by uploading a comma separated value (.csv) file and save time.
Before you get started
To add viewers to your account you’ll need the following data to populate your .csv:
- Email addresses of the people with whom you want to share.
- A blank sheet in a spreadsheet program, such as Microsoft Excel or Google Sheets, saved in comma separated value (.CSV) format.
Importing user details from a .csv file
You can create and upload your file following the next steps:
- Open your blank worksheet in your spreadsheet program and fill it in. It must include all the exact column headings as shown below, where the first column heading is “Email”, then “First name”, followed by “Last name”, “Password” and “Role”.
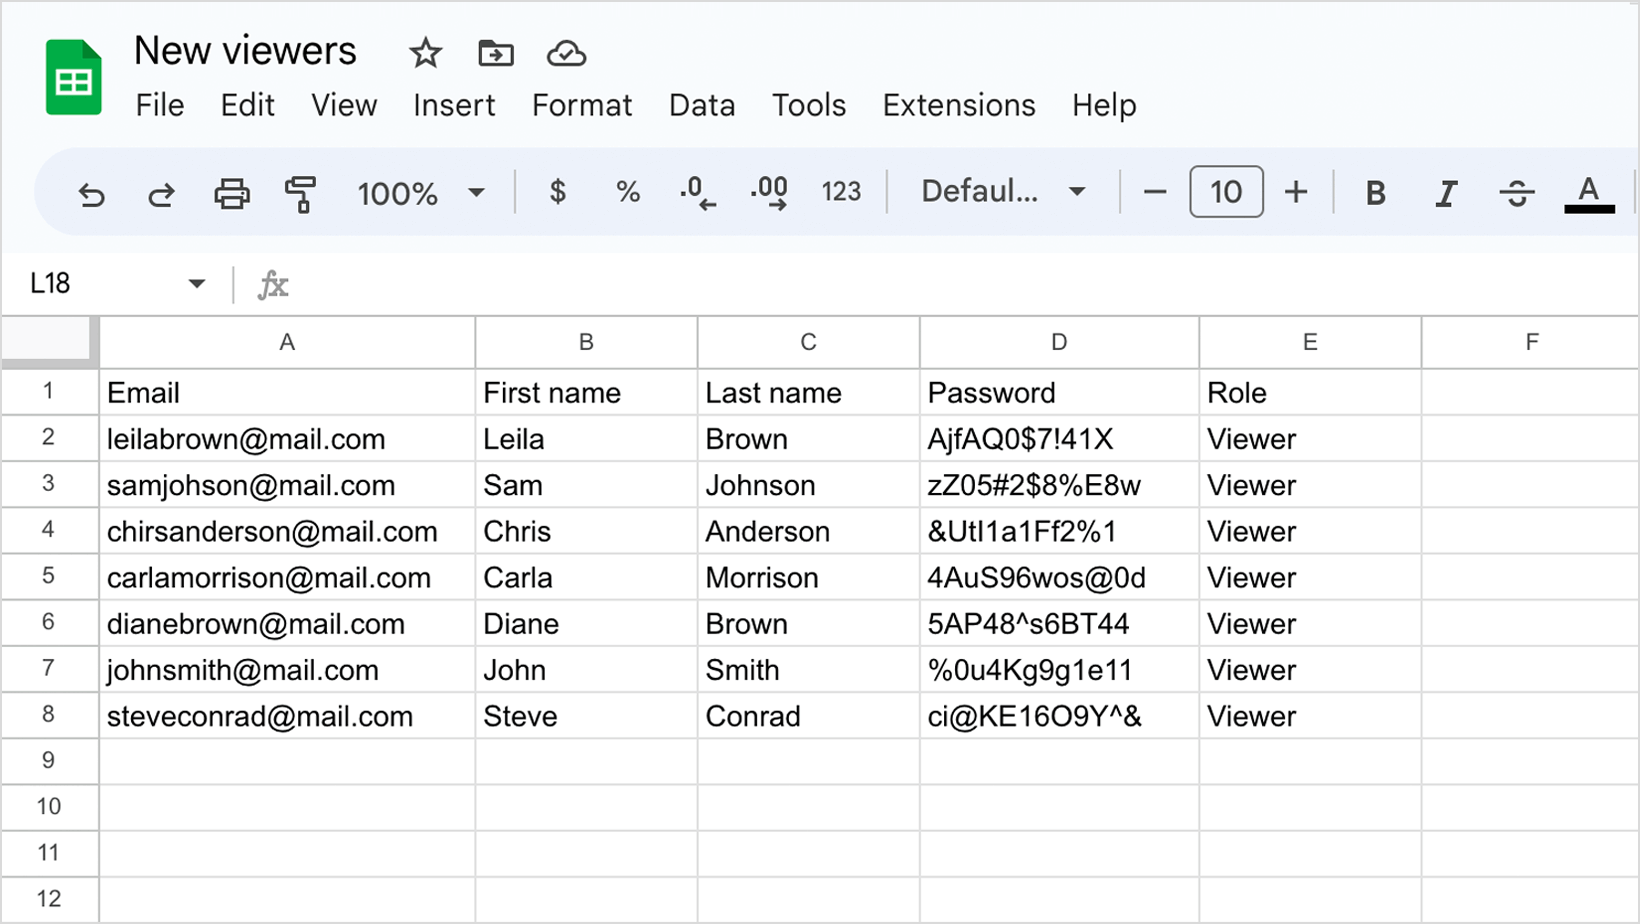

- Enter the values for all the required fields for each user: “Email” and “Role”
Enter the optional values if applicable (“First name”,“Last name”, “Password”).
Save/download the file in .csv format.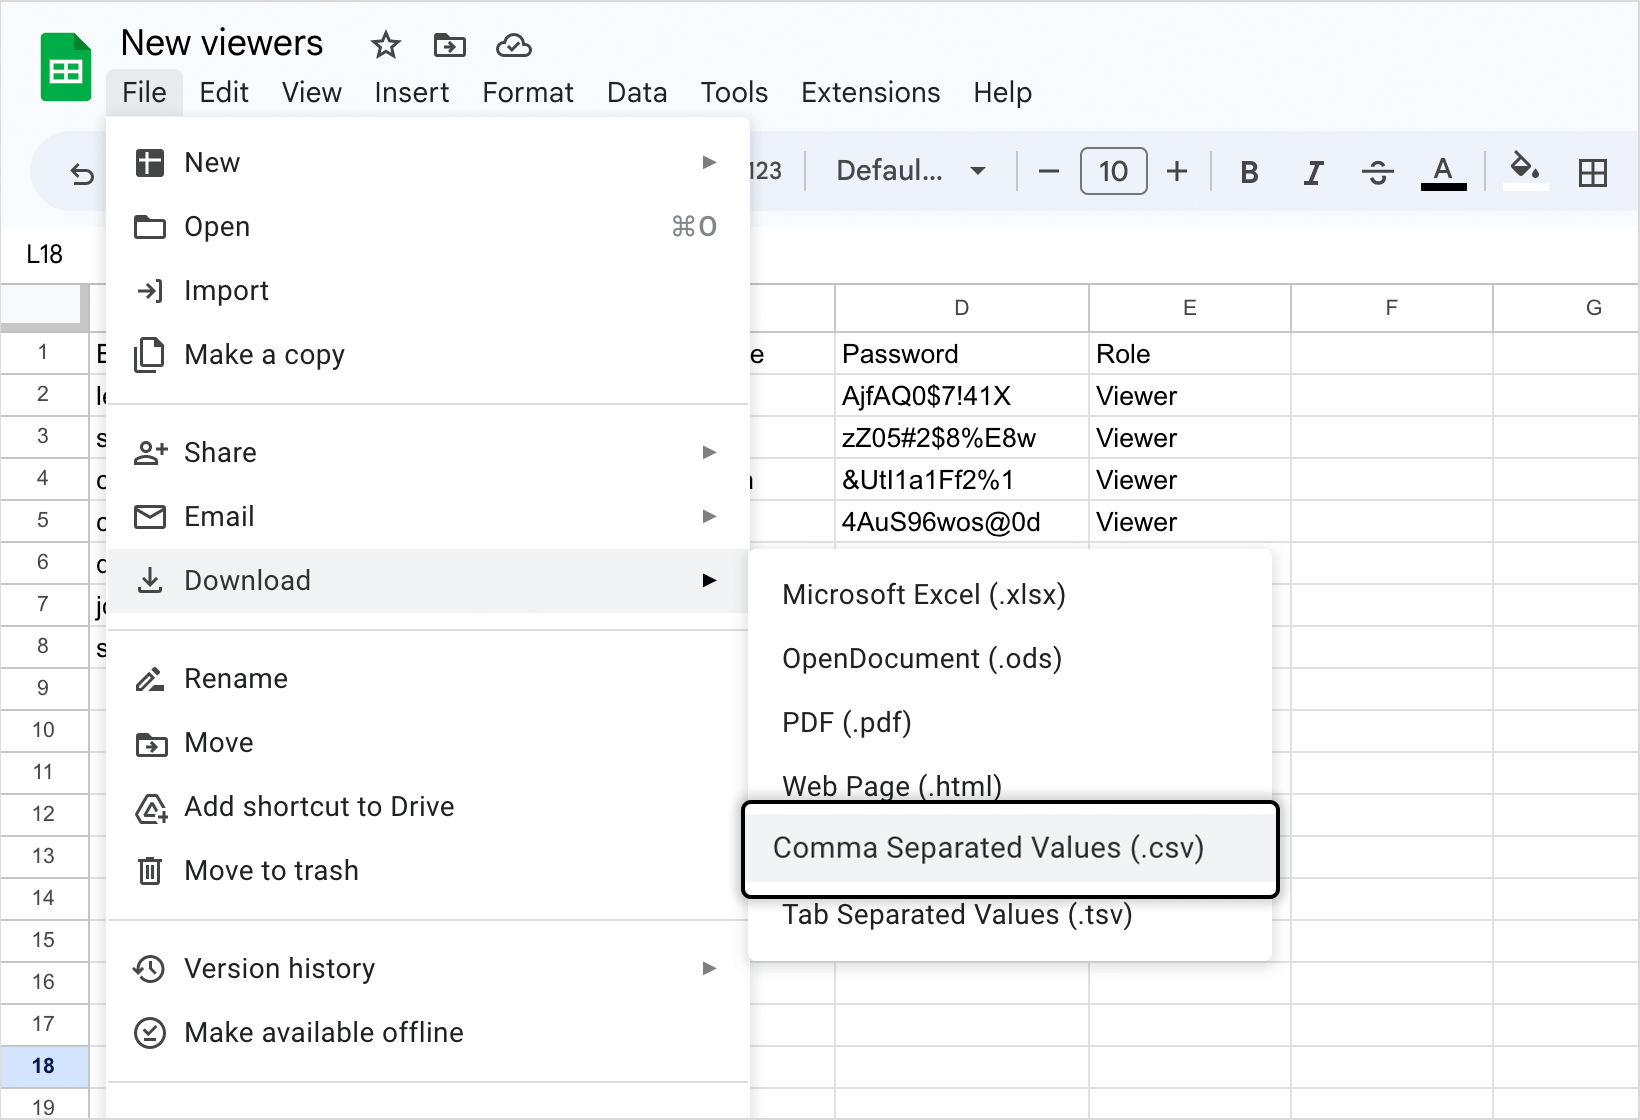
 Note: the same applies when bulk importing users with different roles (editors and viewers) just enter the correct “Role” for each user.
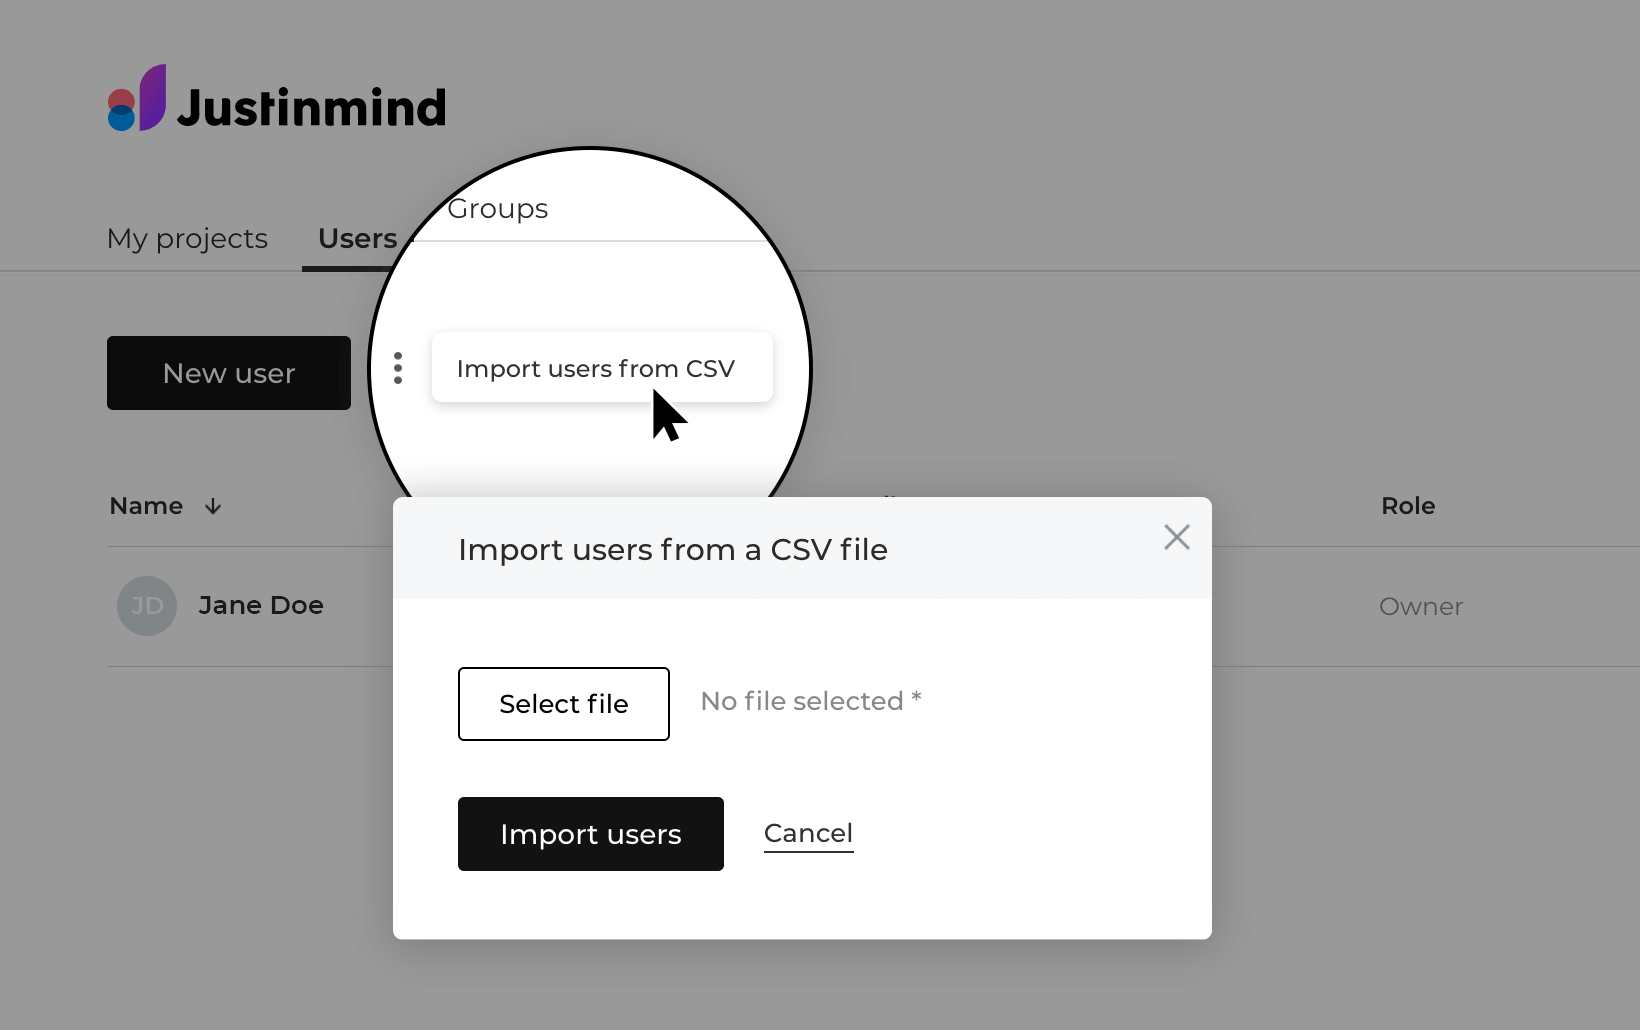
 - Go to the “Users” section in your online account and open the three dot menu next to the “New User” button.
Select the “Import users from CSV” option to open the dialog, and click “Select file” to browse to your .csv file location.
Once selected click “Import users” to confirm the file upload.