Justinmind’s integration with Figma
Justinmind integrates perfectly with most vector design tools and allows a seamless transition from one tool to the other. Our Figma integration is a powerful feature that enables you to export your entire Figma project or just selected design Frames to Justinmind.
How to use the Figma plugin
To start using the Figma plugin for Justinmind:
- Search and Open the Figma to Justinmind plugin in your web browser.
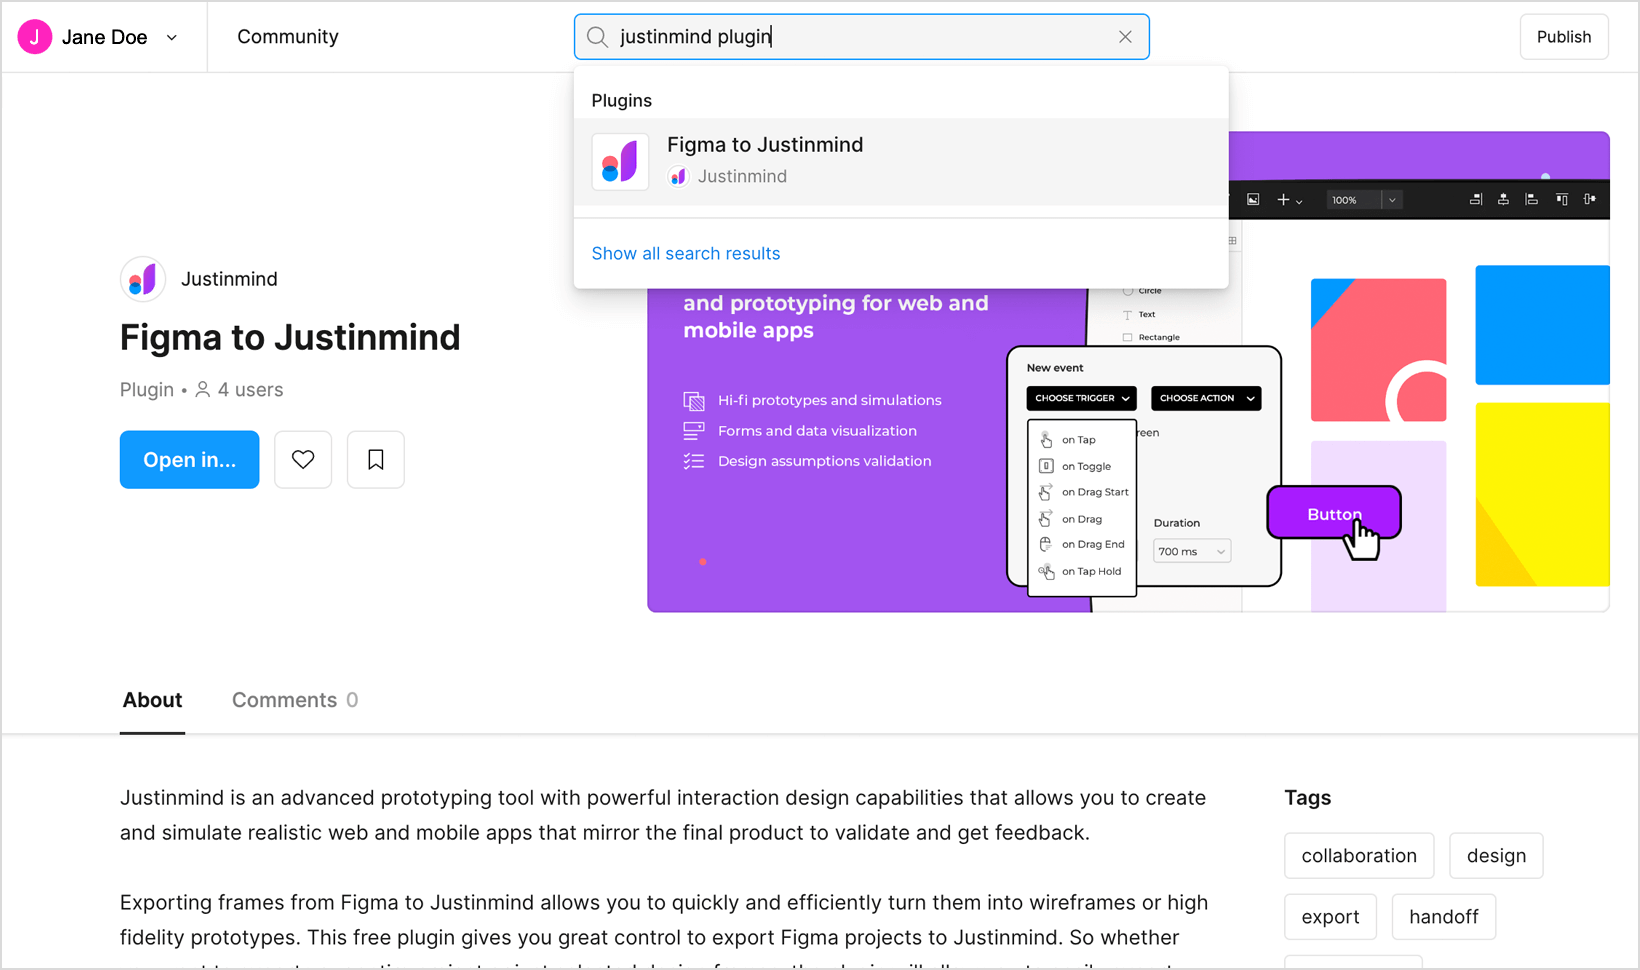
- In Figma, search for the Justinmind plugin in your Plugins resources.
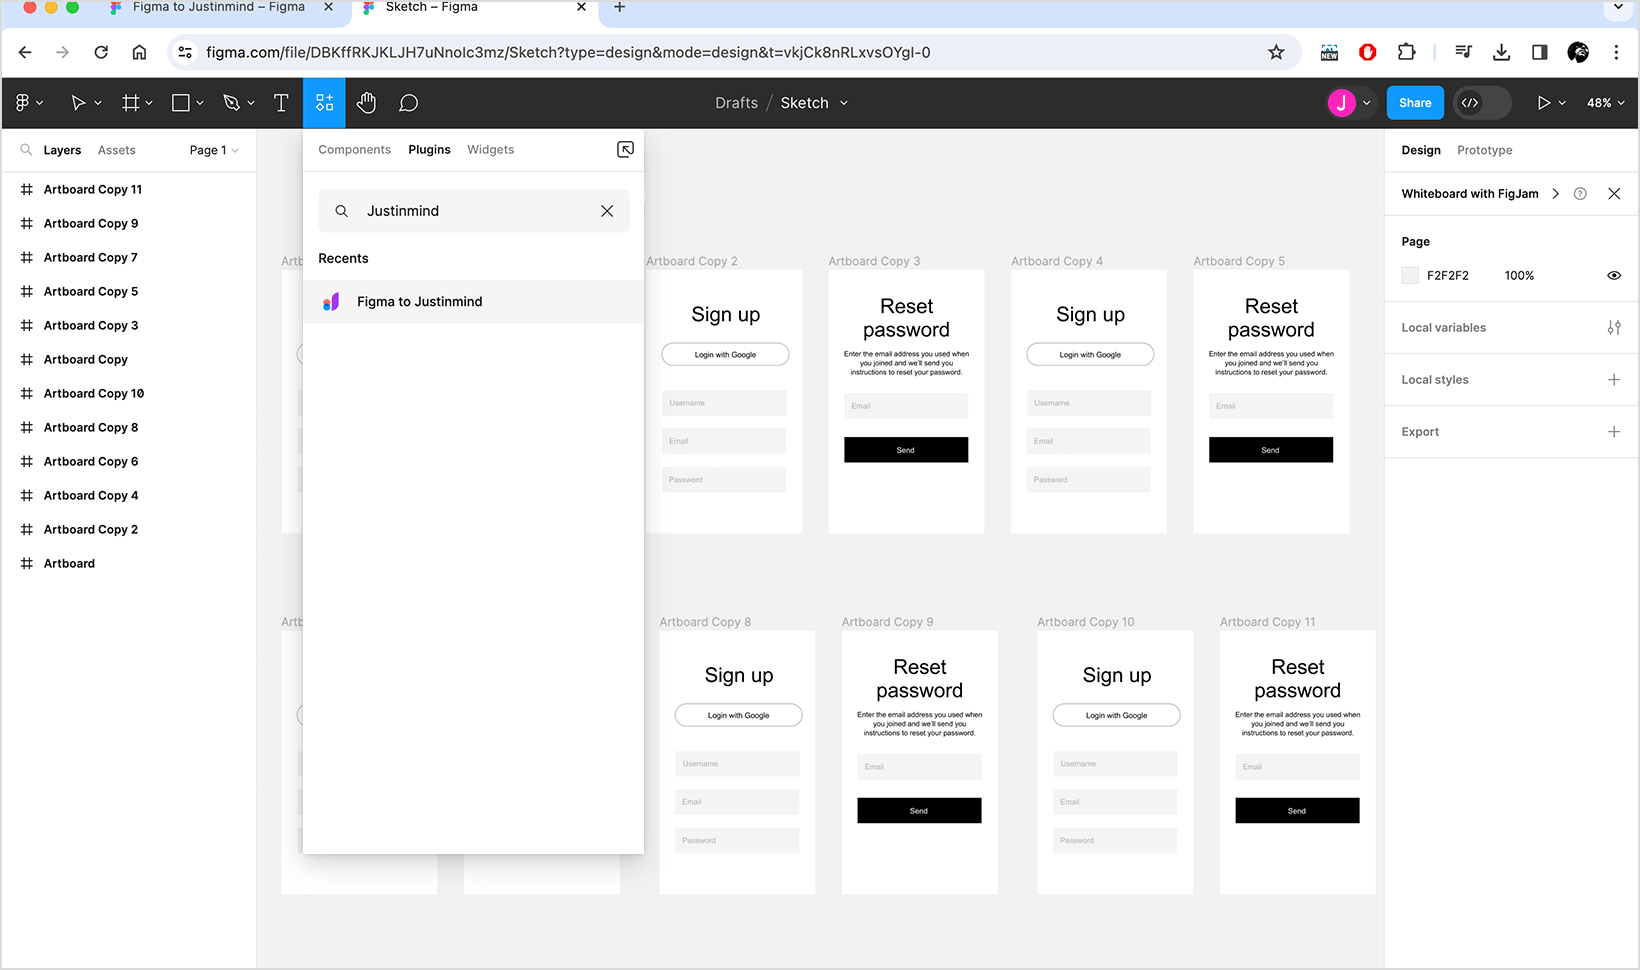

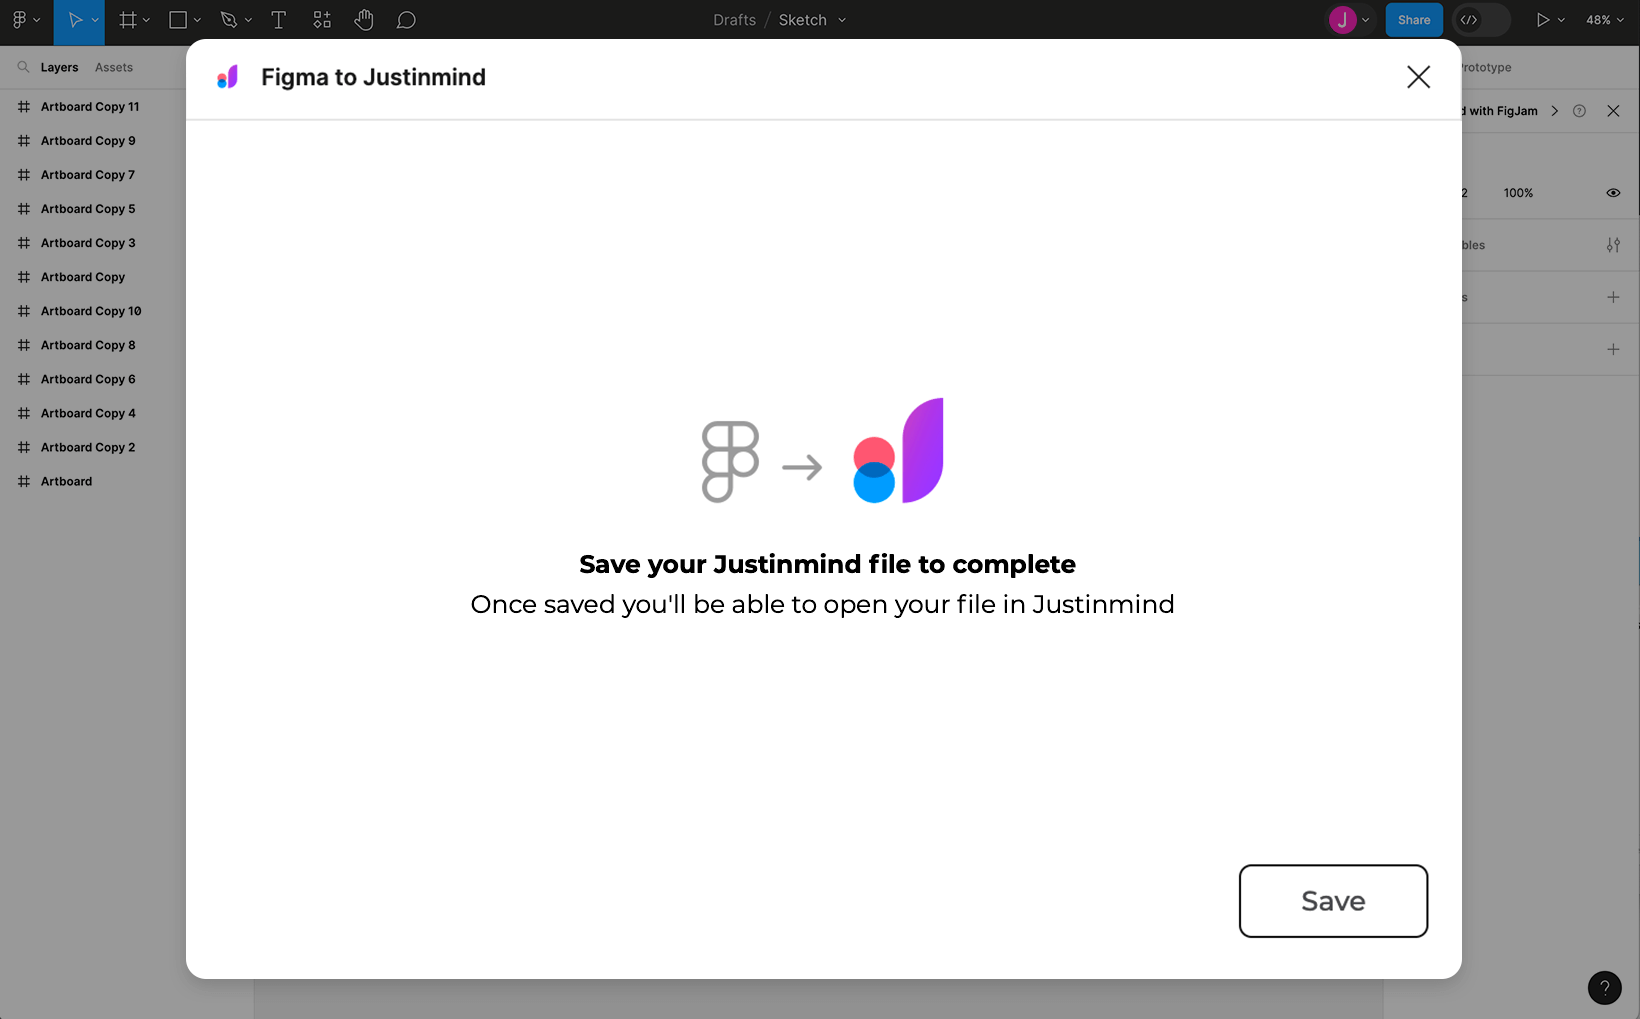
- Select and run the Figma to Justinmind plugin. The following dialog will appear:
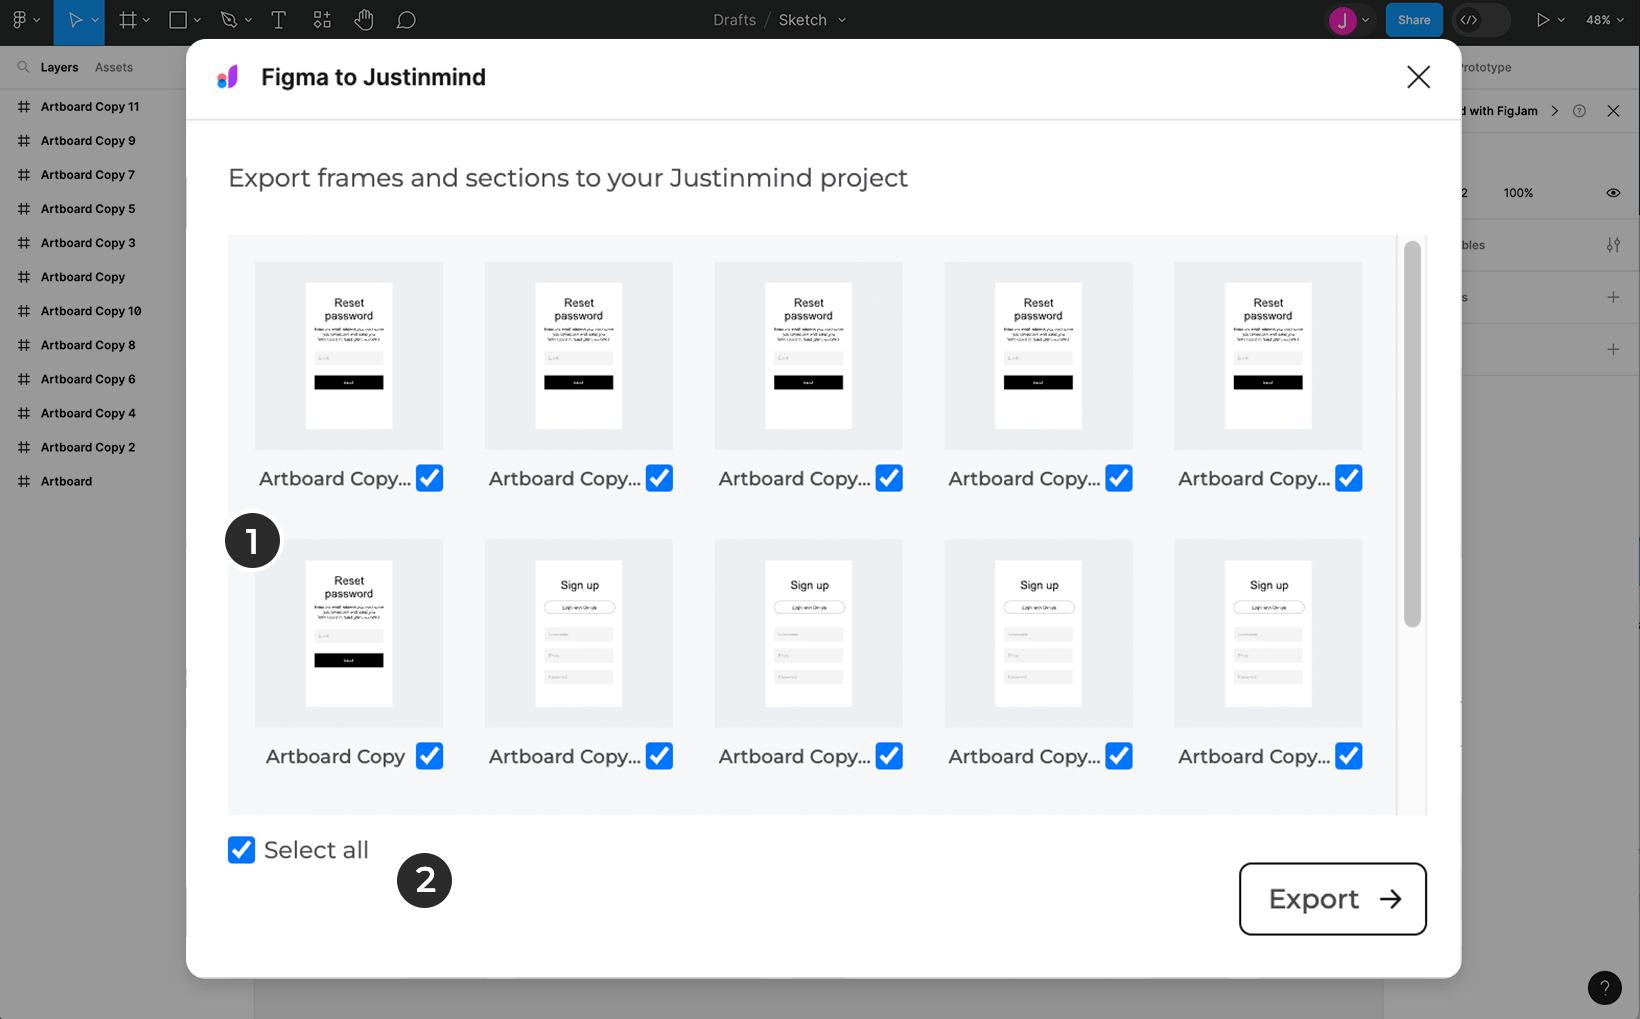

- With your selection made, click on “Export” to export your Frame(s) to Justinmind.
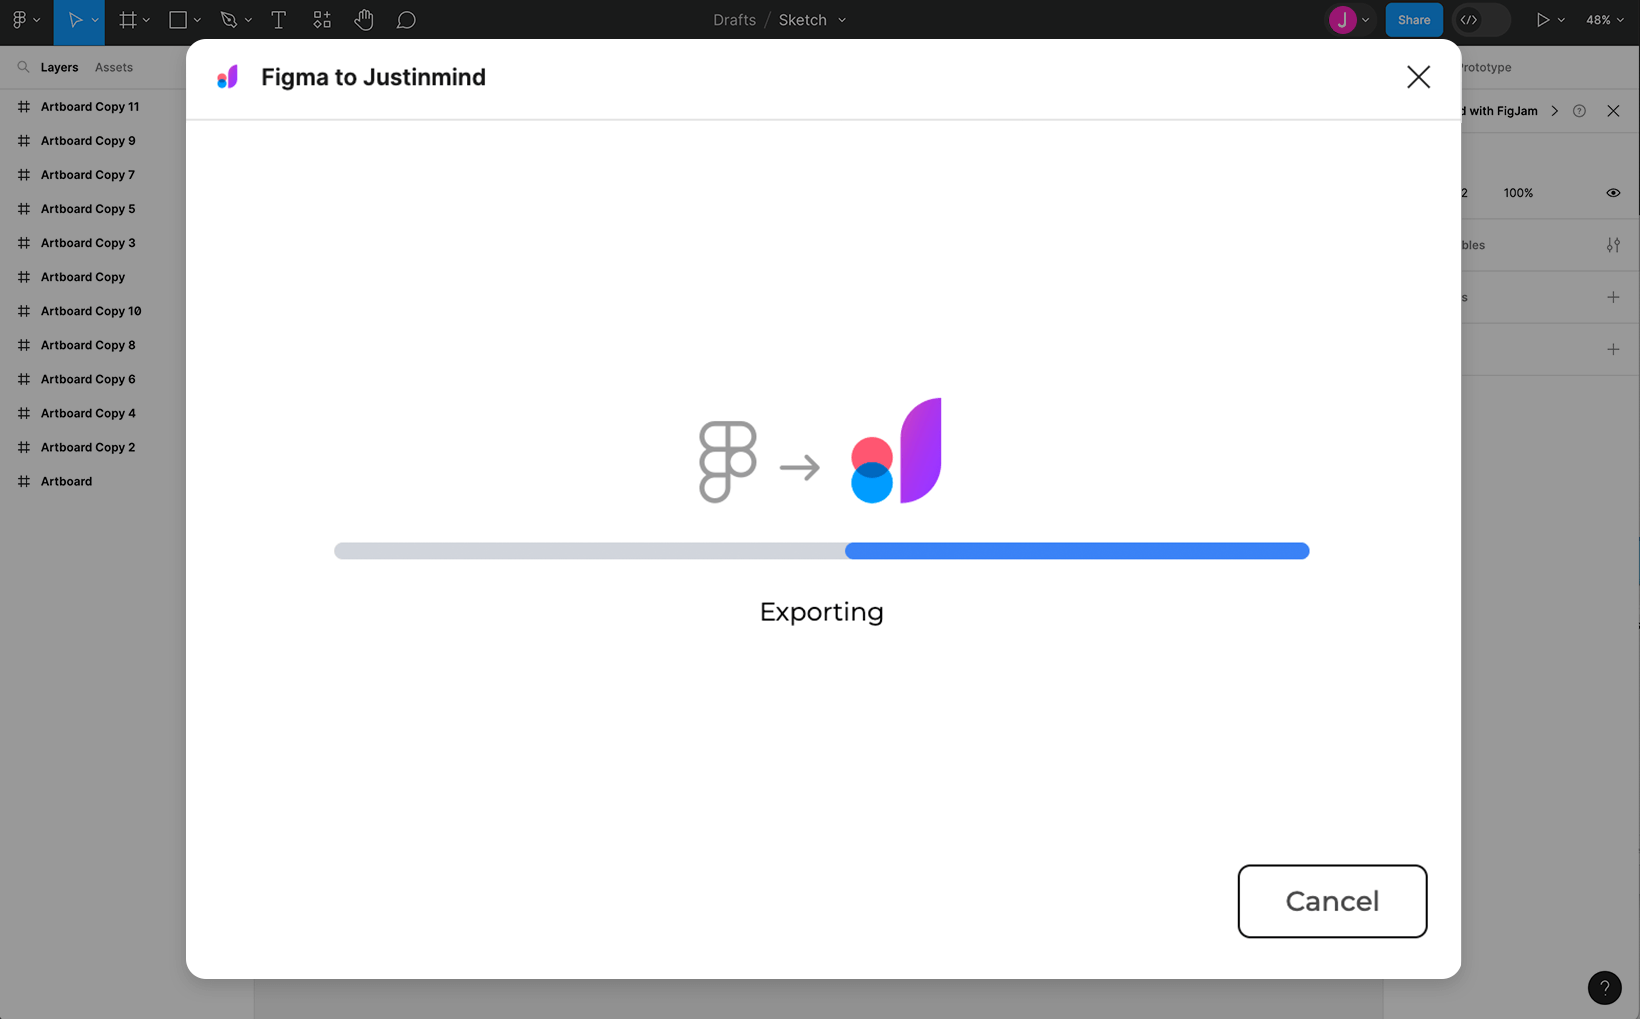
The following dialog will appear, letting you know that your Frame(s) are being exported:
- Once the export is complete, click on “Save” to save your new Justinmind file to your desktop.
- Locate your .vp file and double click to open it in Justinmind.


Copy and Paste SVG code
Alternatively, you can bring any element, group of elements or artboards from Figma to Justinmind. Simply make the selection in Figma then right click and select ‘Copy SVG code’. Then open Justinmind and select the main menu option ‘Edit – Paste’ to bring all the vector elements with the same structure and layer names as they were in Figma. You can then select each individual vector element and modify it any way you want.
In a similar way, if you have any vector element in Justinmind created with the ‘Pen tool’, you can bring it to Figma for further editing. Right click on the vector element in Justinmind and select ‘Copy SVG code’, then open Figma and paste. The layer structure of the vector element created in Justinmind is kept in Figma.
You can go back and forth using Copy and Paste as many times as you need.
Adding interactions to Figma designs
Justinmind is specially powerful to make designs interactive and simulate web and mobile apps as realistic as the user needs to. Once you bring a design from Figma to Justinmind using the ‘Copy SVG code’, you can right away select any layer and add events to it.
If what you want is to simulate responsive elements, meaning, having one of the vector elements to fit the width of the entire screen for example, you’ll need to right click on the vector element and select ‘Path – Turn into – image’ first. Then, in the Properties palette, you’ll be able to set the size properties as percentages.
Making Figma input forms interactive
An easy way to take advantage of the integration between Justinmind and Figma is to use it to add interactions to your existing input form designs and have them ready for user testing. To bring your input form from Figma use the ‘Copy SVG code’ option, then paste it in Justinmind and right click an input field and select the option ‘Path – Turn into – Input Text field’. Launch the simulation and see how that design now works as a real interactive input field, while keeping its original look and feel. You can turn any vector element into any of the pre-defined input form fields in Justinmind.