Justinmind’s integration with Atlassian Jira
Justinmind is integrated with Atlassian Jira, allowing Justinmind users to import and export their Jira issues to and from Justinmind.
Important:
- Jira issues are referred to as requirements when imported into Justinmind
- Justinmind requirements are referred as issues when exported to Jira
Integrating a prototype with a Jira project
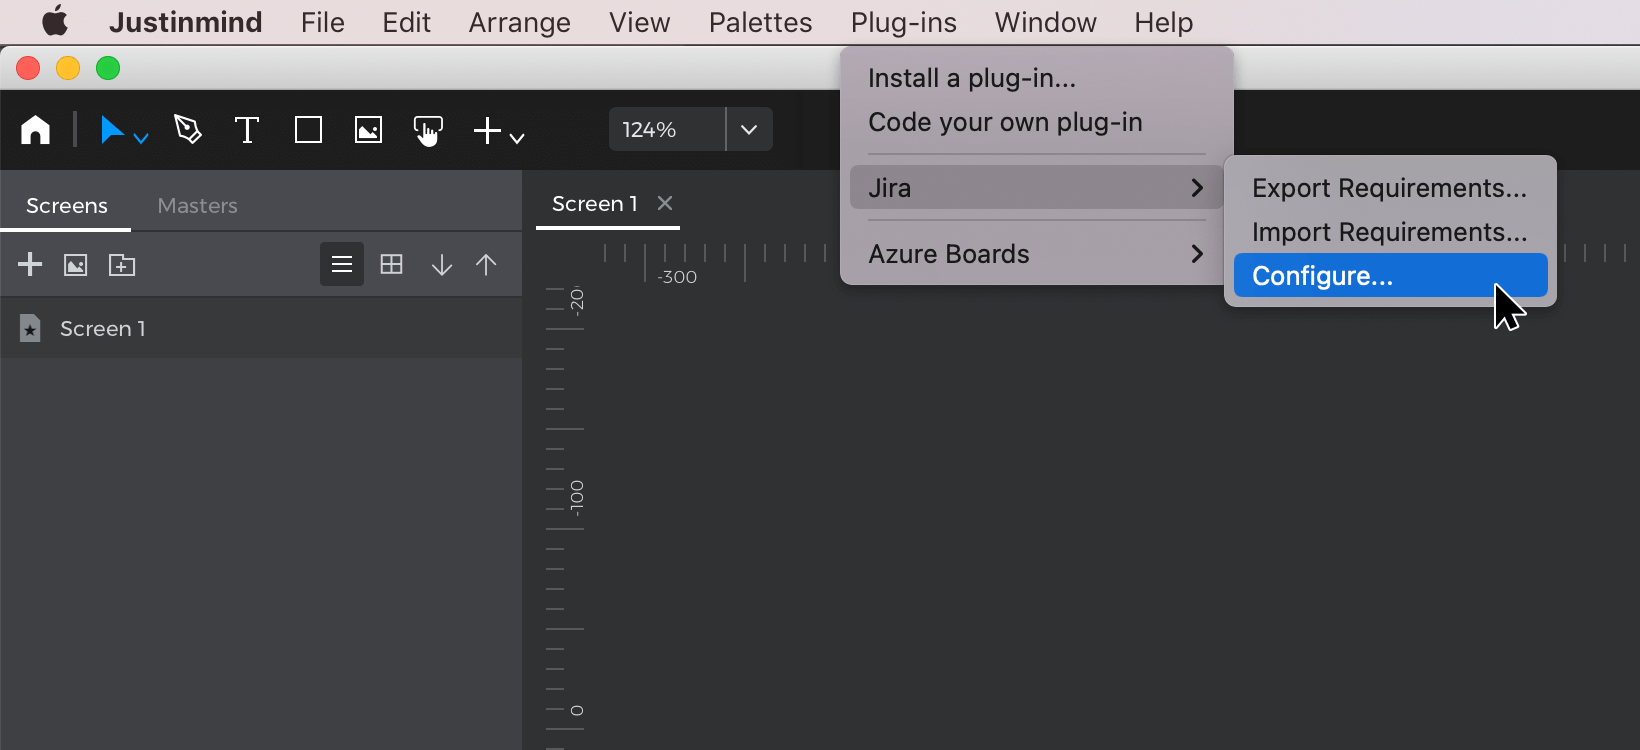
The first thing you’ll need to do is to configure the Jira plug-in for Justinmind:
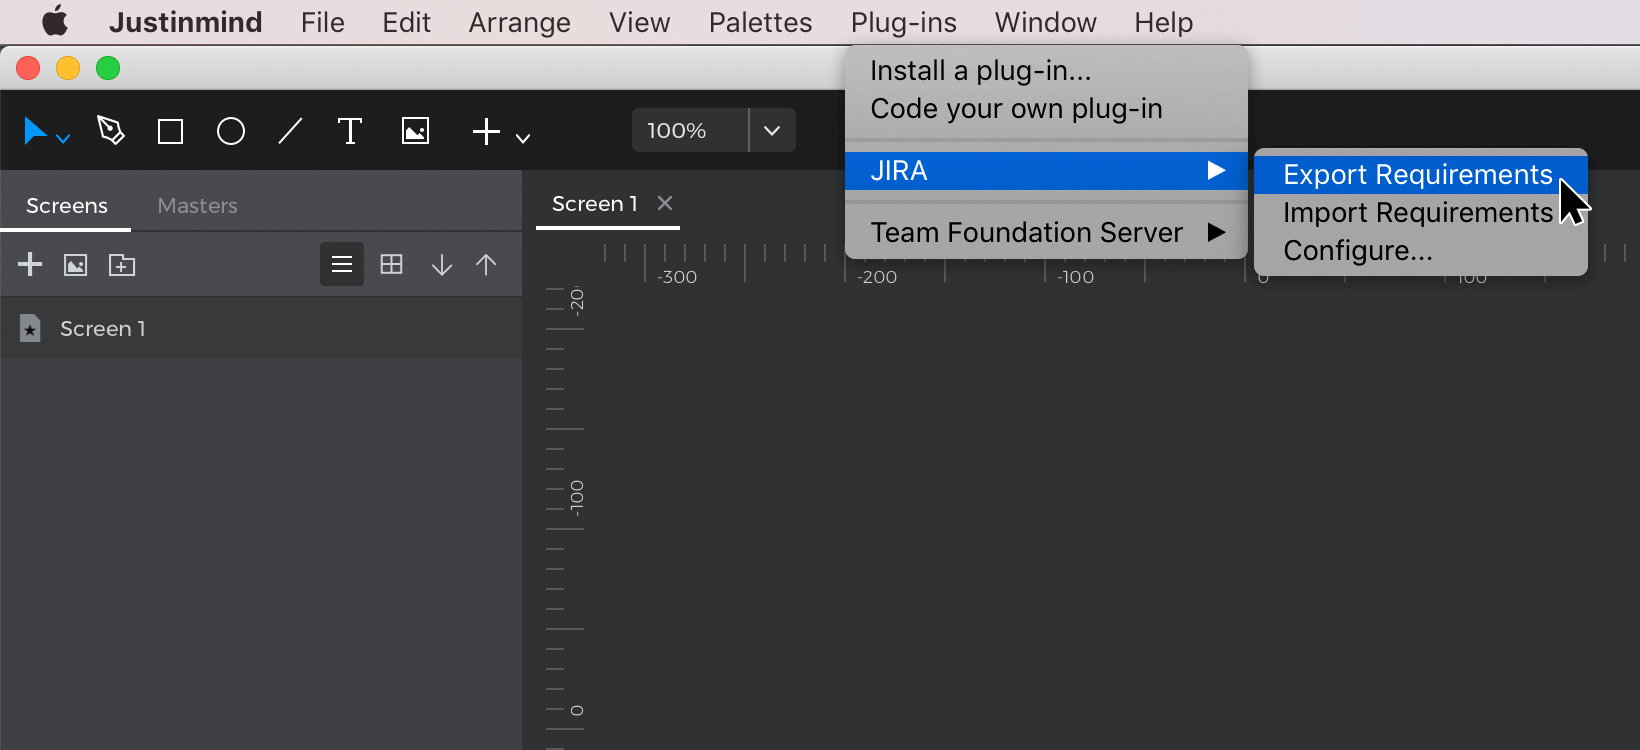
- With your Justinmind prototype open, go to the “Plug-ins” main menu options.Select “JIRA” and then “Configure”.
- You’ll need to fill in the following information. Note that you must fill in all fields to be able to import Jira issues into Justinmind and export Justinmind requirements to Jira issues.
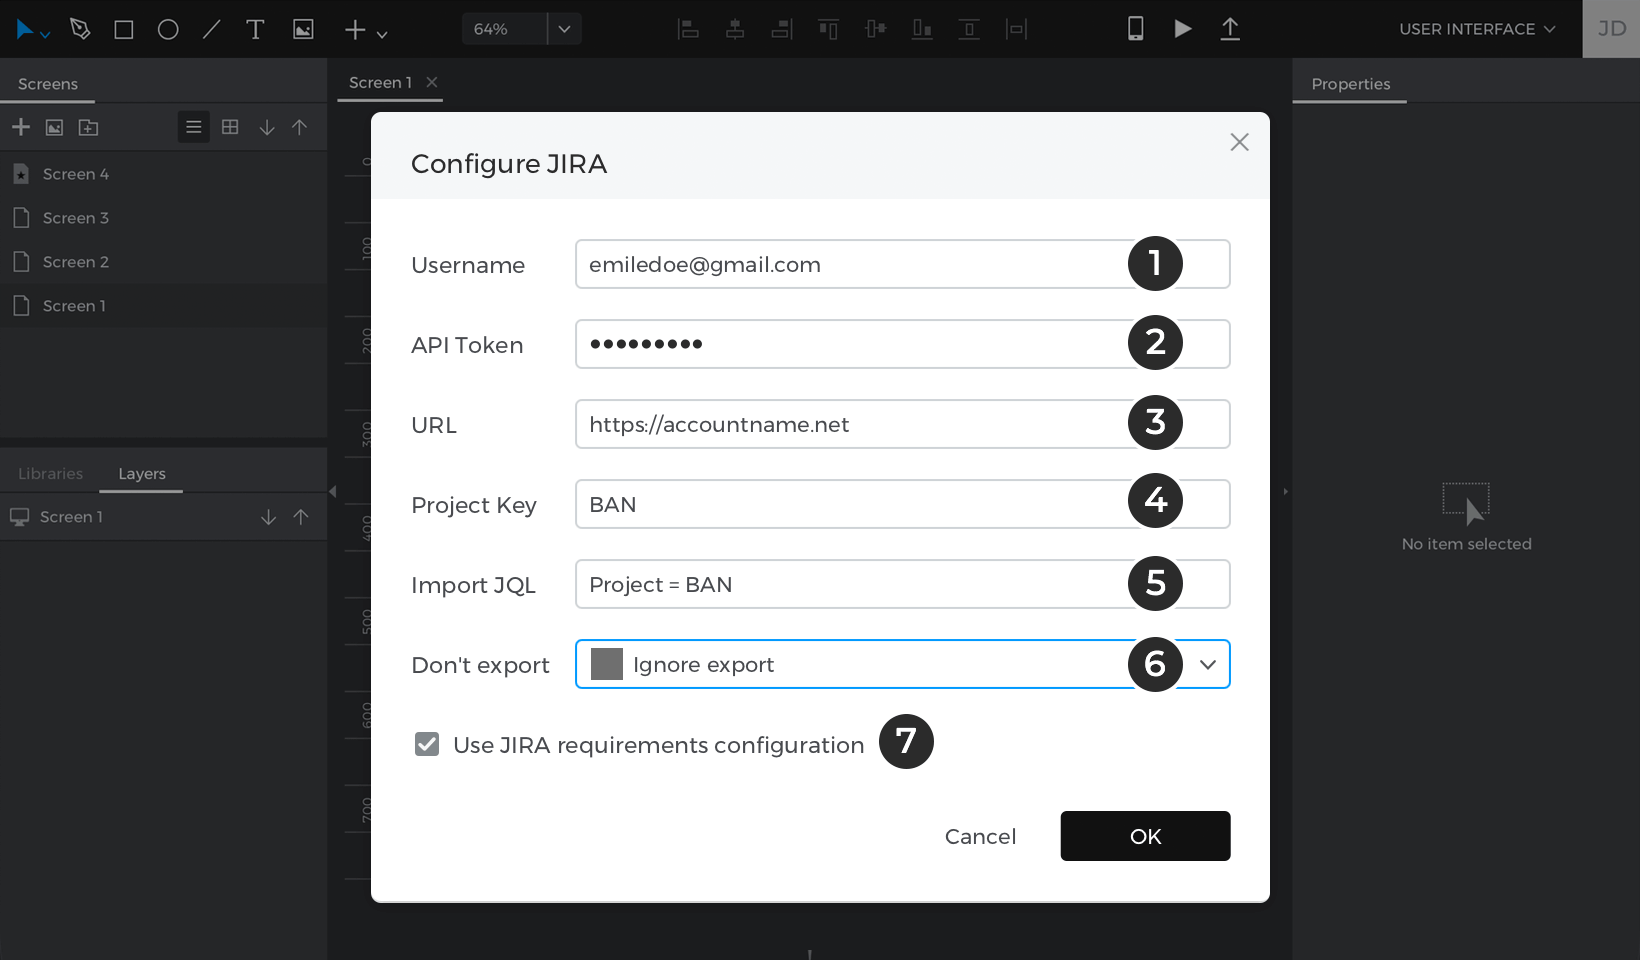

- Your Atlassian Jira username
- Your Atlassian API token (for Jira cloud). Create an API token here. For Jira servers, enter your API Token.
- URL of your Jira dashboard (for example https://accountname.atlassian.net. – there’s no need to add anything after the domain name)
- Project Key – this is the abbreviated name of the Jira project and can be found here. In our example, our Project Name is “Banking App Design”, and our project key is “BAN”.
- When you’ve filled in the information, click OK.


Improve your prototyping experience with the Justinmind for Jira add-on
We strongly recommend you install the Justinmind for Jira add-on if you want the 360º experience of the integration.
When in Jira, if you want to view the prototype associated with a Jira issue, you’ll need install the Justinmind for Jira add-on. Note that only Jira administrators will be able to install the add-on.
To install the Justinmind add-on:
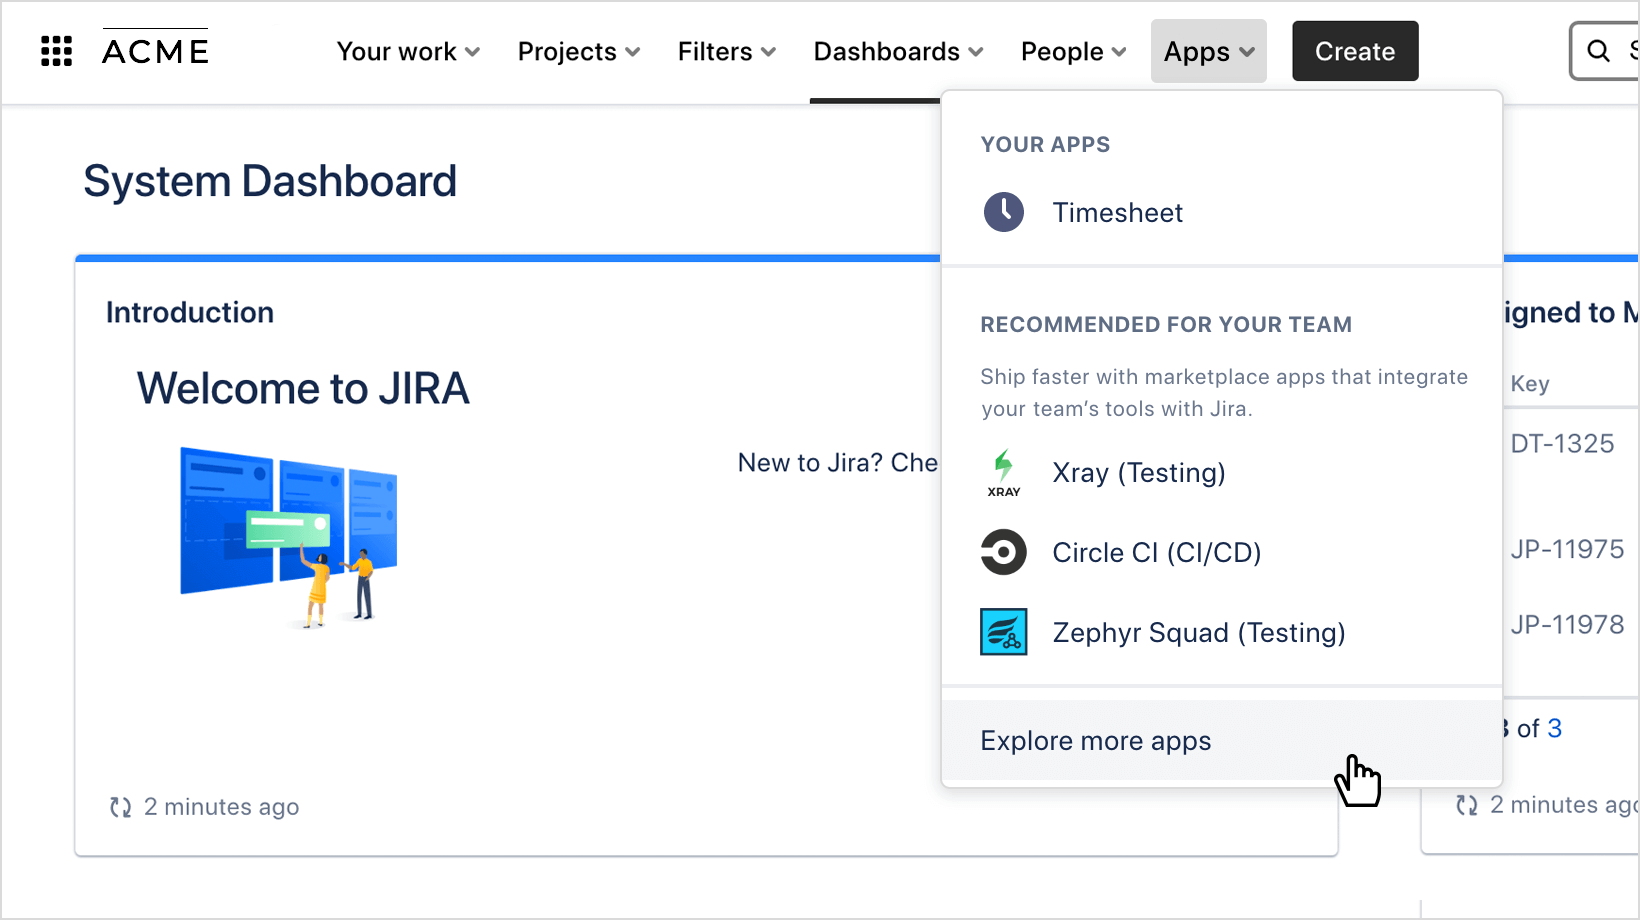
- Log in to your Atlassian Jira account. Go to the Apps section, and click on “Explore more apps”.

- From the “Search for apps” search box, enter “Justinmind”.
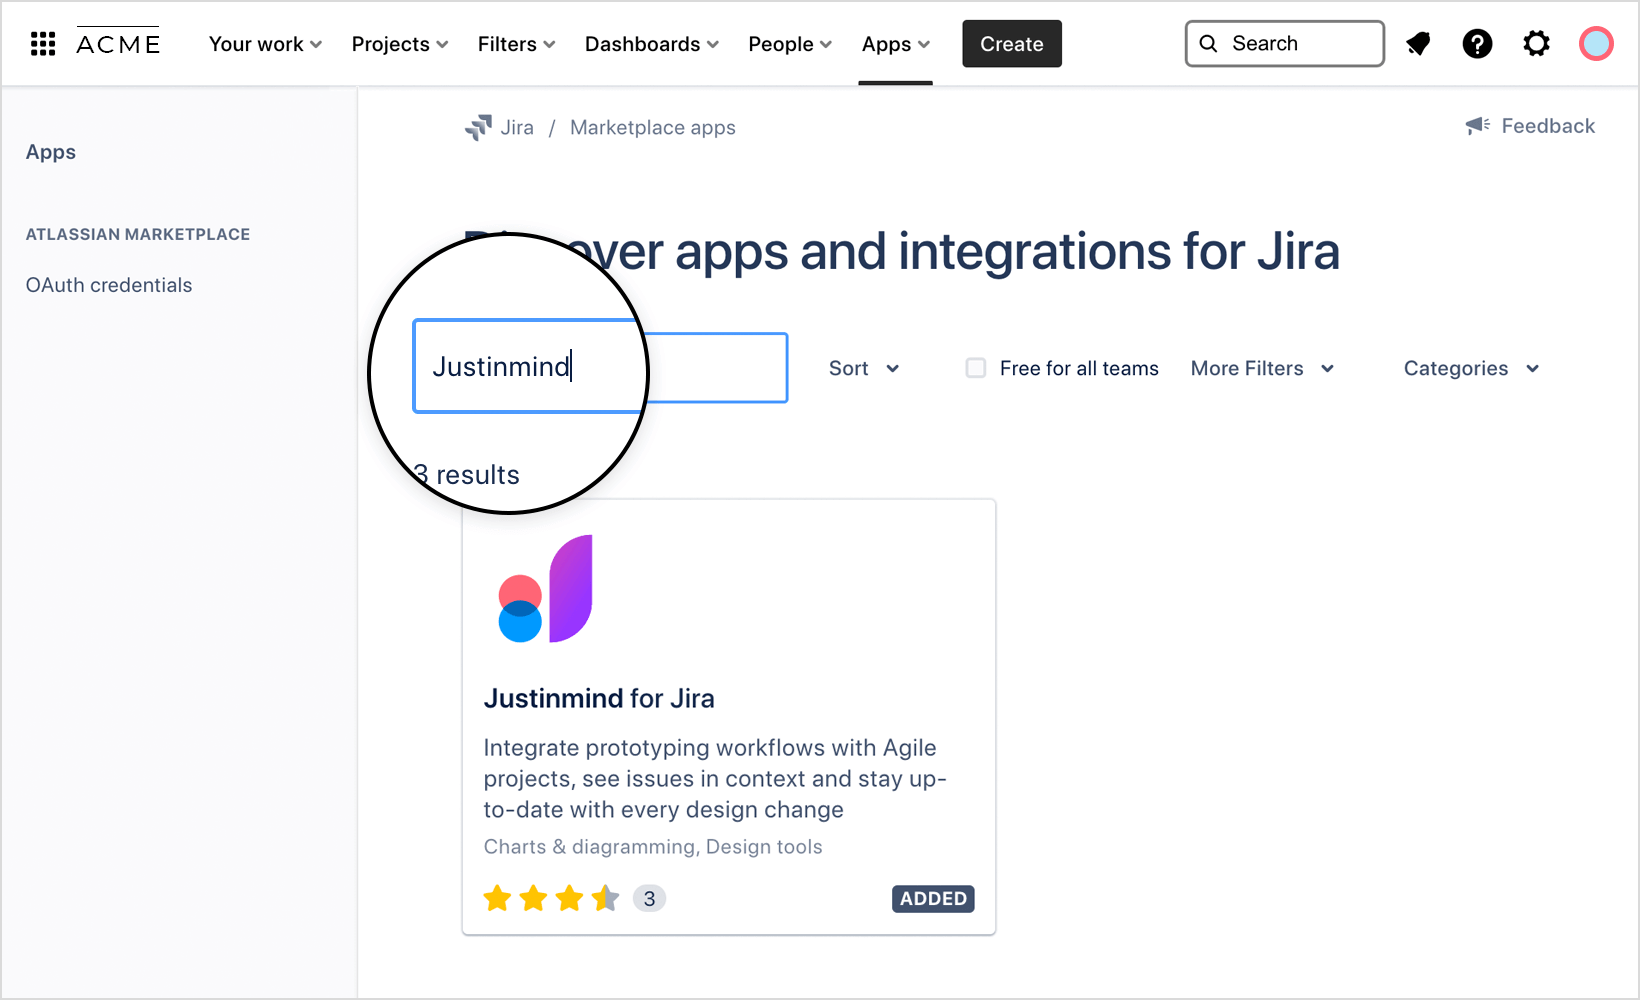

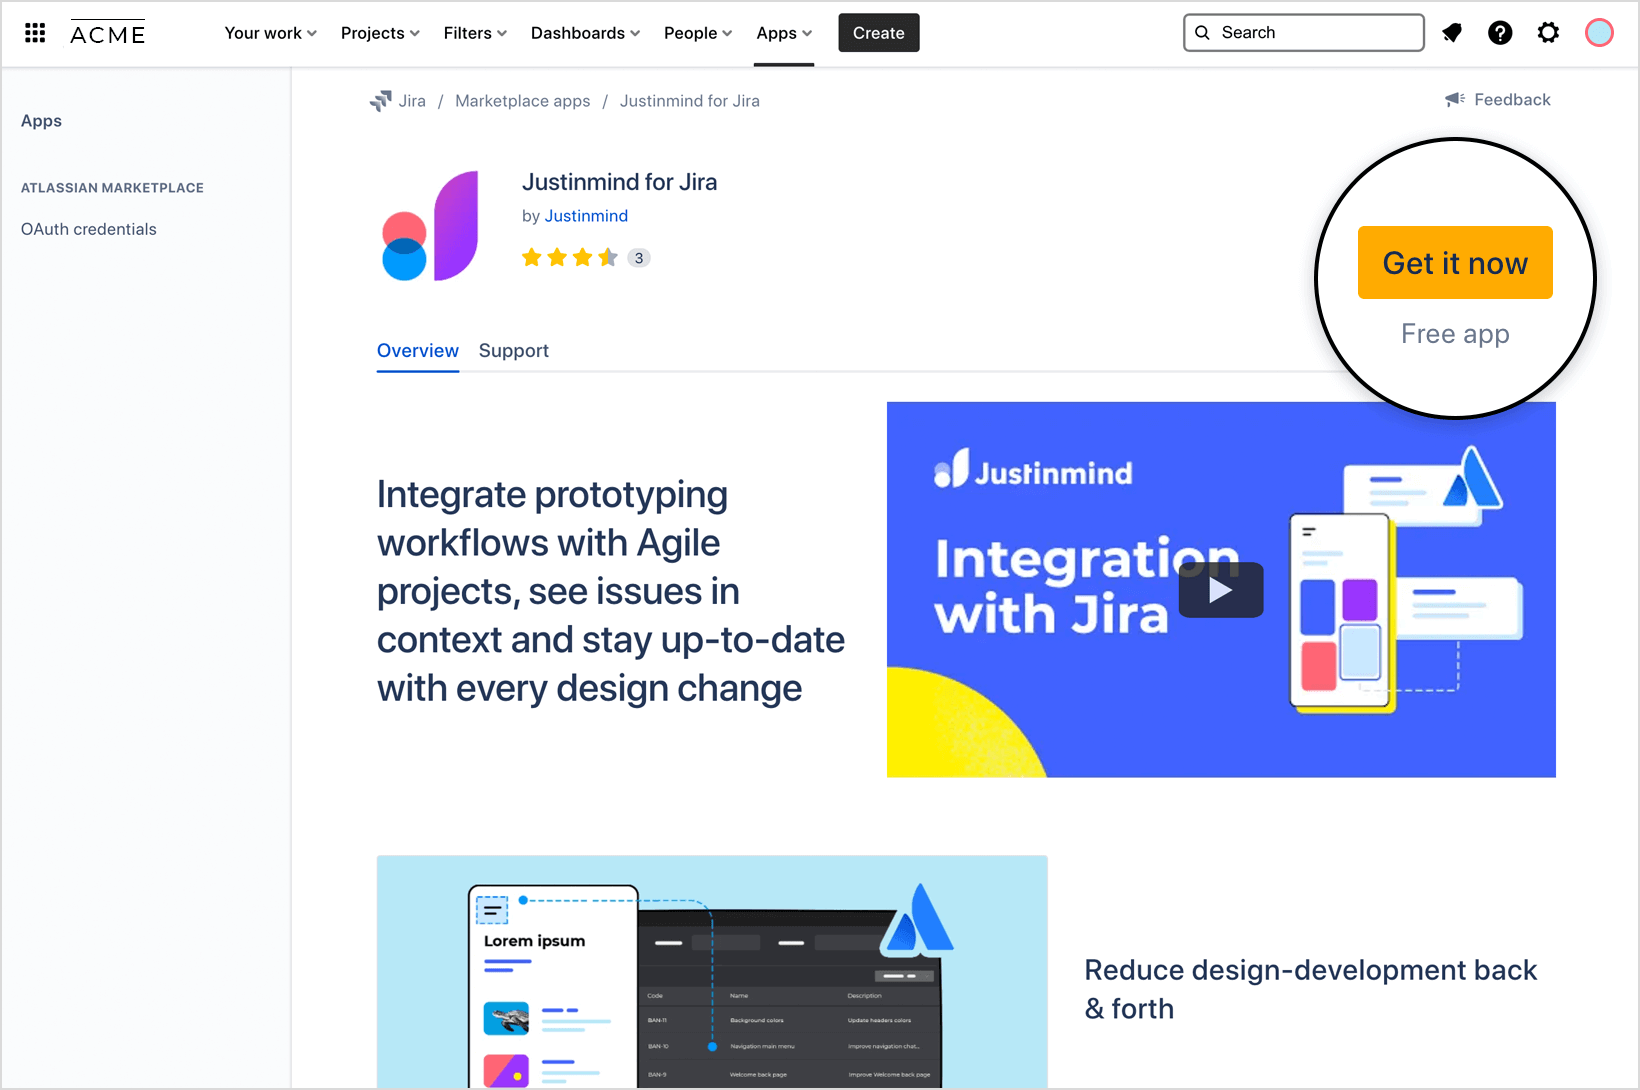
- The Justinmind for Jira app card will show, click on it, and the overview page will appear. Click on the “Get it now” button.
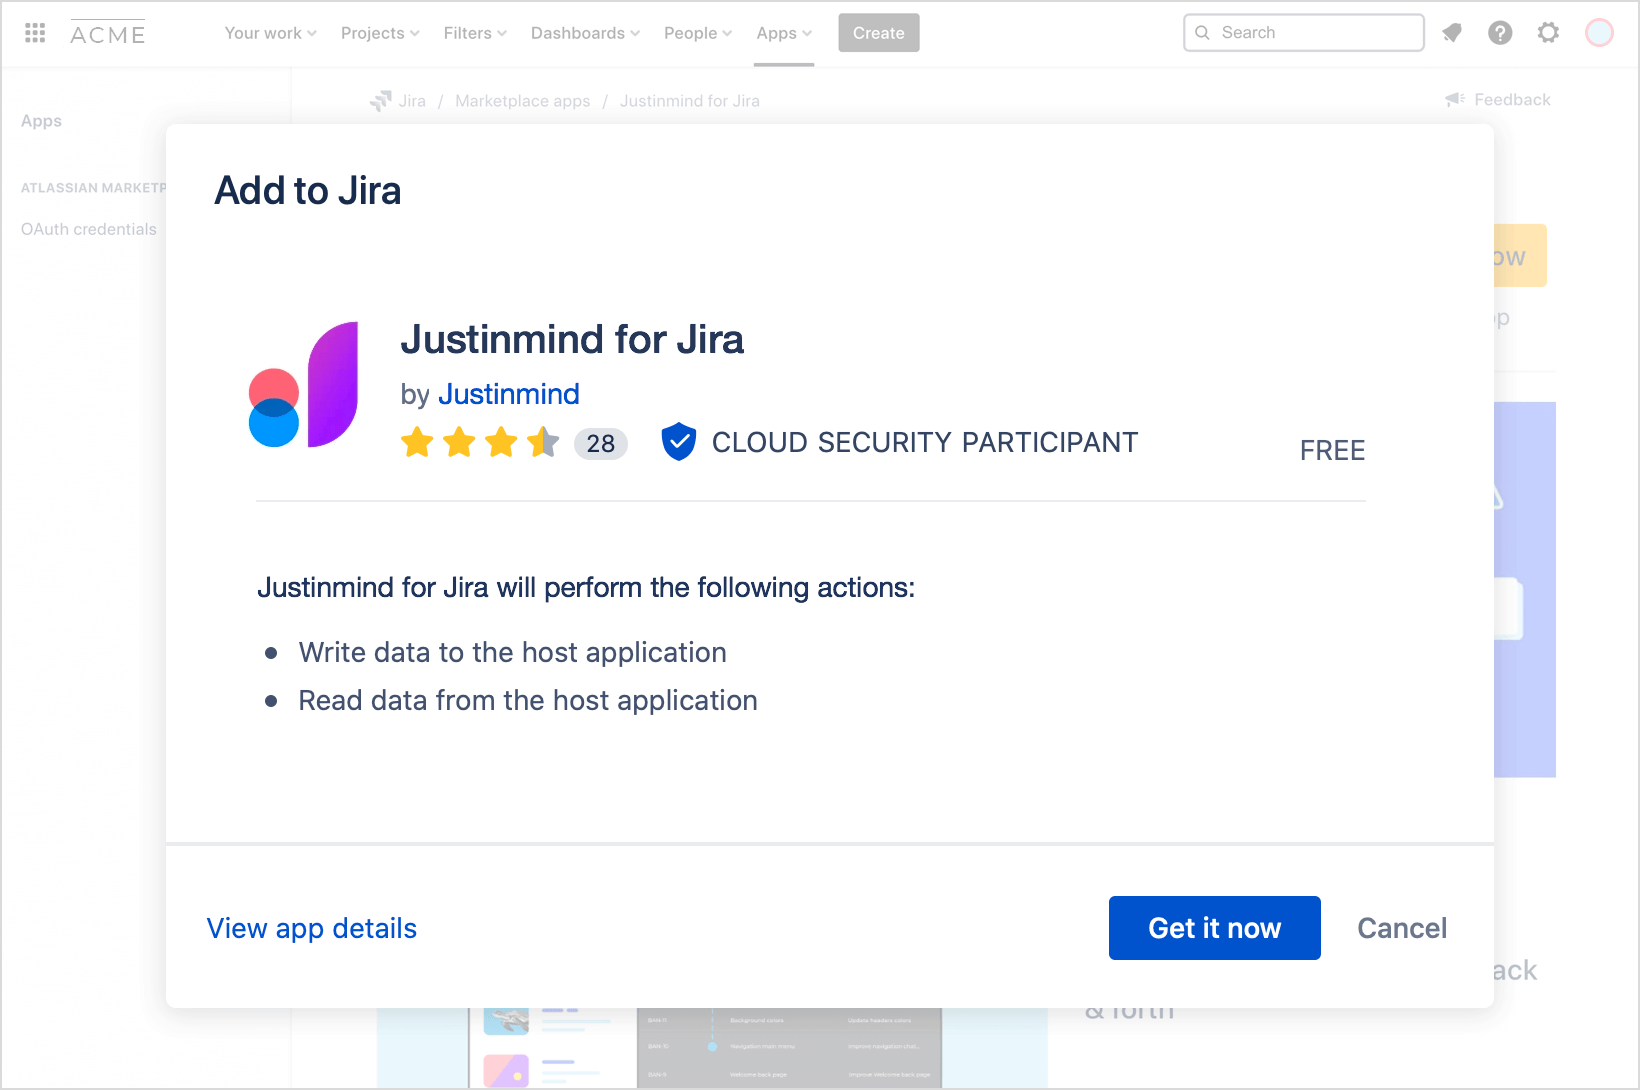
- A dialog will appear with instructions. Click on “Get it now” to install the app.
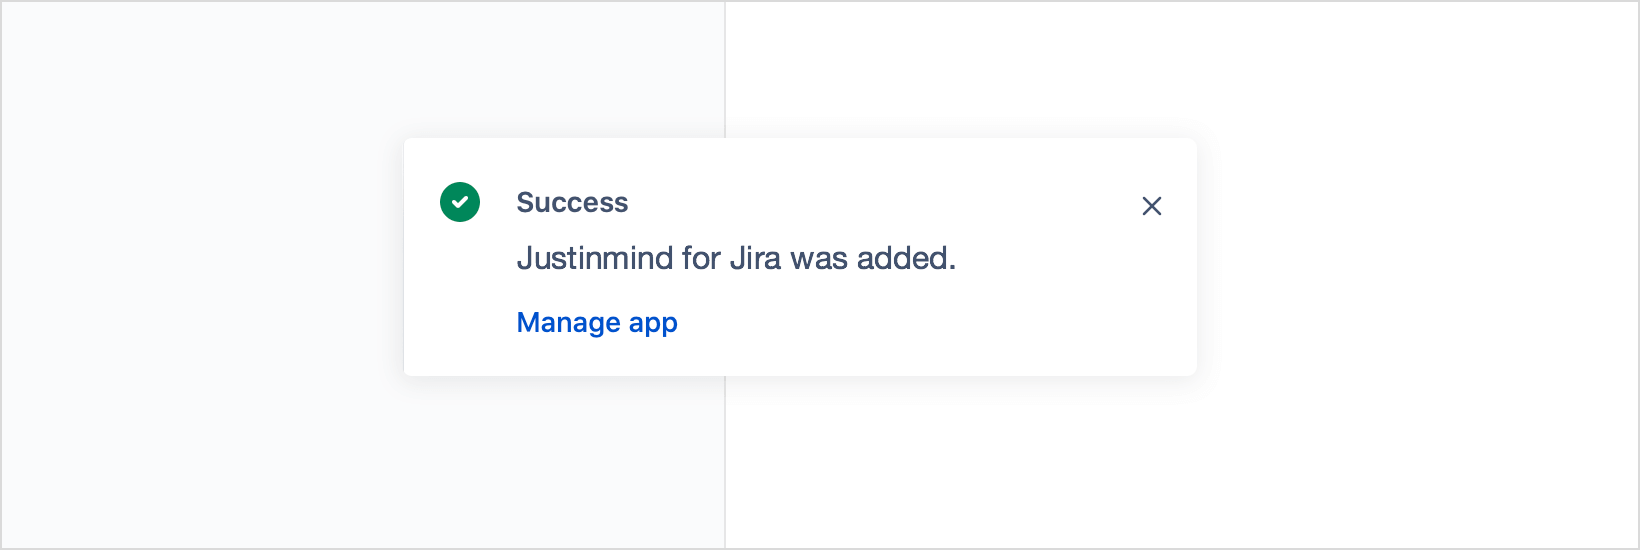
- Atlassian will notify you of the installation process like so:
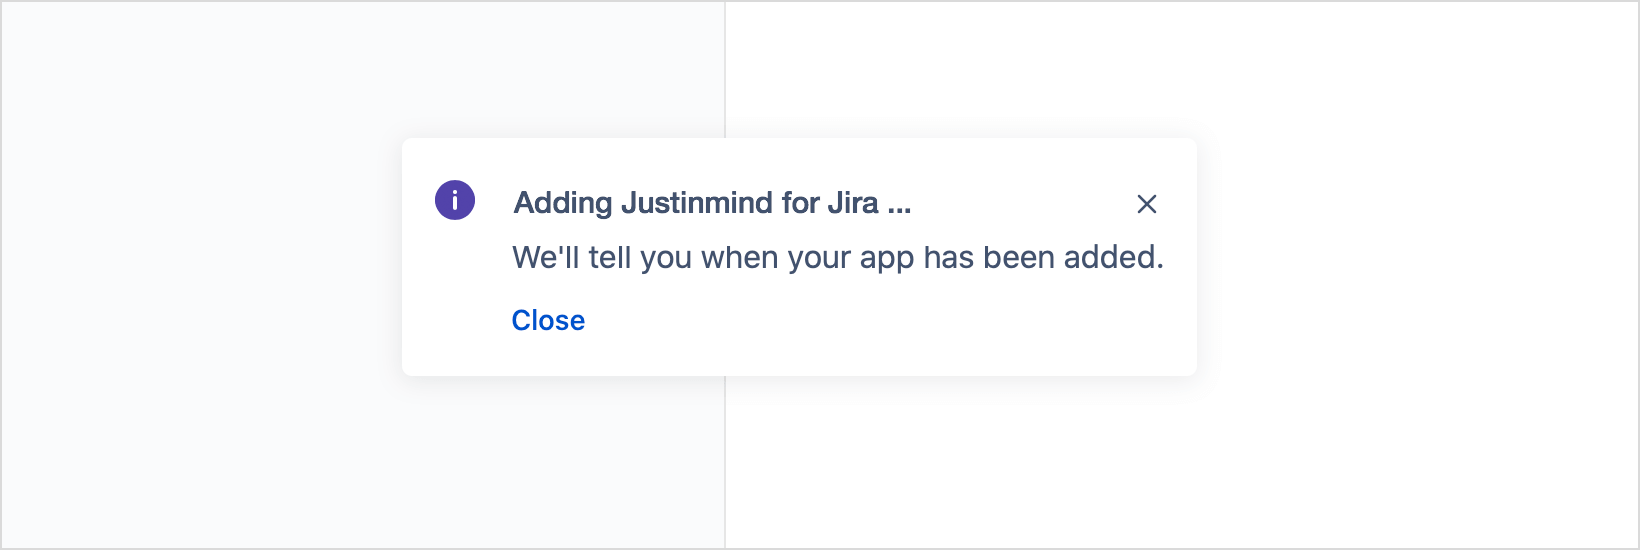
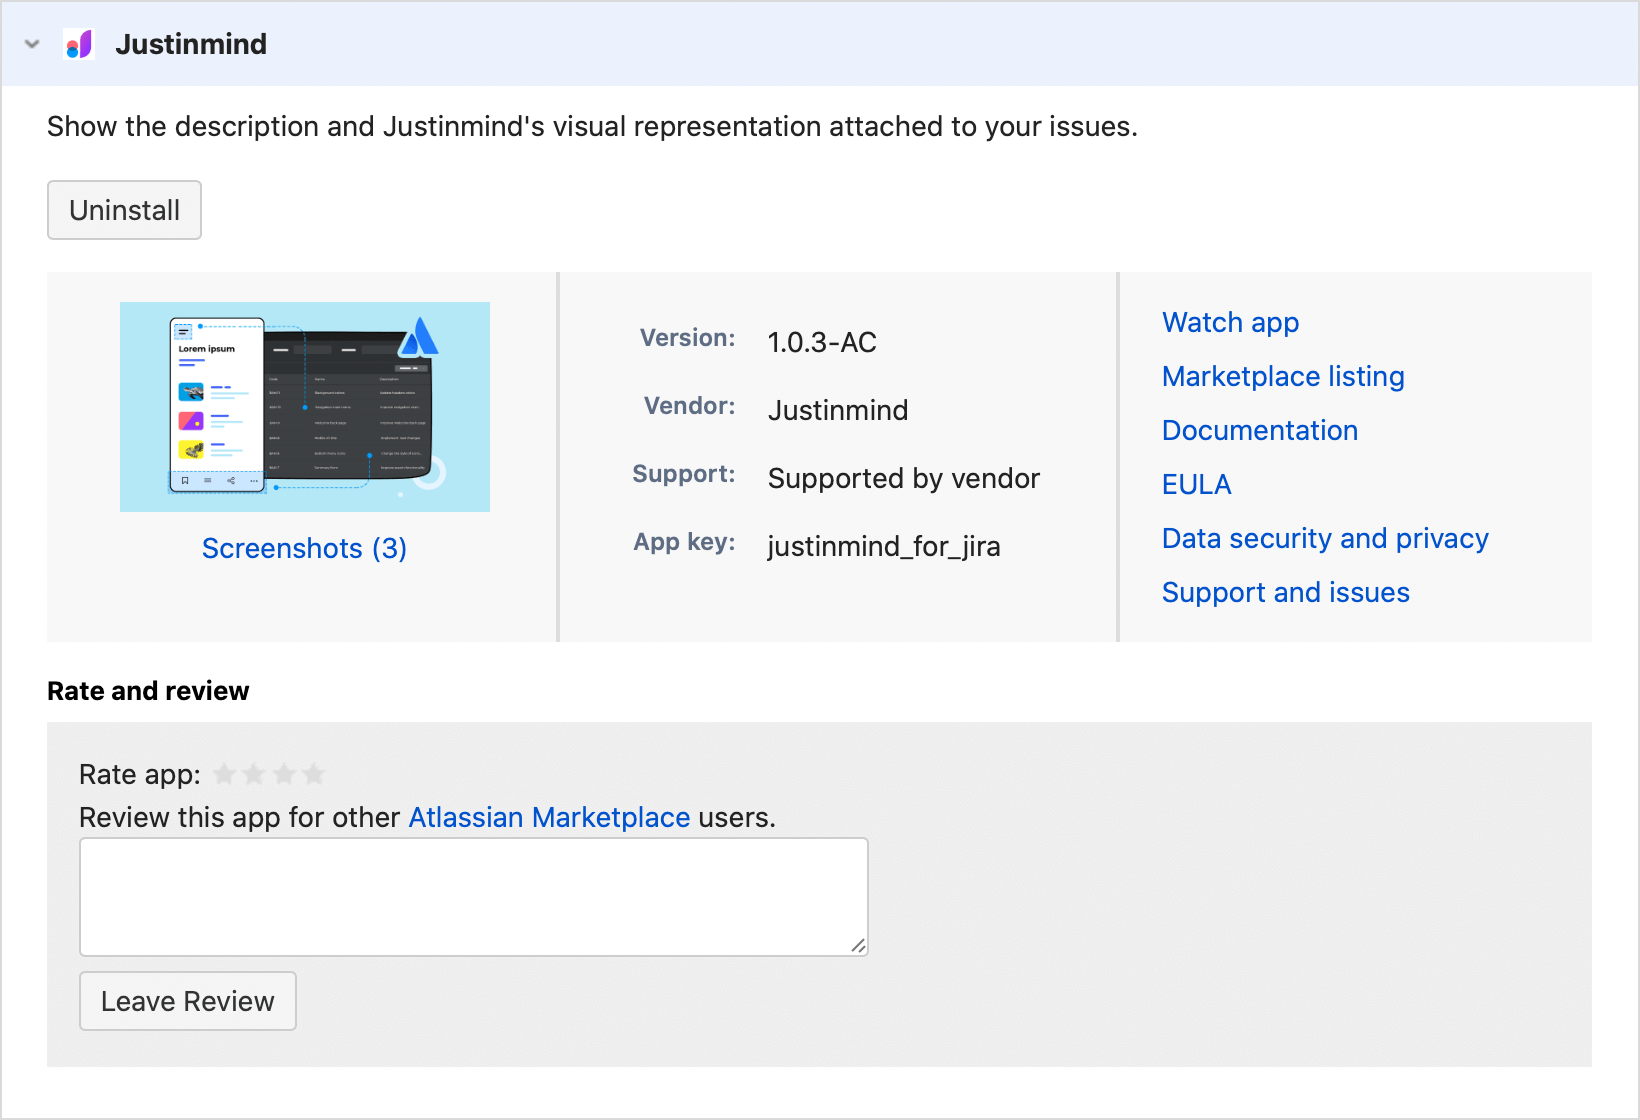
- Once installed, the following dialog will appear:
- Click “Close” to close the dialog. Then go to the “Connected Apps” tab of the Settings option. You should be able to see your new plugin.


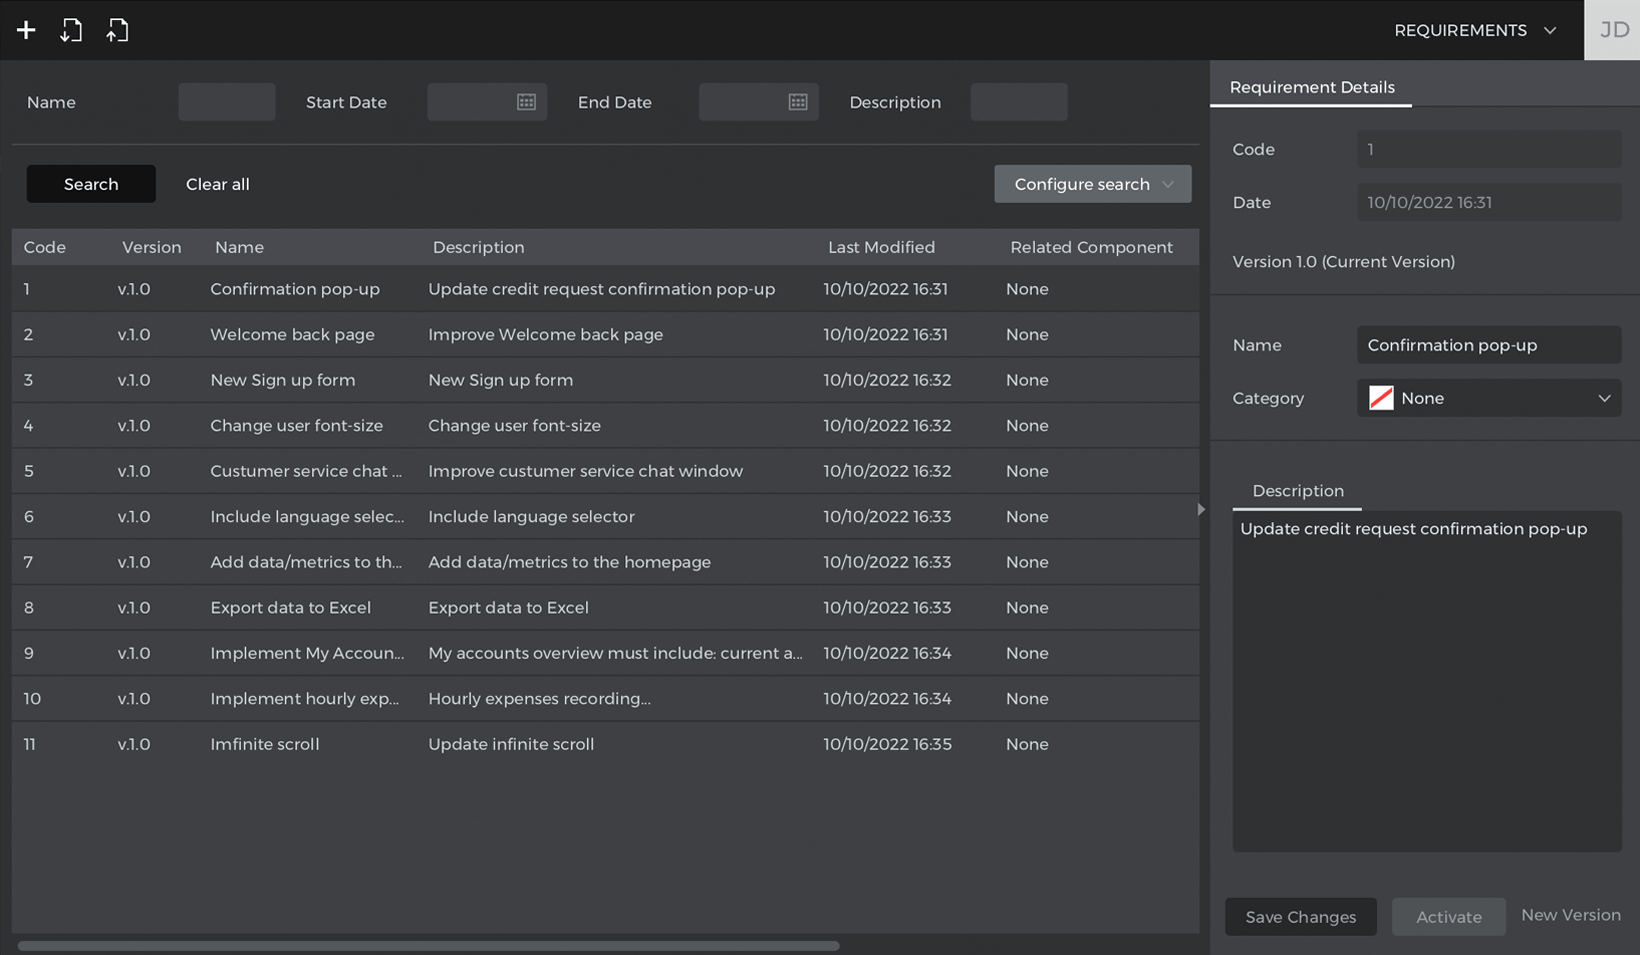
Importing Jira issues into Justinmind
To import your Jira issues into Justinmind:
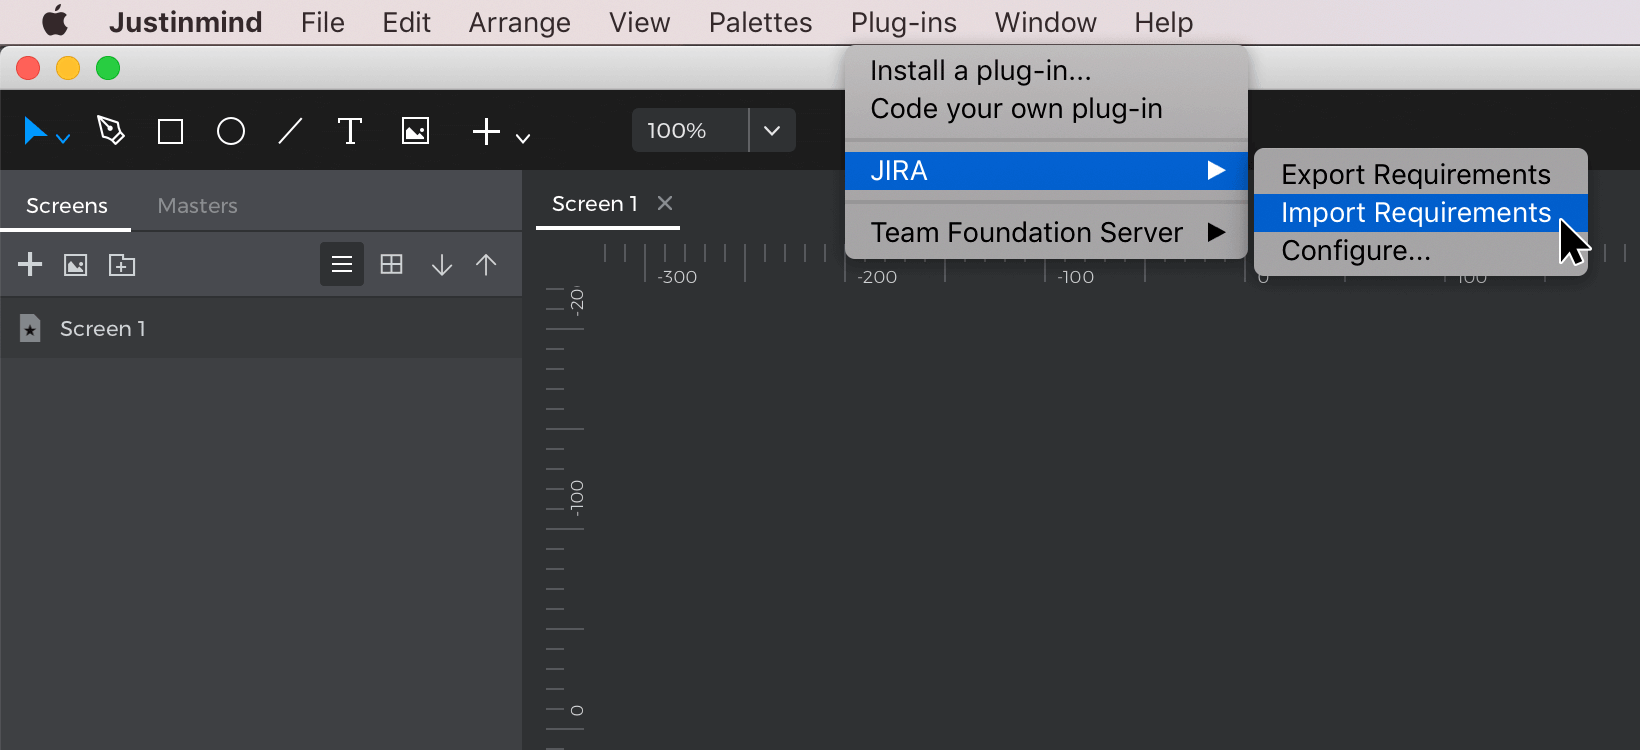
- Return to Justinmind.In the Requirements module, go to the “Plug-ins” main menu option.Click on the option “Import Requirements”.

- A dialog will appear letting you know that the work items are being imported from JIRA, and when the process has been completed. Click “OK”.
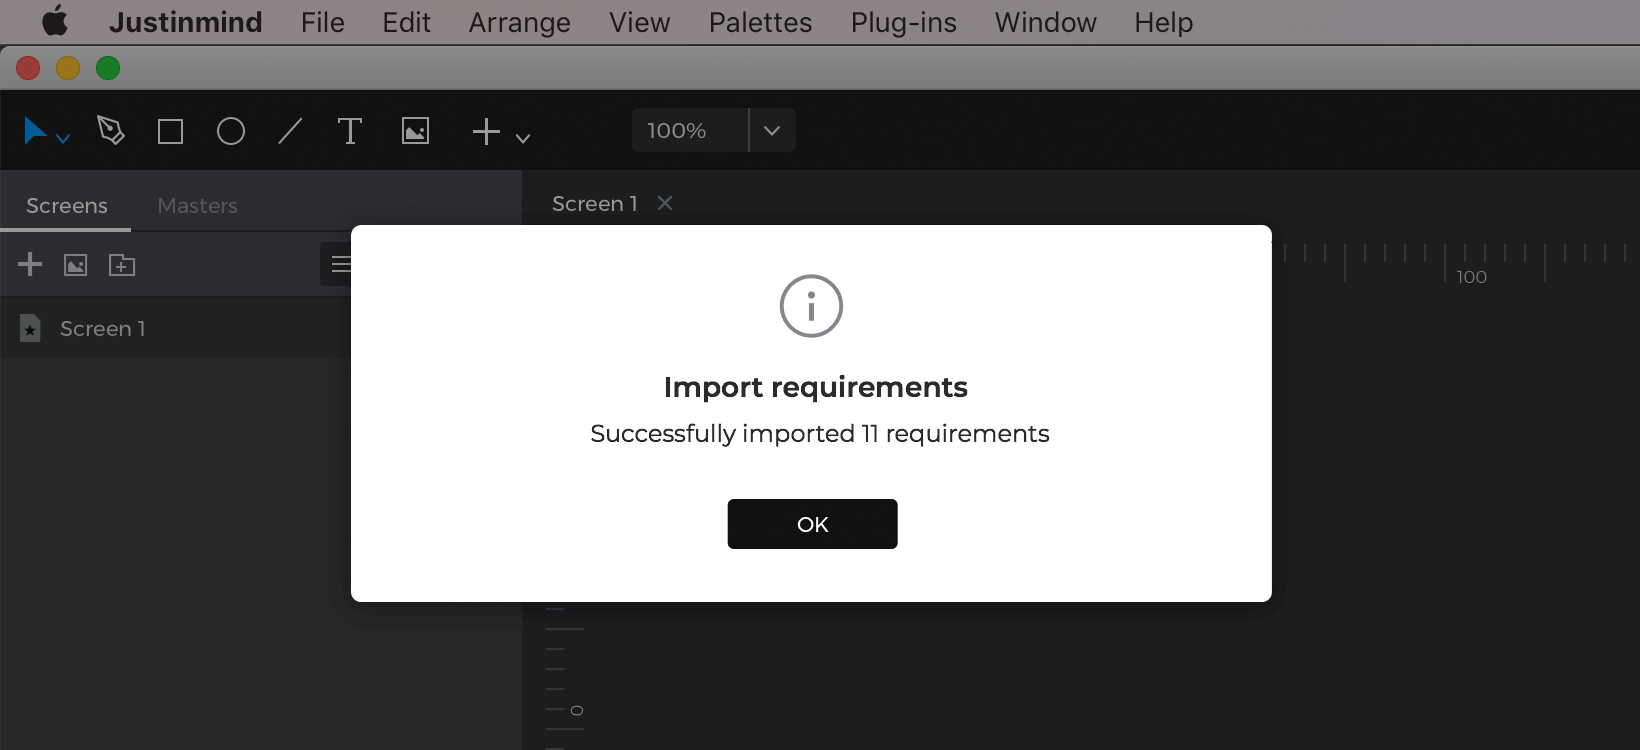

- If importing has been successful, you’ll see your Jira issues appear in the Requirements module.


Updating modified Jira issues in Justinmind
Note that if you edit a Jira issue in Jira, you can view modifications in Justinmind by returning to the “Plug-ins” main menu option and clicking “Import Requirements” again.
Linking Jira issues to your prototype’s UI elements
Once you’ve imported your Jira issues into Justinmind, you can link the issues (as Justinmind requirements) to elements in the user interface. To do so:
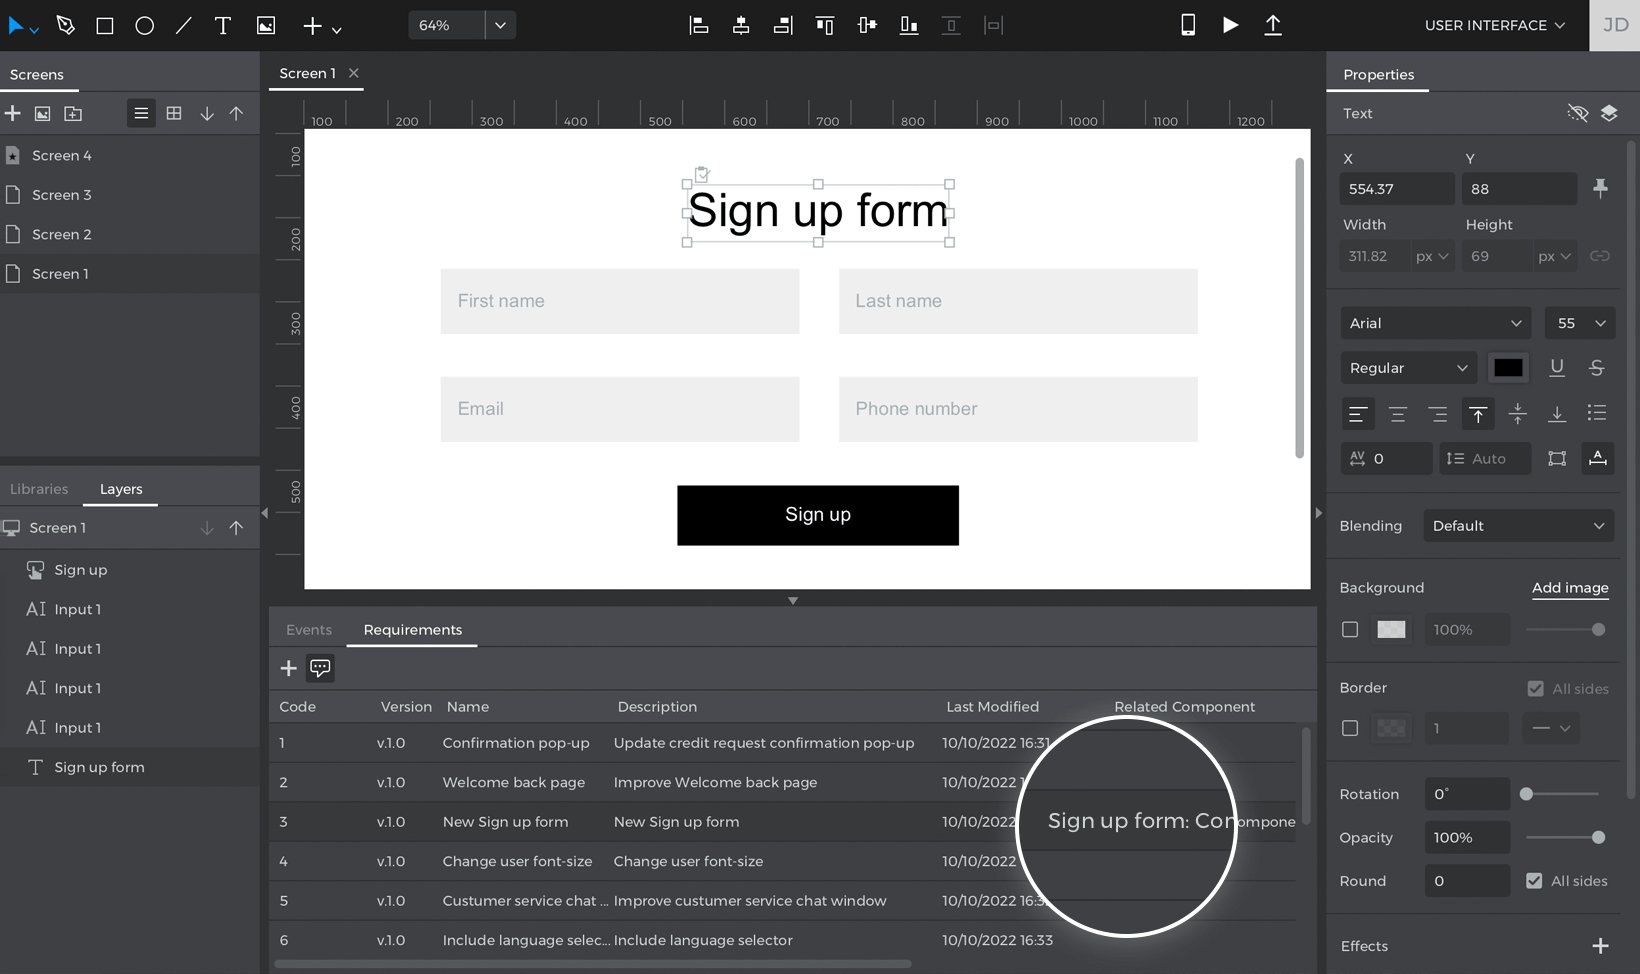
- Go to the User Interface module.
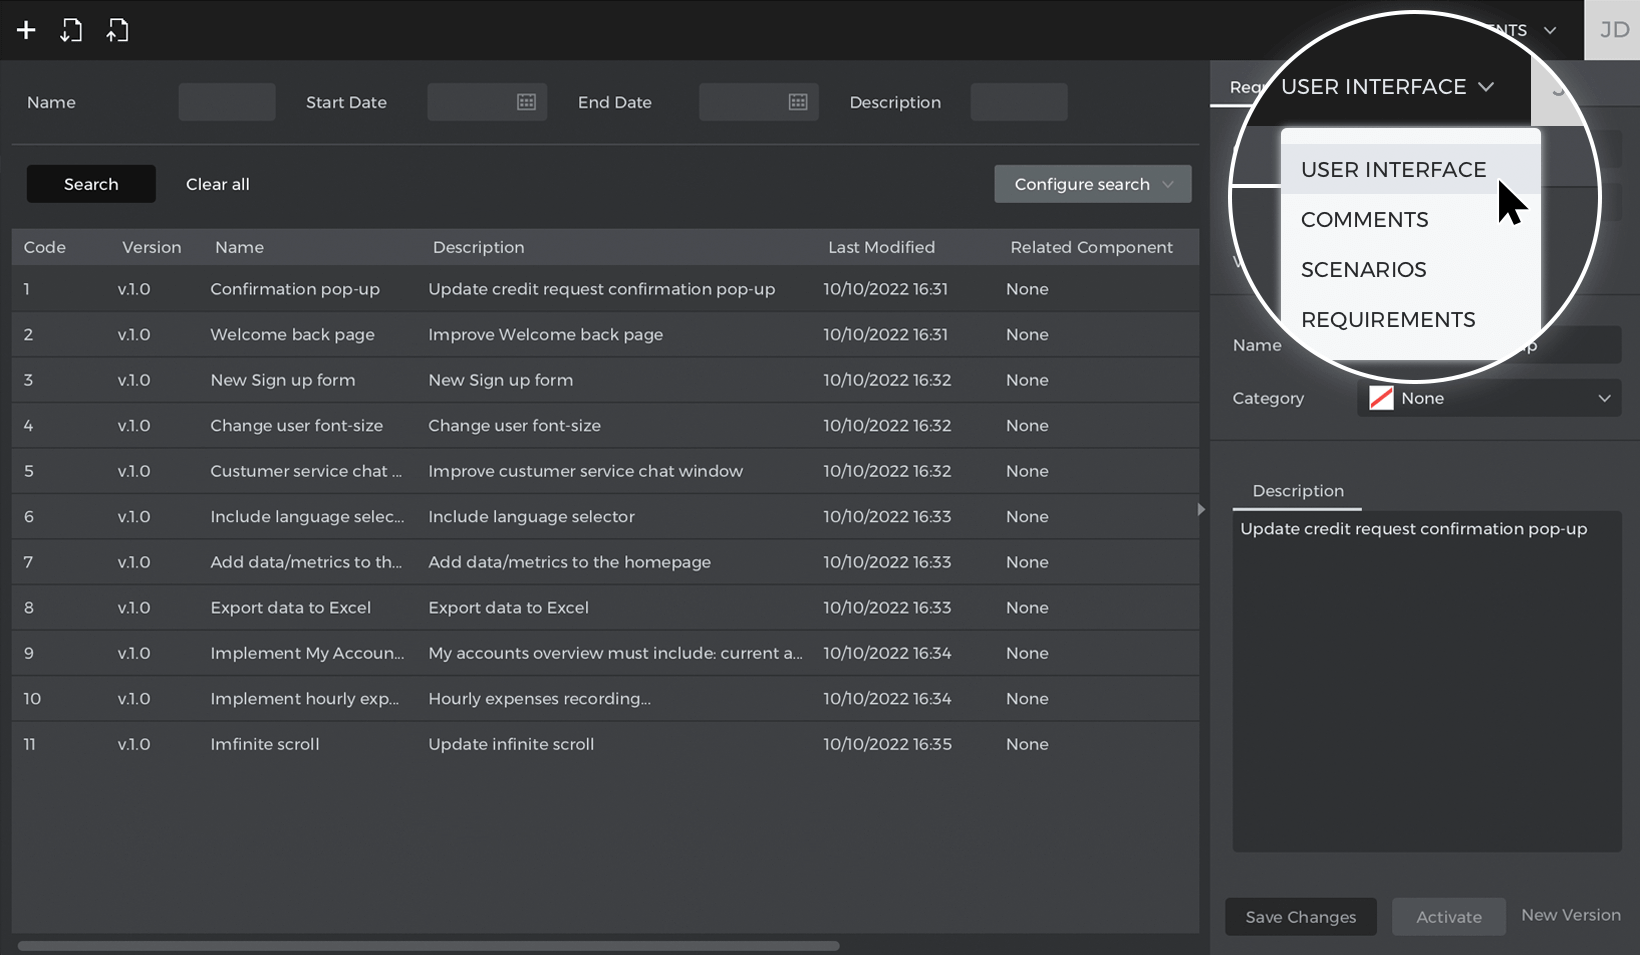
- Select the element that you wish to link to a Justinmind requirement. Below the Canvas, select the Requirements palette (hint: the default view will be the Comments palette, with the Requirements palette next to it on the right).Select the “Show all” option. Then, drag the requirement from the list and drop it on top of the element in the Canvas.A dialog will appear confirming you want to associate the requirement with the selected element. Click OK” to continue.
- In the Requirements palette, the “Related Component” field of the associated requirement will contain a description of the associated element.


View a Jira issue from a requirement of the prototype
To go to a Jira issue directly from a Justinmind requirement:
- From the Canvas in the User Interface module, click “Simulate ” to view your prototype. On the right, you’ll find a hamburger menu. Click it to see the Requirements panel (below to the Screens panel).
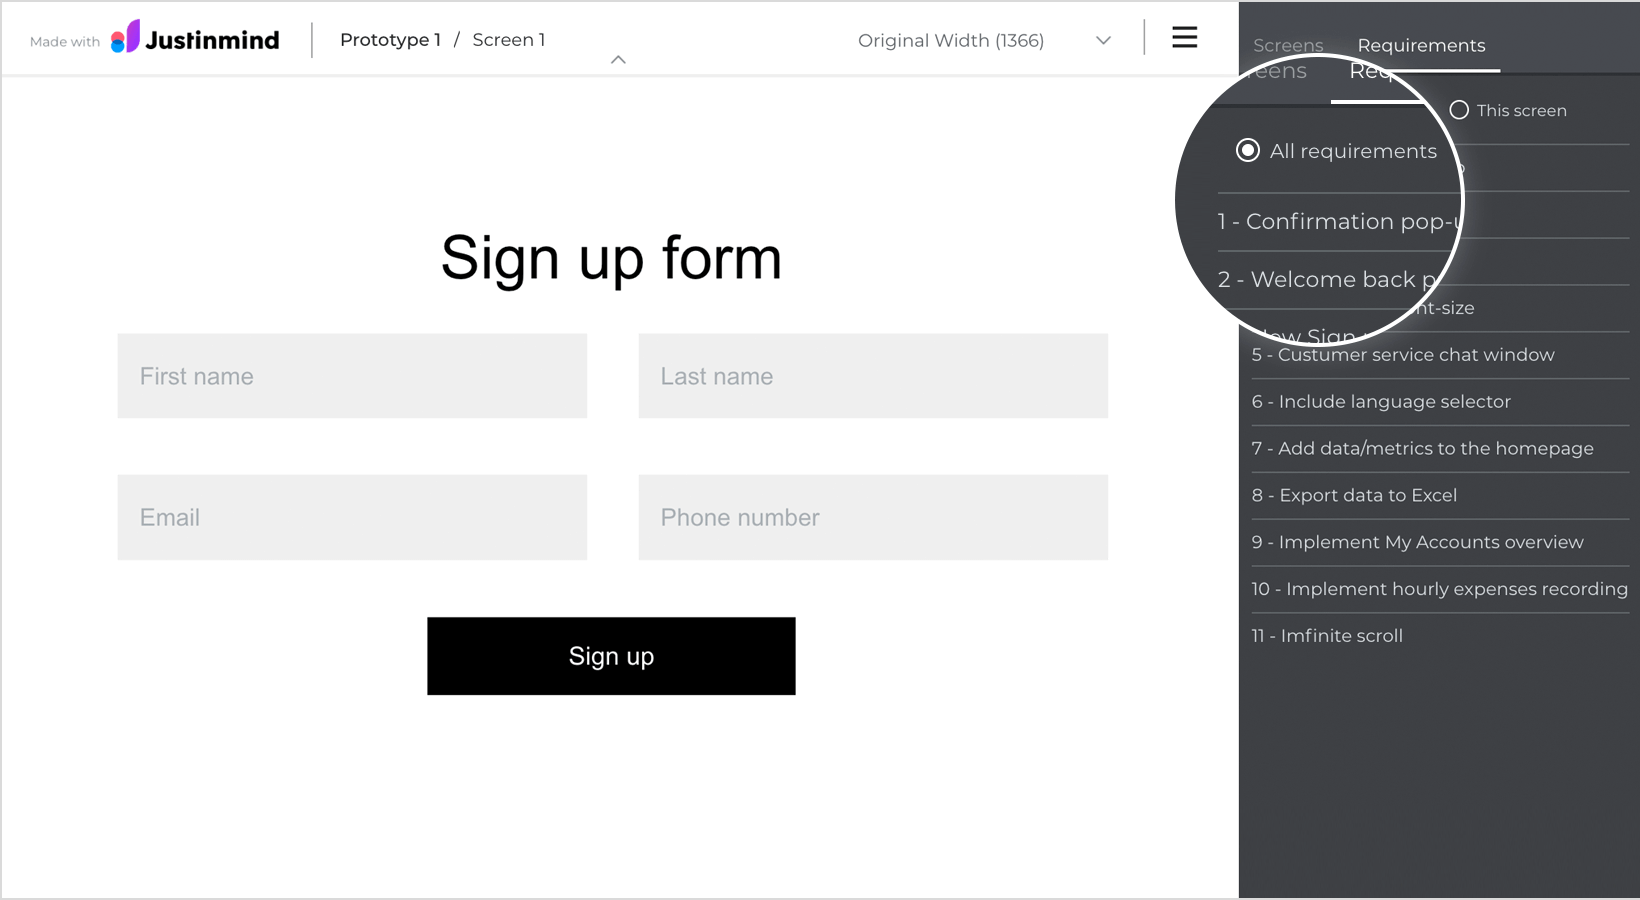

- Click on the linked requirement and you’ll find an option to “View component” on the left. Click to see the linked element highlighted in green.

How to view a Jira issue related with the requirement
In the Simulation window, click on a linked requirement. Select “View in JIRA”.
You will be taken to the associated issue within Jira.
Exporting Justinmind requirements to Jira issues
To view your Justinmind requirements in Jira, you will need to export the requirements back to Jira.
To export requirements follow these steps:
- Make sure the latest version of your prototype has been shared online in order to have access to your prototype from the Jira project. Learn more about sharing your prototypes here.Navigate to the Requirements module and then select the “Plug-ins’ main menu option. Select “JIRA” and then “Export Requirements”.
- A dialog will appear letting you know that the requirements are being exported to Jira. Click “OK”.
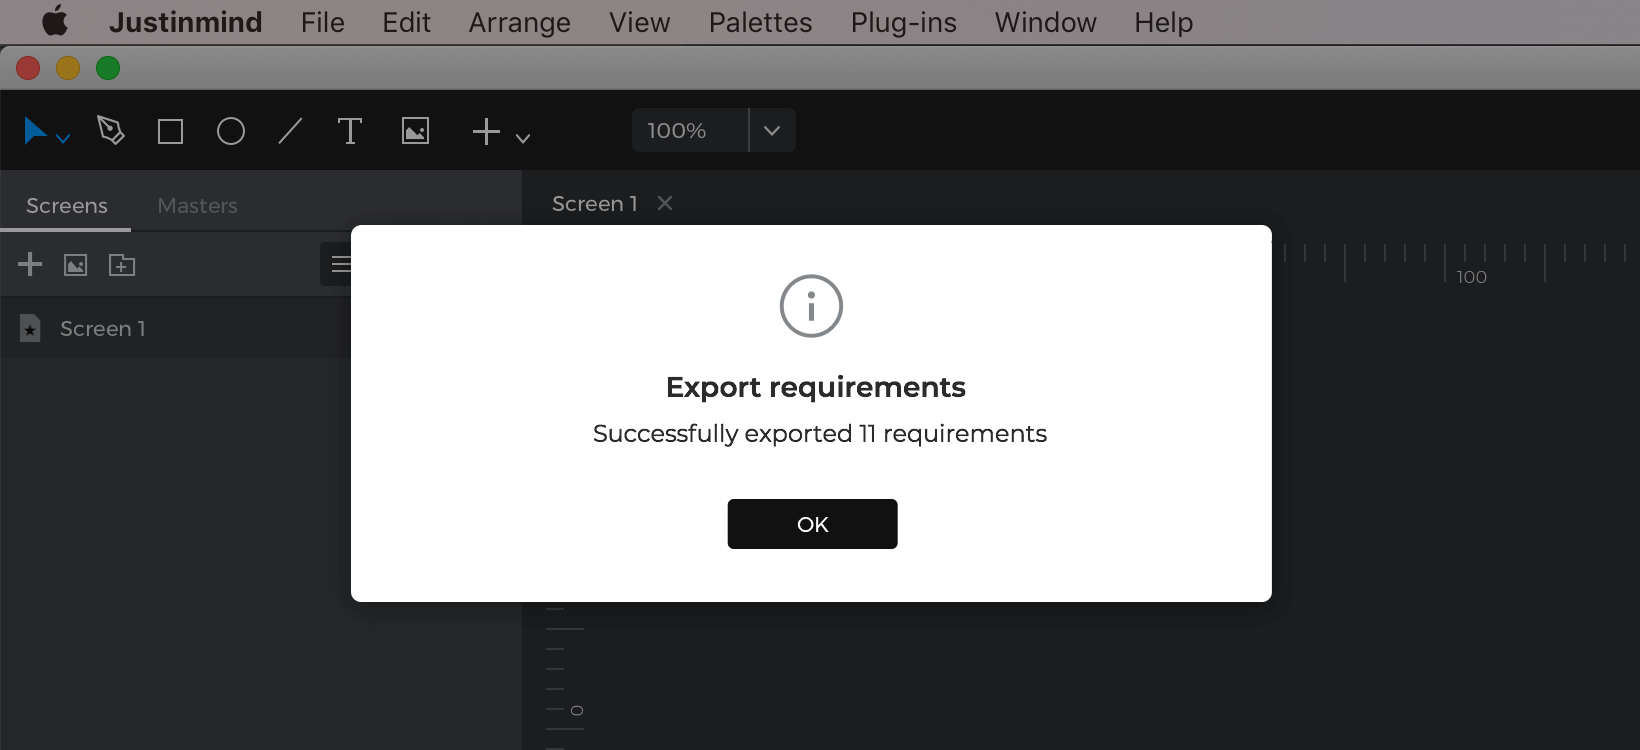
- This action will sync your Justinmind requirements with the associated Jira issue in Jira. You will see all your exported Justinmind requirements in your Jira project.
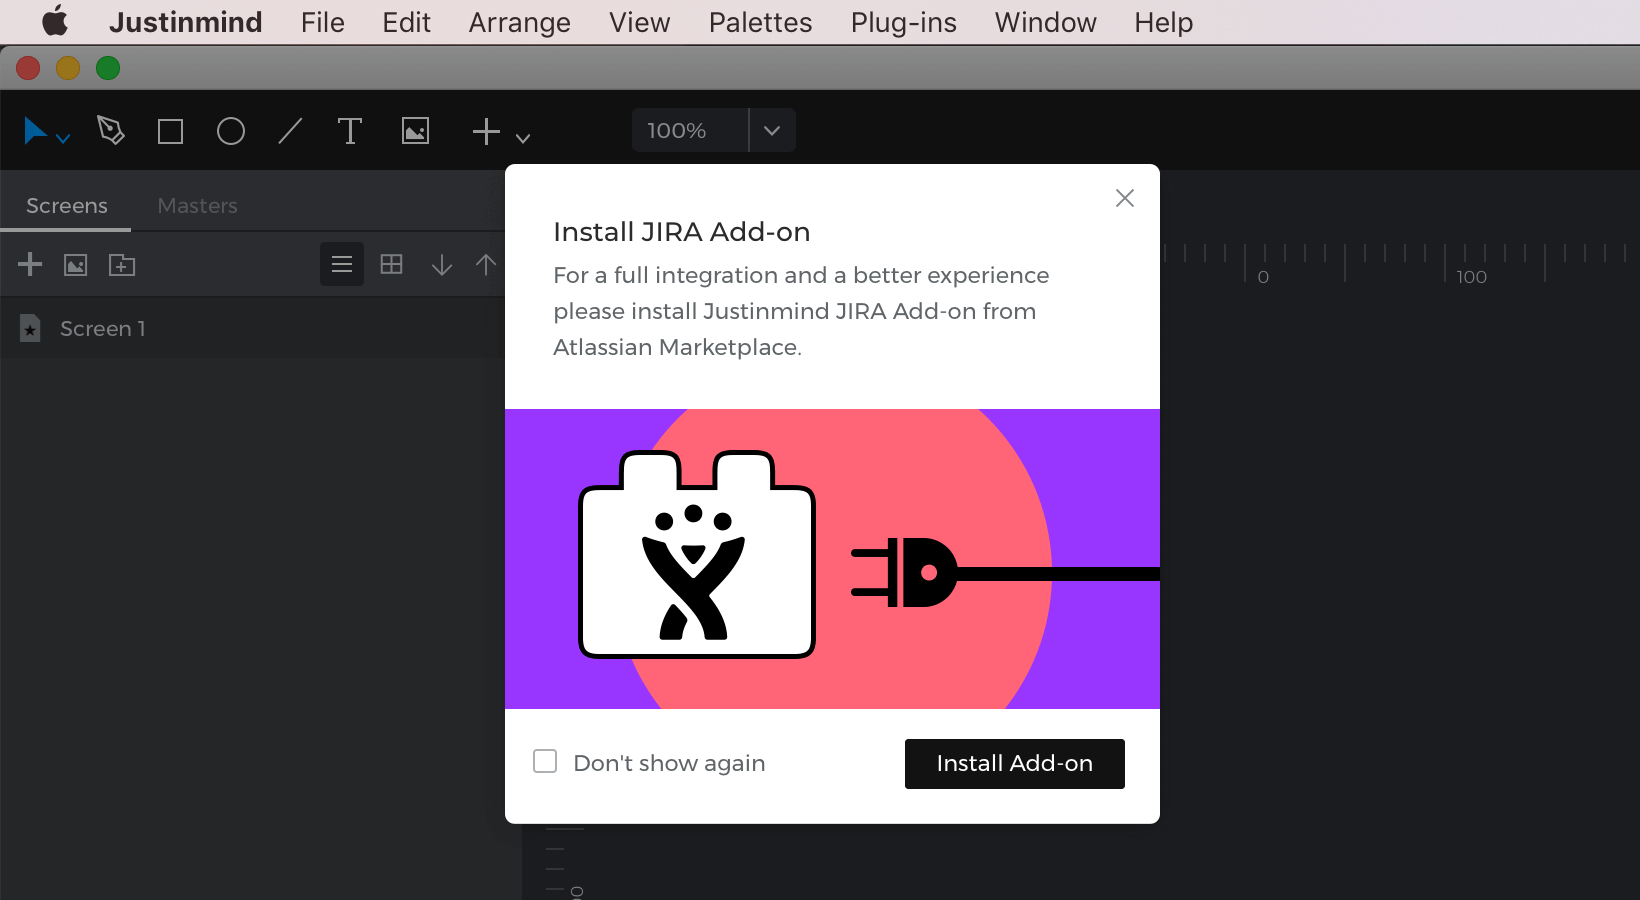
Note: if you haven’t yet installed the Justinmind for Jira add-on, the following dialog will appear the first time you export your requirements:
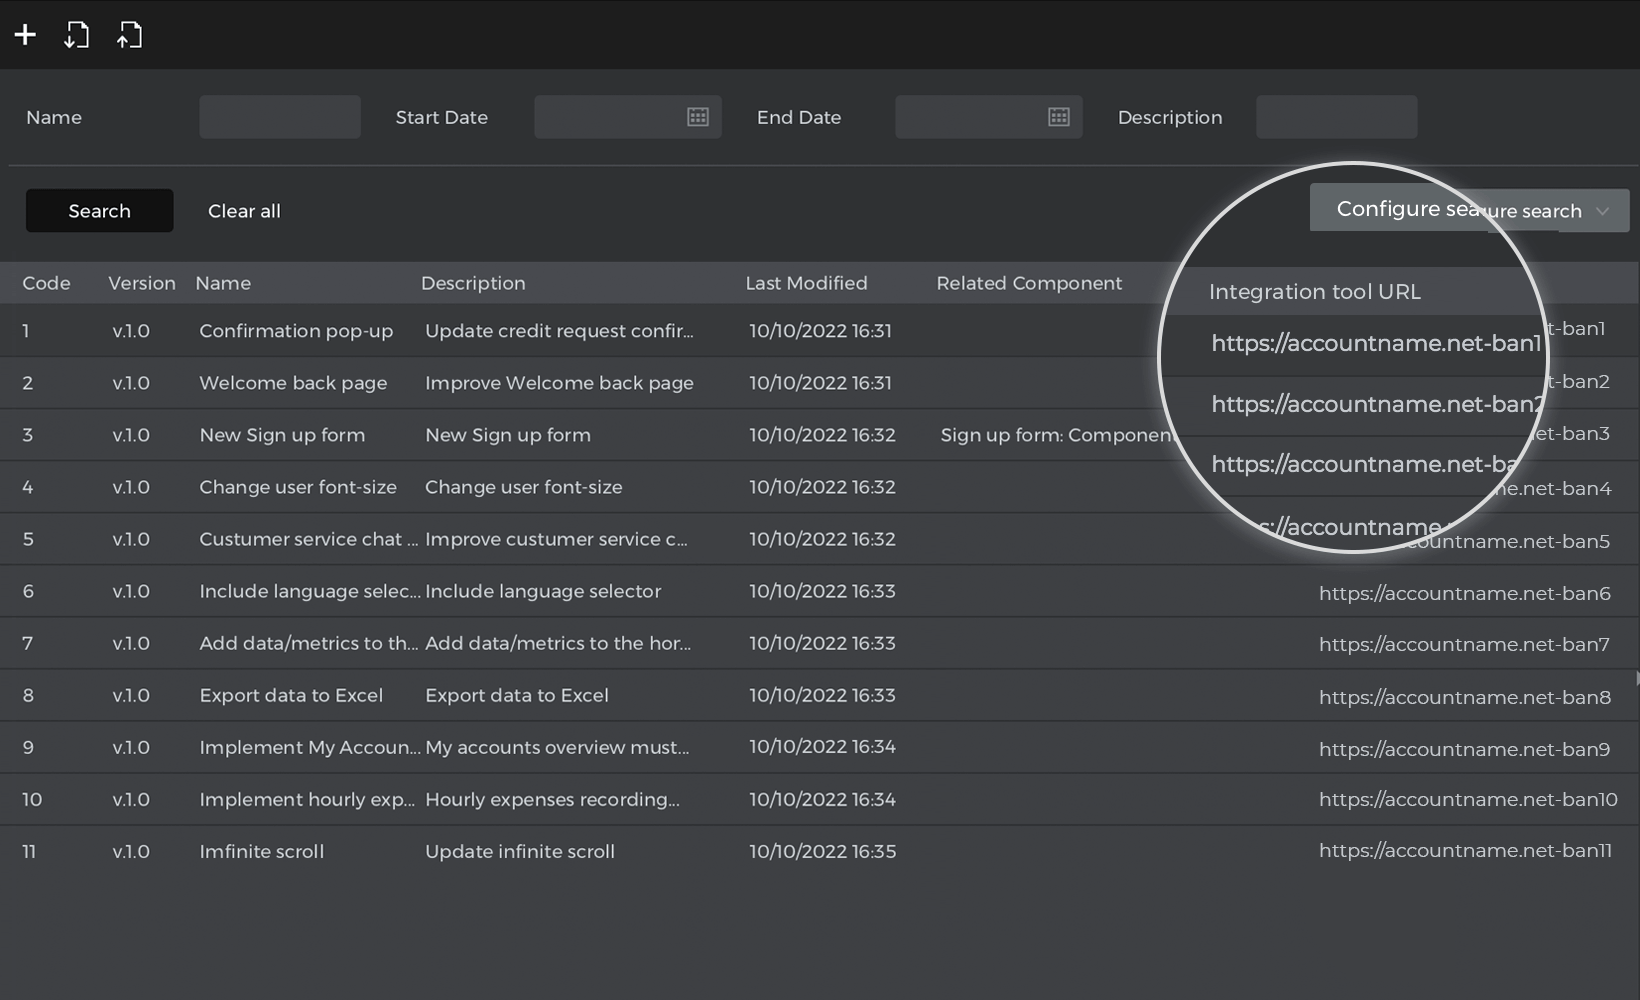
- To access the Jira issue associated with your prototype, simply click on the Integration tool URL (from the “Source” field) of the requirement to be taken to the corresponding Jira issue:


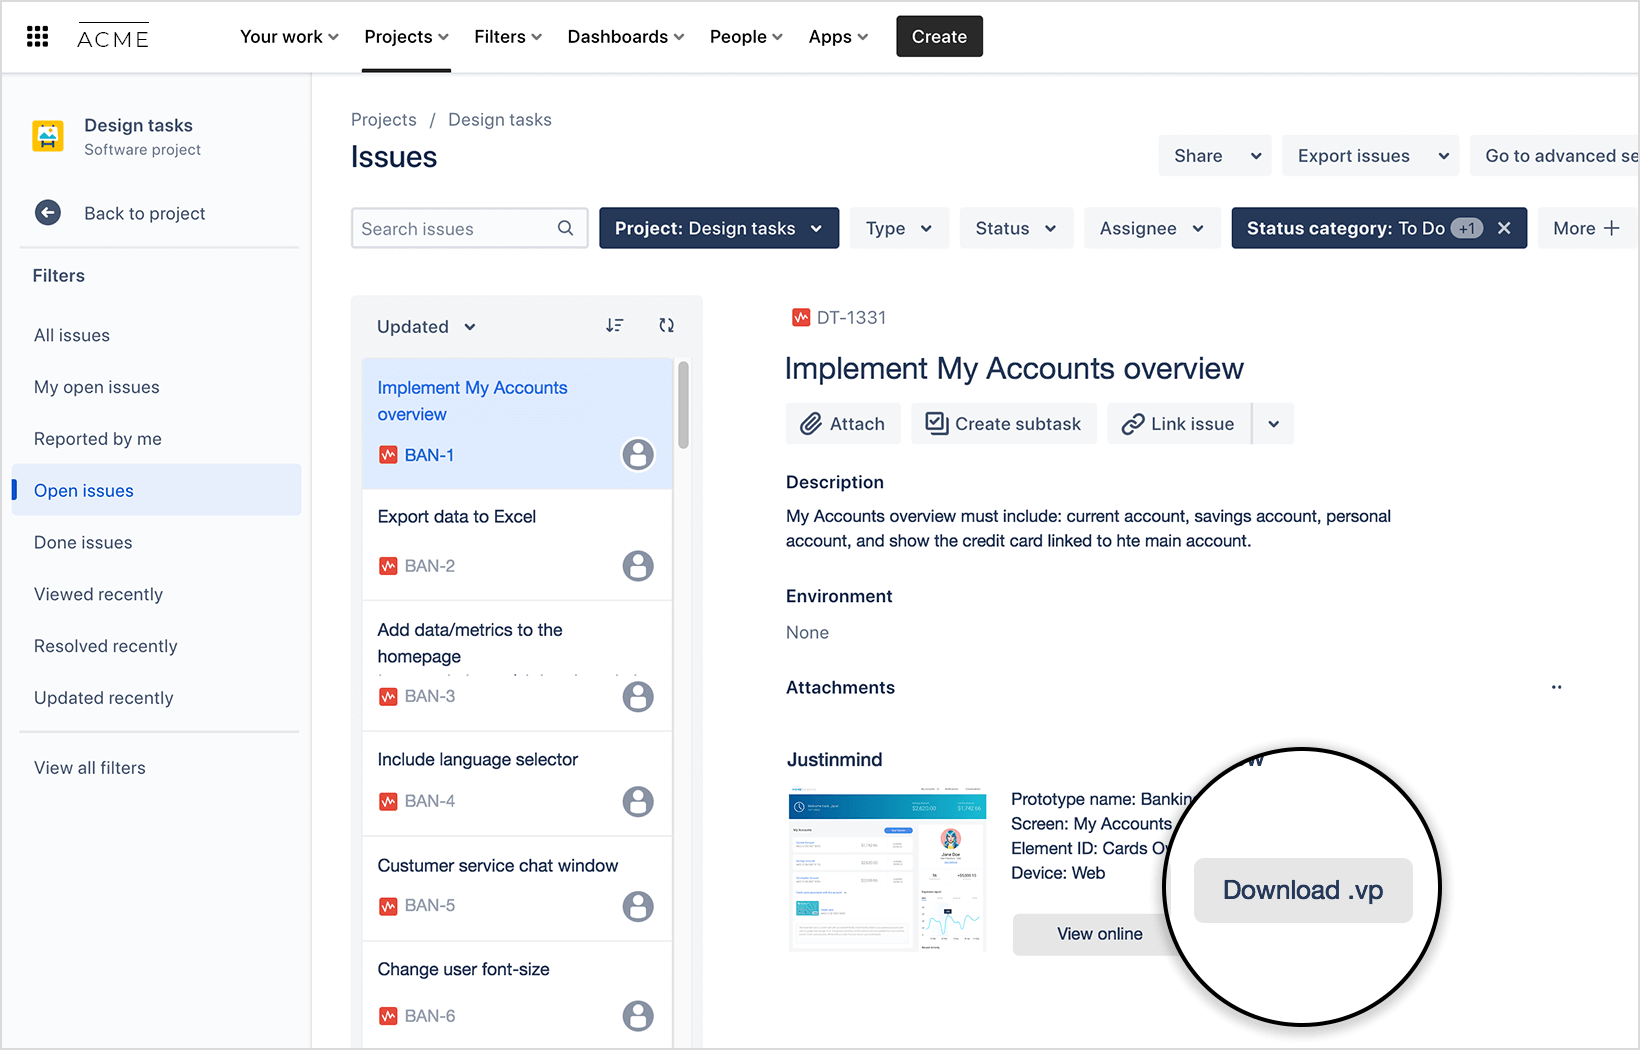
Accessing the prototype from a Jira issue
- Once in Jira, you will find a section below “Attachments” labelled “Justinmind”.
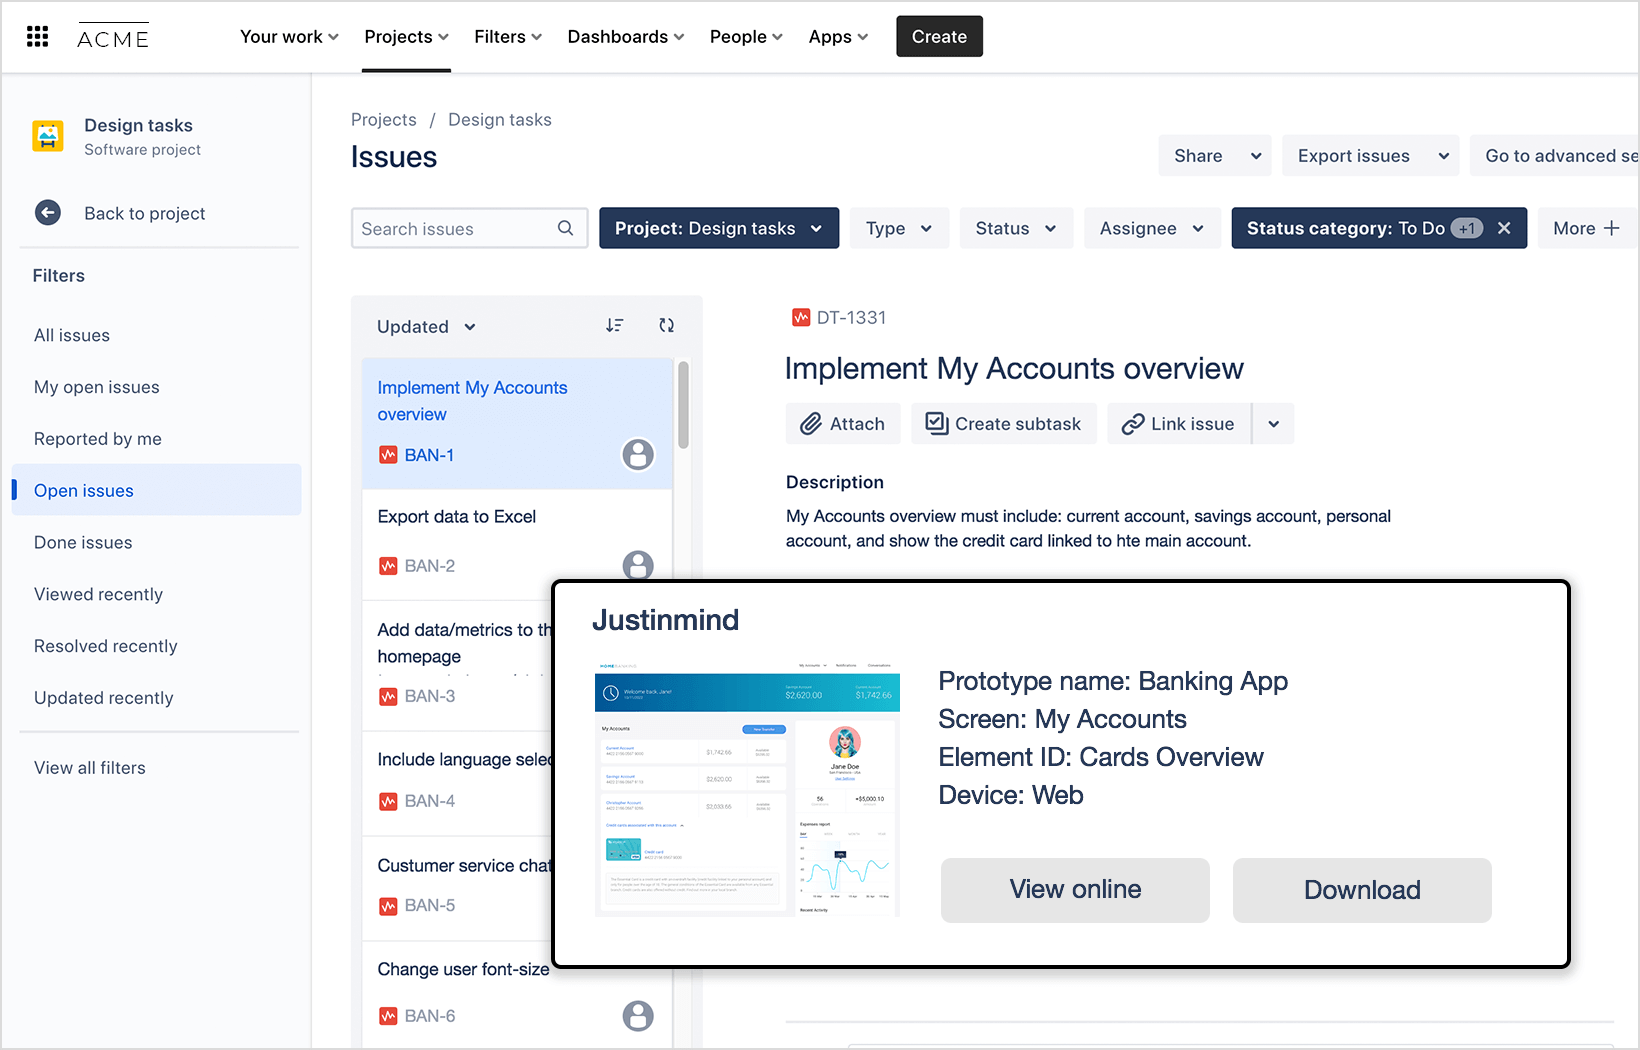
- To view a prototype associated with a Jira issue, select the “View Online” button.
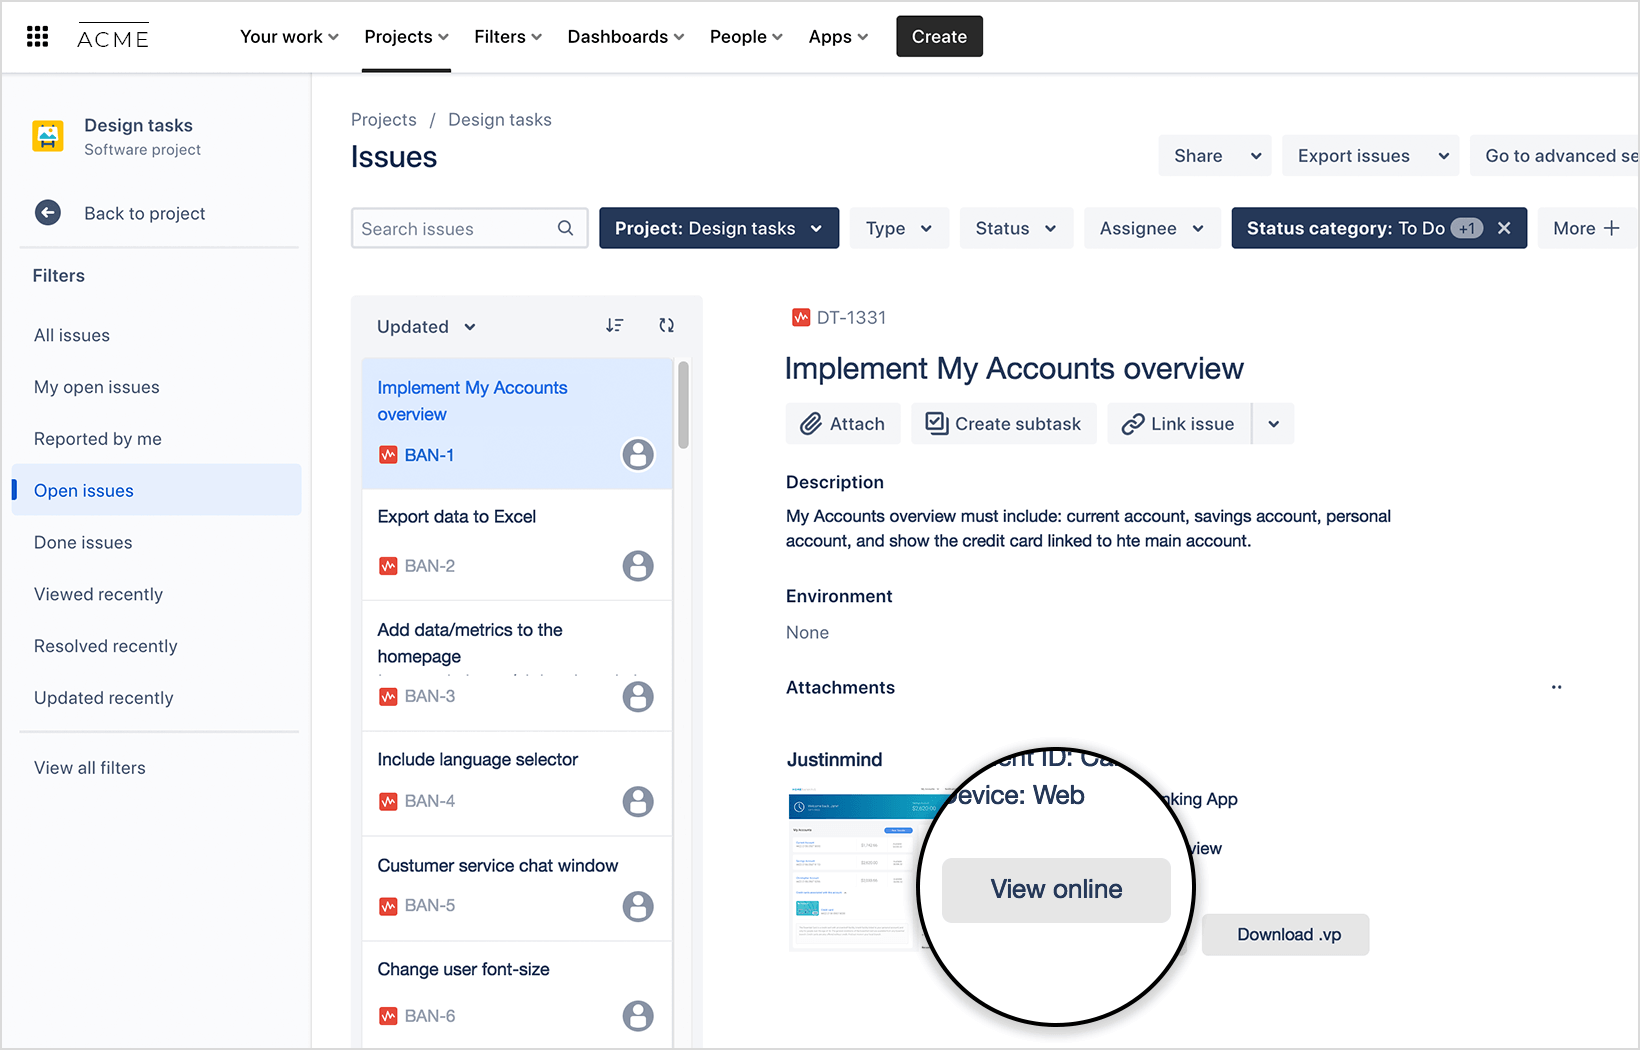

- You can open the prototype in Justinmind’s editor by clicking “Download”. You will download the prototype .vp file which you can then open in Justinmind.