How to prototype a multi-form submit
This article teaches you how to prototype a multi form submit.
Here’s how you build it:
View
- Place a “Text” on the canvas and write “Input”.
- Select “Input text field” from the “Interactive input fields” section and place it next to the text.
- In the same line, place a “Text” again and write “Output”; next, place an “Input text field”.
- To finish your view, add a “Button” in the middle.
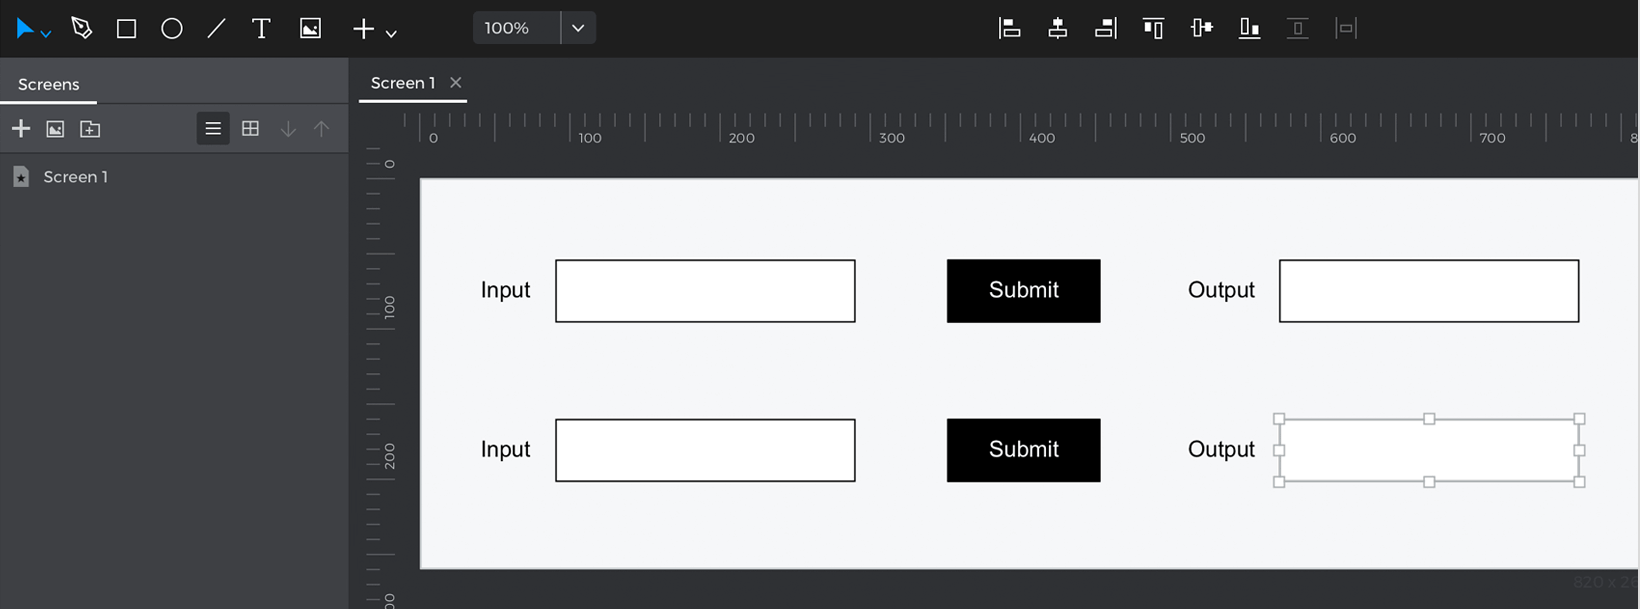
- Repeat the actions to create more than one form.

Events
With the “Button” selected, go to the Events palette and click “Add event”.
- In the dialog box, click “Choose Trigger”, hover over the “Mouse” section, and select “on Click”.
- In “Choose Action”, select “Set value to an element” and click the second input text field (next to the “Output” text).
- Select the “Calculated” radio button for the value and click “Add expression”.
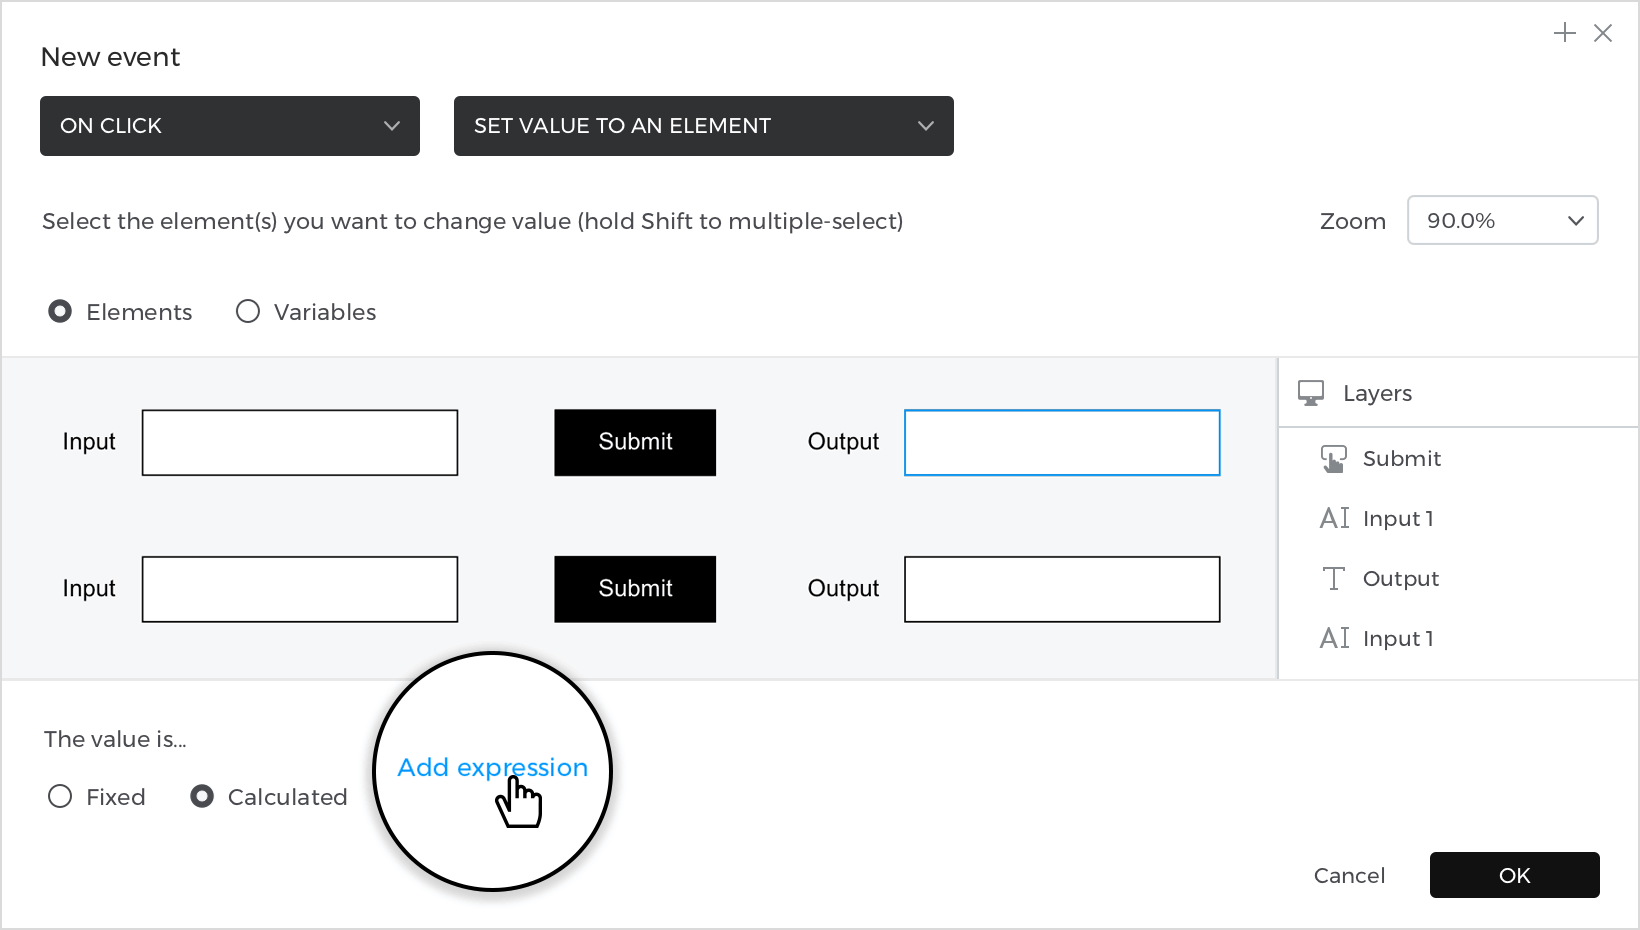

- In the value expression builder, drag the first input as the value.

Click “Ok” and “Ok” to finish creating the event.
Last, in the Events palette, click the “+” button next to the event you just created to add a new event.
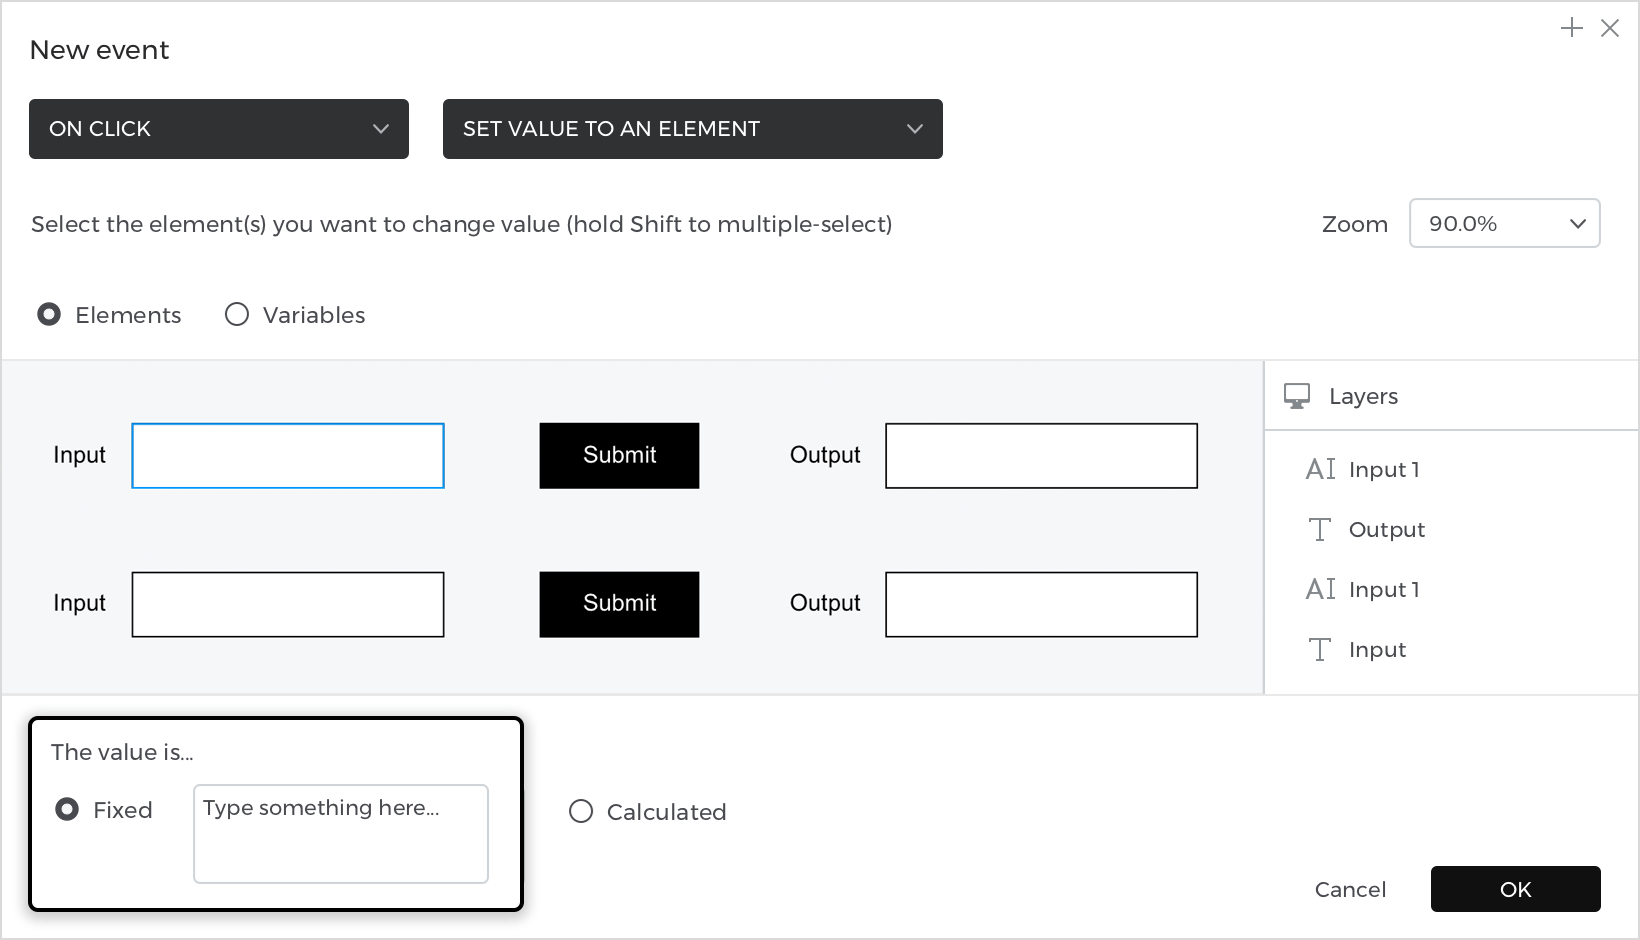
- In the dialog box, click “Choose Trigger”, hover over the “Mouse” section, and select “on Click.”
- In “Choose Action”, select “Set value to an element” and click on the first “Input text field”, leaving the value fixed in the blank (this will clear the input field after you submit). Click “Ok” to finish creating the event.

For the second line of the form, copy the events from the first button to the second and change the target for each action.
Simulate your prototype.