How to sort a data list
In this example, you will learn how to sort the data in a list.
How to build it:
View
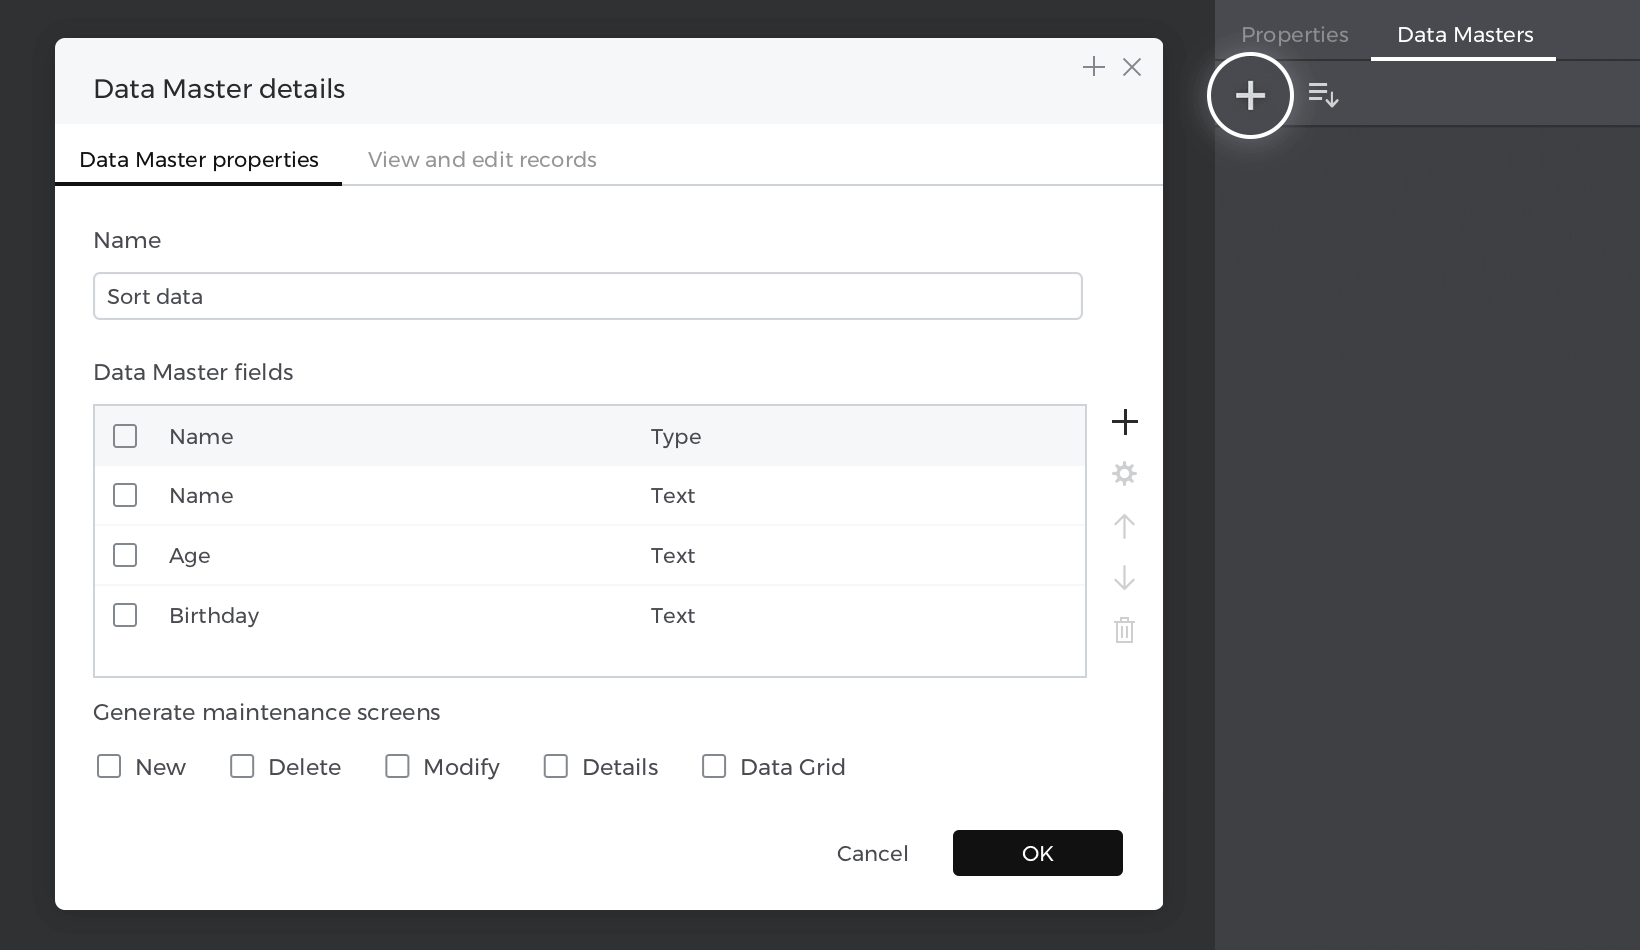
- Go to the Data masters palette and create a new “Data master”, name it “Sort data,” and make three attributes: “Name”, “Age” and “Birthday” (change the type of the attribute “Birthday” from text to date) and press “Ok”.
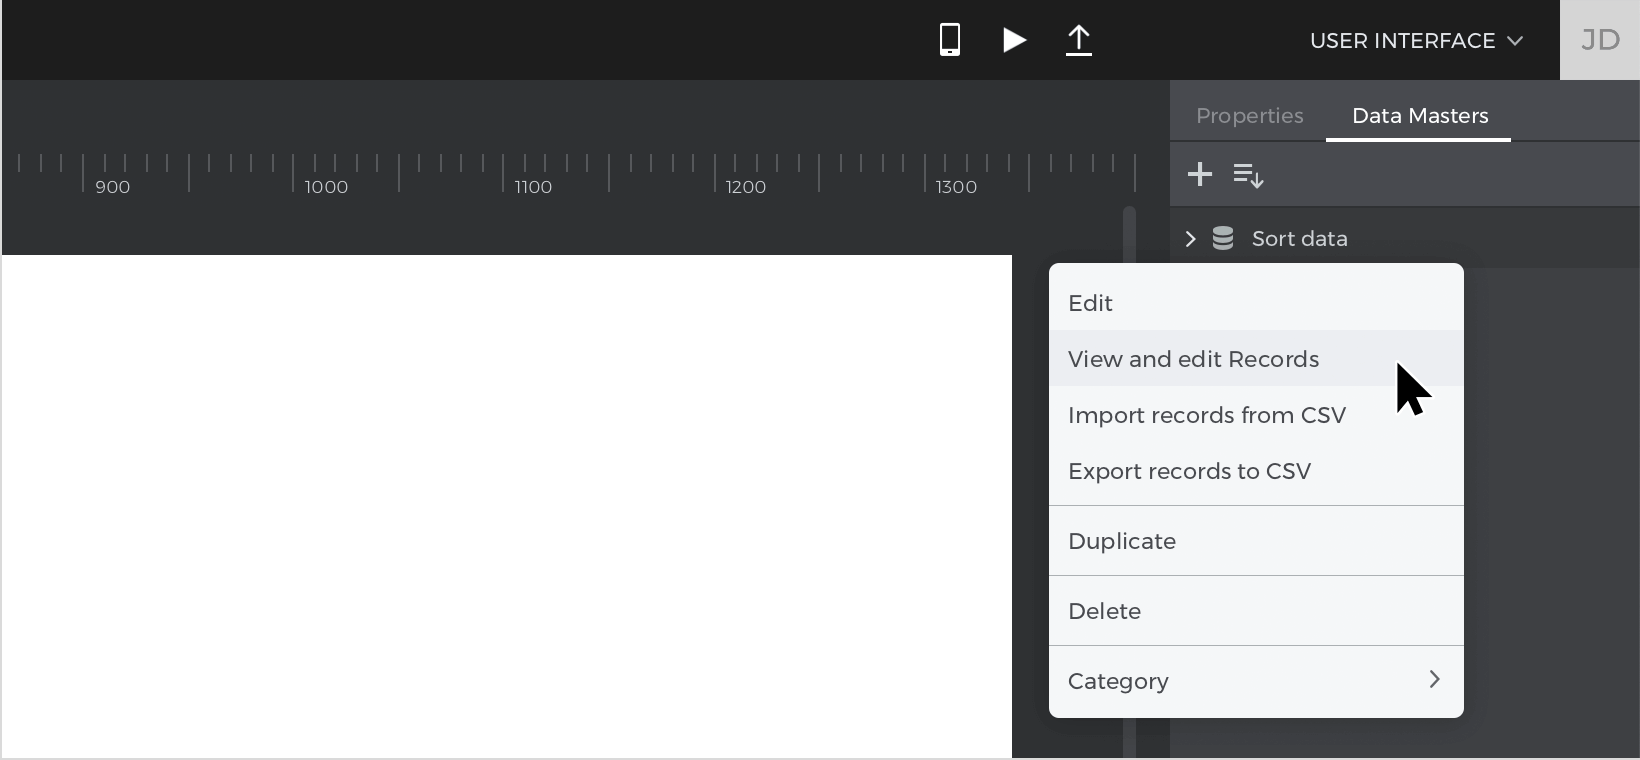
- Right-click on the “Data master” you’ve just created and select “View and edit records”, write your example data, and press “Ok”.

- Select “Data list” from the “Dynamic content” section and place it on the canvas. When the “New Data List” window is enabled, give your list a name, next choose the “Data master” you have created before and select all the attributes.


Select two arrows from the widget library, hold command (Mac) / control (Windows), and place them inside the “Age” column’s header; you’ll see a blue tint when dragging an element inside.
Repeat the action for all the columns.
Events
Select the descendant arrow on one of the headers, go to the Events palette and click “Add event”.
- In the dialog box, click on “Choose Trigger”, hover over the “Mouse” section, and select “on Click”.
- In “Choose Action”, select “Set value to an element” and select your “Data list”.
- Select the “Calculated” radio button for the value and click “Add expression”.
- In the value expression builder first field, select the function “Sort” and set the value to the descendant; for the second field, select the “Data list”; and last, select the field you will sort from the “Data master” tab. Click “Ok” and “Ok” to finish creating the event.
Selecting the ascendant arrow from the same header, repeat the events changing the sort type from descendant to ascendant.

Do the same for all the headers.
Simulate your prototype.