Create your first project
Welcome to Justinmind, the most powerful prototyping and design tool. In this guide, you’ll learn some Justinmind basics, including how to create and design screens, add interactions, and collaborate with clients.
Sign in to Justinmind, and you’ll find the Home screen. Click “new project”; the device to start your project with: website, mobile, tablet or other. Click on cloud or local to decide where to save your project and on the device dropdown to set the dimensions.

Finally click “OK” to create your project.
Explore Justinmind User Interface
Justinmind’s User Interface is split into different Palettes, which you’ll use to create and customize your wireframes:

- Toolbar – select Shapes, Images, and Text elements from the Toolbar and place them on the Canvas to design your project. Click the ‘+’ button in the Toolbar to see other elements to choose, like Dropdowns, Hotspots, and Input Text Fields. Many of these elements and widgets have keyboard shortcuts.
- Screens – view and add new screens in the Screens palette. Screens are similar to Artboards or Frames in other applications. Each screen contains its own Canvas and an entire project can contain many different screens, which you can link together using events.Click the ‘+’ button in this palette to add a new screen.
- Canvas – place elements onto the Canvas to build your designs and wireframes.
- Alignment – align and distribute elements on the Canvas.
- Properties – view and edit an element’s styling, position, and visibility during simulation in the Properties palette. Different elements have their own distinct properties you can customize.
- Events – create interactions and turn wireframes into high-fi projects in the Events palette. Learn more about events.
- Layers – view and reorder elements’ hierarchical positioning on the Canvas. Drag an element to reorder it above or below other elements. Hover over an element or group to see options to hide or show it while editing.
- Libraries – find extra pre-styled elements in the Libraries palette. You’ll see different libraries appear here initially depending on which device you’re prototyping with. For example, if you’re prototyping for an Android phone, you’ll find Android components displayed here by default.Click the ‘More libraries’ text link to find other UI libraries to use in your project. Tap the ‘+’ button in this palette to create your own custom library. Learn more about UI libraries.
Design the first screen of your project
Drag elements onto the Canvas
Select elements from the Toolbar and the Libraries palette and place them onto the Canvas to design your project. You can also use keyboard shortcuts to quickly add elements to the screen.
Draw vector shapes using the Pen Tool
The Pen Tool is located next to the Selection Tool. You can use this tool to draw any kind of combination of straight lines and curves and works like the Pen Tool in many other design applications. To draw a shape, just click on this tool and then in the canvas, the pen tool will activate and create the first anchor point. If you want to draw a straight line, just click somewhere else in the canvas. To draw a curve click in the canvas and drag while clicking. You can close a shape by clicking on the first anchor point or leave the path open by pressing ‘ESC’. You can find additional options for paths and anchor points in the Properties palette.

Add Images
Click on the Image element in the Toolbar or hit I to add an image to your project. Choose an image in the file browser or drag an image from your desktop to place it on the Canvas.

Add interactive Inputs
Justinmind’s pre-made Input widgets are automatically interactive. You can type into Input Text Fields, select values from Dropdowns, tick Check Boxes, and much more without adding any events.
Place any widget from the ‘Interactive Input Fields’ section of the Toolbar on the Canvas and simulate your project to check it out.
Add another Screen
Head over to the Screens palette, where you can find a list of all the screens in your project. Click the ‘+’ button to add a new screen.

Double click on a screen in this palette to rename it.
Click on a screen in the Layers palette or double click on the Canvas to find options to change the Canvas size, device type, and screen background color.

Add links and clickable elements
Navigate to other screens while previewing your project by adding interactive links. You can create links in three different ways:
- Drag and drop: Select an element on the Canvas you’d like to link to another screen. Then, drag it to the Screens palette and to a screen you’d like to link to. This will create an On Click + Navigate To event automatically.
- Right-click: Select an element you’d like to link to another screen, right-click on it, and select Navigate To in the pop-up. You can then choose a screen to link to and whether or not to include a transition effect with the link.
- The Events palette: Select an element you’d like to link to another screen, go to the Events palette, and click ‘Add Event’. In the Events dialog, click on the ‘Choose Trigger’ dropdown, hover over the Mouse section, and choose an On Click trigger.You’ll see the ‘Action’ dropdown next. Click on it and pick Navigate To. Finally, select a screen to link to from the list that appears below and click ‘OK’ to finish building the event.
In the Events dialog, you can also choose to link to the previously viewed screen in your project or an external URL.
Simulate your project
Check out your project’s interactivity in real-time by simulating. Click the ‘Play’ button or hit F5 to launch the simulation viewer in a browser.

You’ll find a top bar in the viewer where you can manually navigate through the project as well as change the Canvas size. Close or minimize the simulation window to return to the editor.
Share and get feedback from viewers
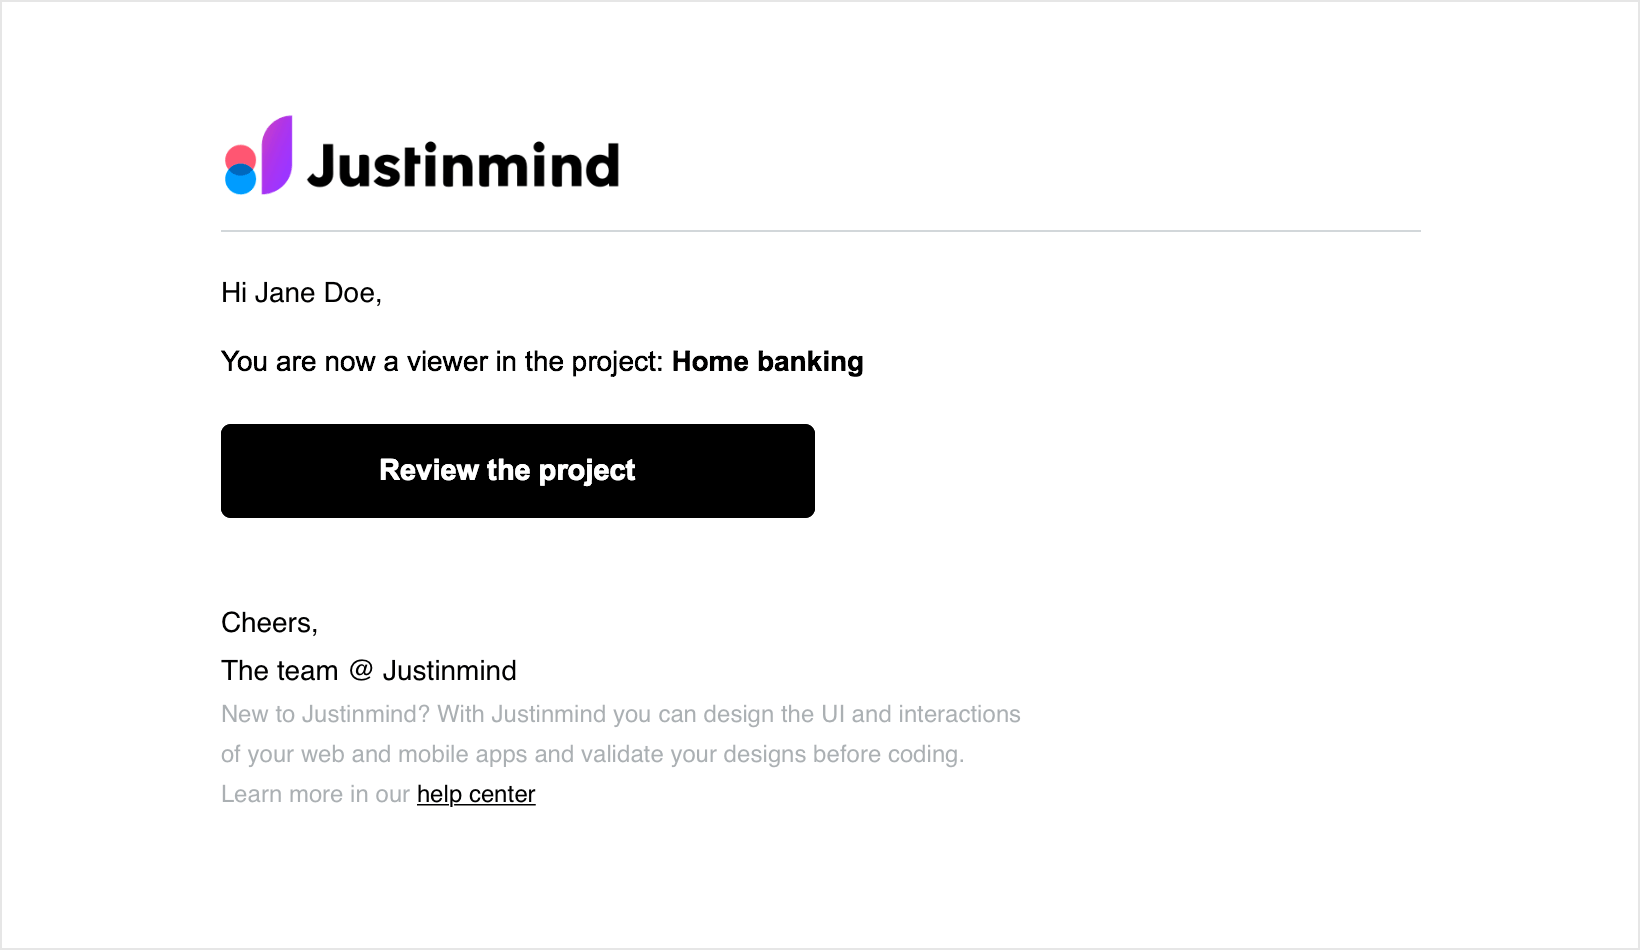
From “My project” / “Cloud” tab, you can invite users to view your project by right-clicking on the project and selecting the “Share” option.

In the “Share with editors and viewers” dialog, select “Can view” and by clicking on the entry, you can add users and groups by selecting from the list or typing the email addresses.
From this dialog, you will also be able to add new users and get a shareable link.
If you have been invited to view a project you will get a notification email to view the project.
Once the users are added, you can click on the three dots to the right to remove them.

You can also add viewers to your project when you are designing, by clicking on the “Share” icon of the toolbar.
![]()
![]()
Simulate a project on a real device
Preview the look and feel of your projects on a real device using Justinmind’s mobile app.
Project creators
- Download and install the Justinmind mobile app, which you can find in the Apple App Store or Google Play Store.
- After installing, open the mobile app and sign in with your Justinmind account details. You’ll then see a list of projects you’ve shared to your Justinmind cloud account.
- Tap on a project to view it. Projects with a red dot need to be downloaded before you can view them – just tap on them to start the download.
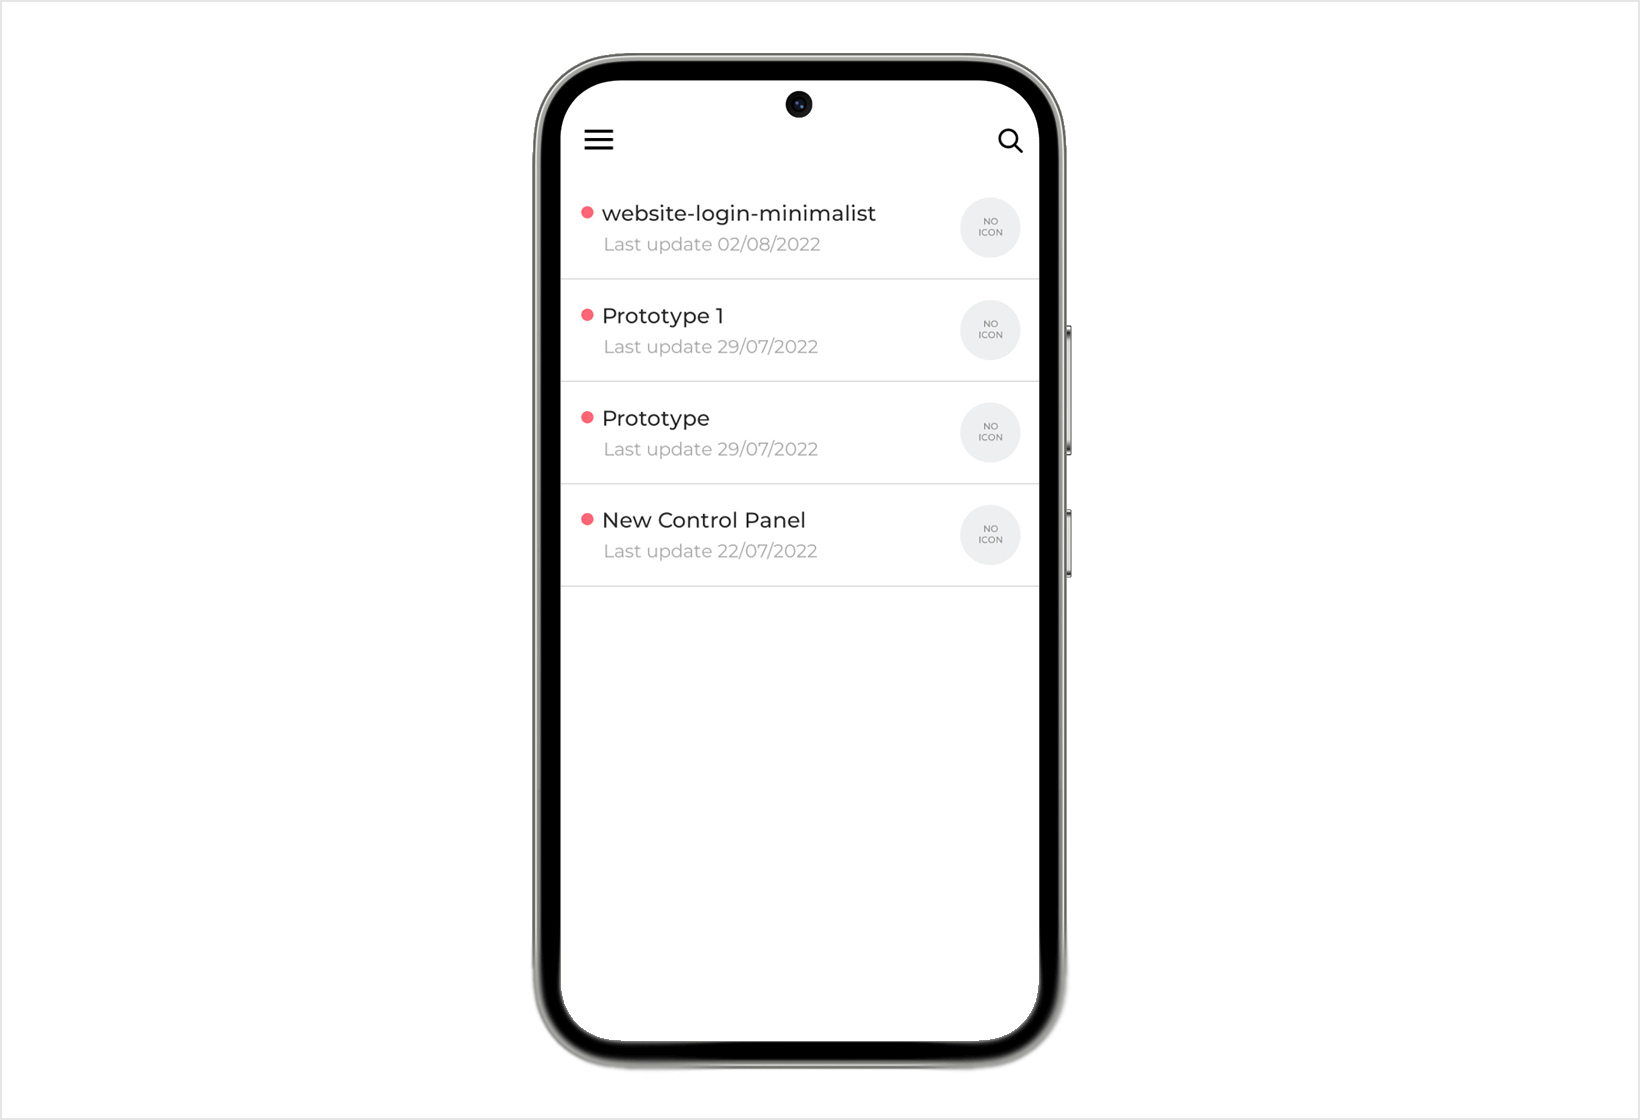


Projects on your device have all the interactivity you defined in the Justinmind editor.
Project viewers
Reviewers and clients can view and interact with your projects on their mobile devices as well. They can do so in two ways:
- The Justinmind mobile app: Reviewers can download and install the Justinmind app, and see the project they were invited to view.
- In a mobile browser: Reviewers can tap on the project link you share with them, which will load the projecte simulation in their mobile browser.