Events and interactions
Turn your wireframes into hi-fi interactive prototypes by adding events. In this article, you’ll learn how to create and use interactions with the Events palette.
How events work
An event includes a trigger and an action. The trigger is how you interact with your prototype, like clicking, dragging, or mousing over an element. The action is the result you’d like to happen after the trigger, like linking to another screen or changing how an element looks.
With events, you can:
- Make nearly every element in your prototype interactive, including buttons, images, and text.
- Trigger multiple actions on one element. For example, you can click on a rectangle and change its color, and then move that rectangle to a different position on the screen.
- Create interactions on one element that affect another element. For example, you can click on a button and then change the color of a rectangle on the screen.
Use different triggers for one element. For example, you can click on a rectangle and change its border, and you can also swipe left on that rectangle and move it.
You’re able to see the results of the events you’ve created by simulating your prototype. Look to and click the ‘Play’ button to launch a simulation browser where you can interact with your prototype. Just close or minimize the browser to return back to the editor.
Create an event
While you can easily create Links by dragging and dropping (link to getting started section), you’ll create most events in the Events palette. If you don’t see the Events palette, make sure it’s checked to be visible in the Window menu.
To build an event:
- Select an element on the Canvas.
- Click the ‘Add event’ or ‘+’ button in the Events palette. You can also right-click on an element and select ‘Add event’.
- You’ll see the Events dialog appear. Click on the ‘Choose Trigger’ dropdown and select a trigger you’d like to use. For example, if you’d like the event to start when you click on an element, choose On Click.
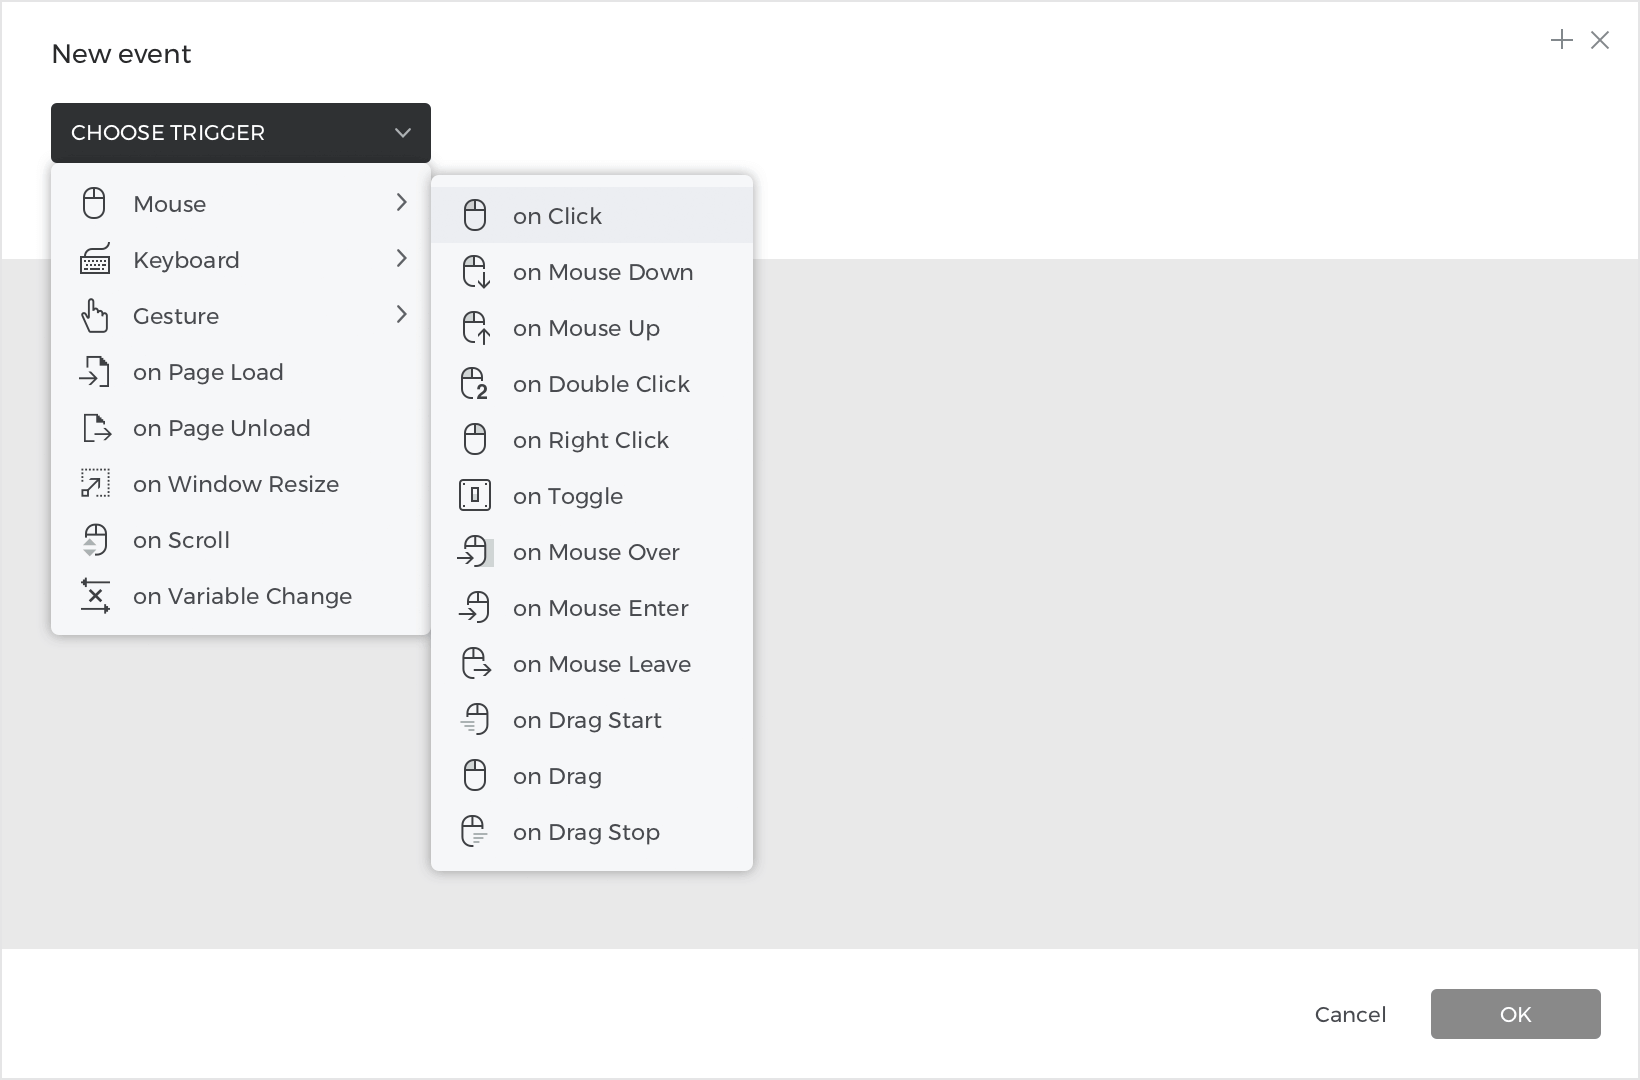
 Note: on mobile and tablet prototypes, On Click will be On Tap.
 - You’ll see the ‘Action’ dropdown appear next. Click on it and pick a resulting action. As an example, you can choose Change Style.
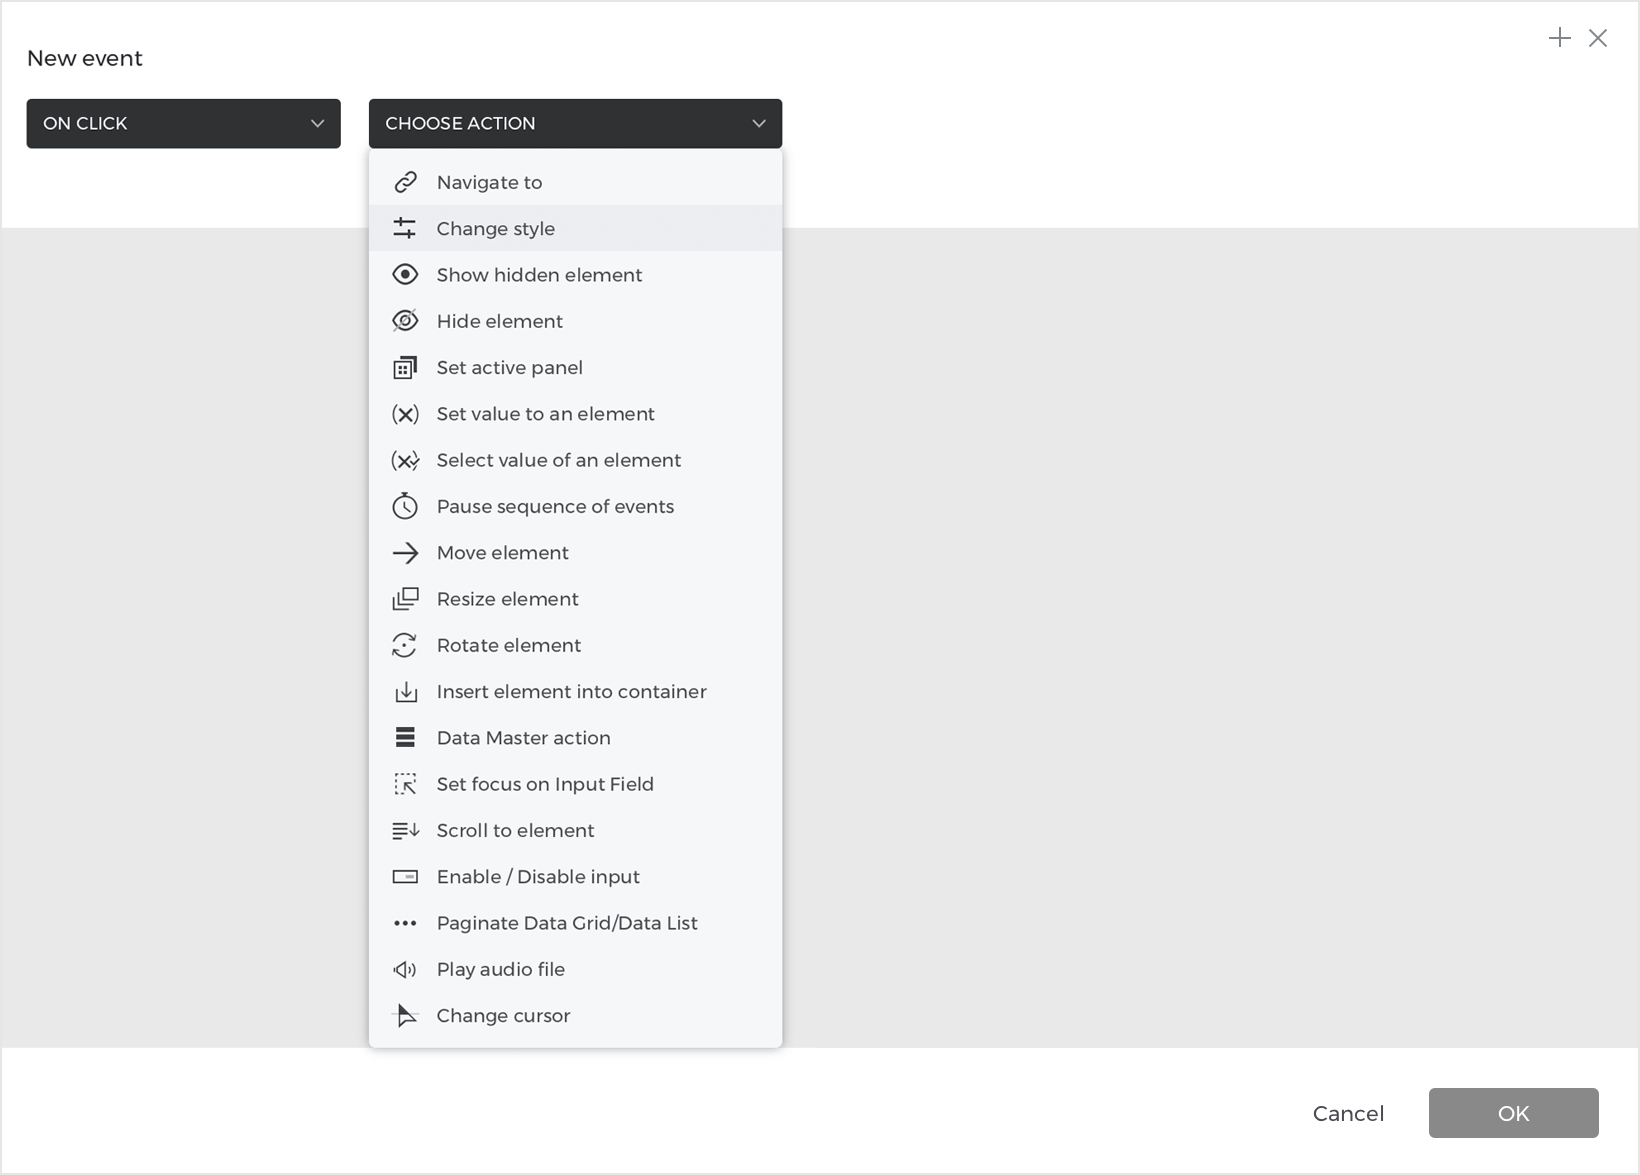

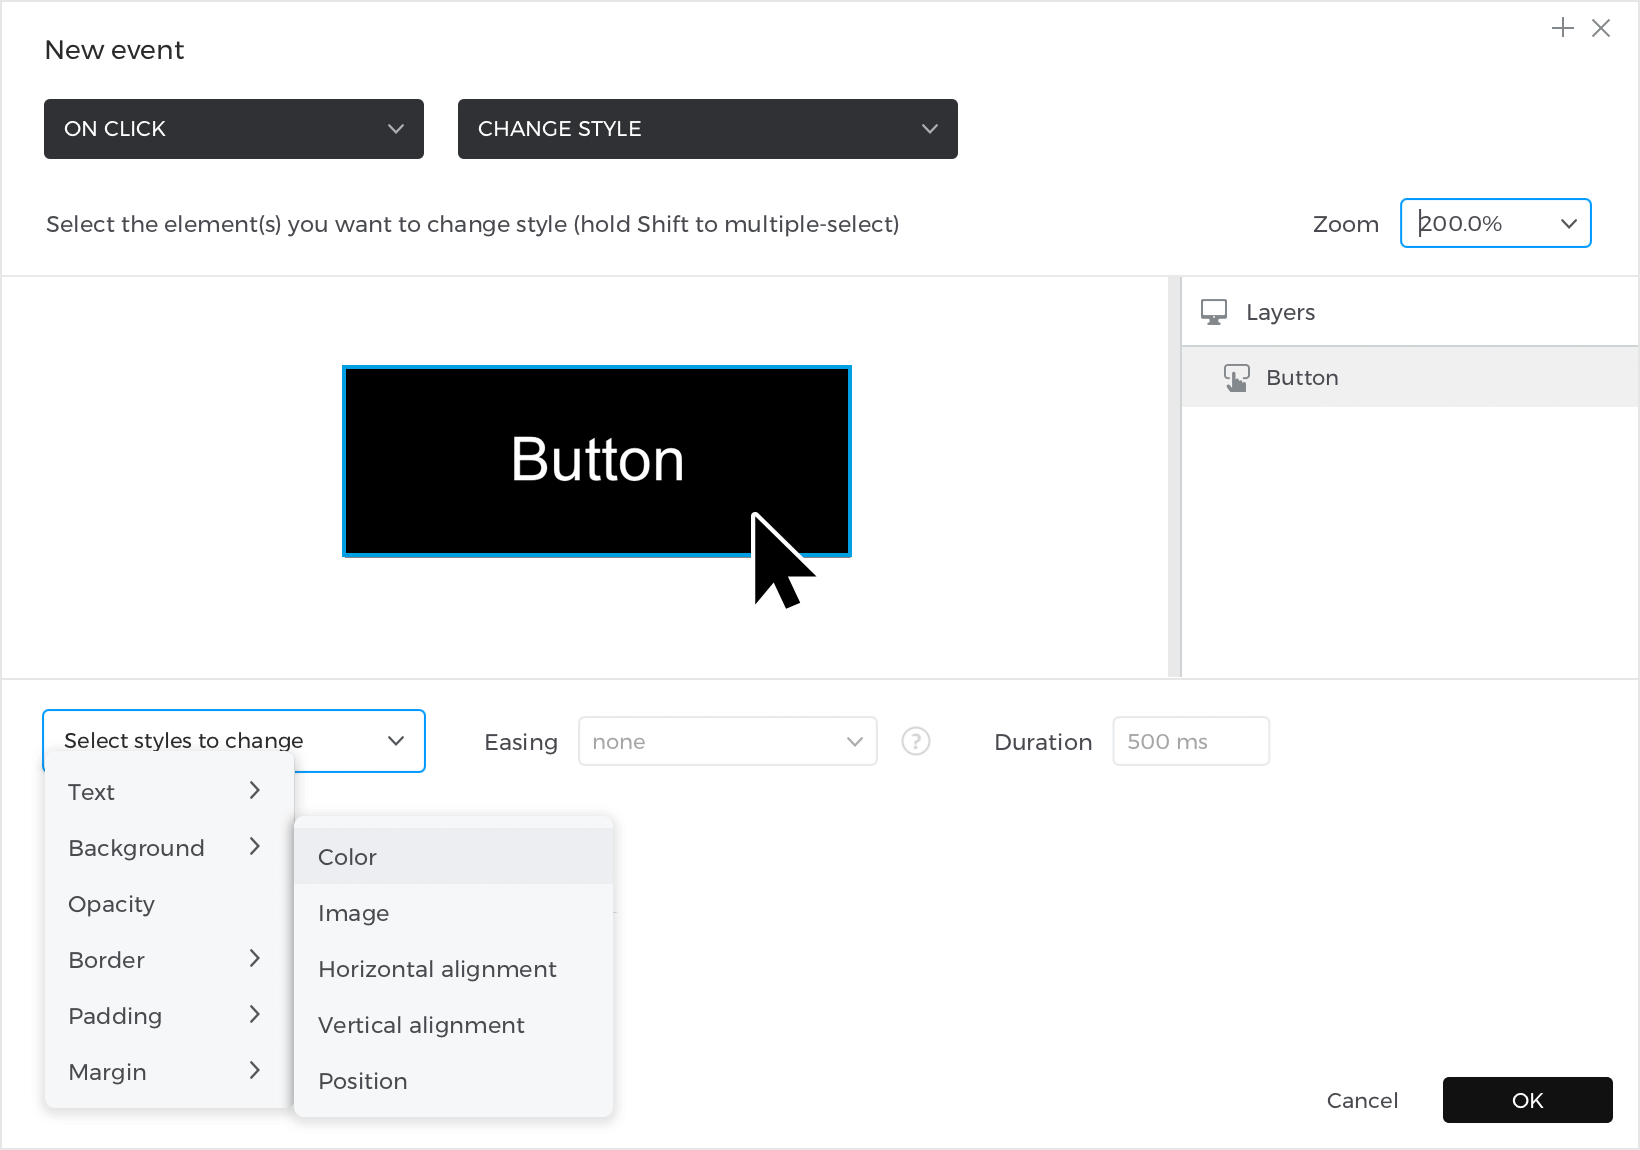
Check out a description of each action. - Depending on which action you choose, you’ll see a few different things next. For Change Style, you’ll see a preview of the screen Canvas. Here, you can pick which element on the screen will change appearance after you click.


- For a Change Style action, you can specify some element properties, like background or border colors, to change from the dropdown below. Click ‘OK’ to finish building the event.


You’ll see the event you just created in the Events palette. You’ll also see a ‘bolt’ icon next to the element you added an event to on the Canvas.![]()
![]()
Click the ‘Play’ button to simulate your prototype and check out the interaction you created.
Details of the Events palette
In addition to displaying the events you create, you can also perform a number of actions in the Events palette:
- Create a new interaction.
- The interaction name. Double click to rename it.
- Interaction conditions. Define when the actions below should or shouldn’t occur. Learn more about conditions(link to tutorial about conditions).
- View an action. Double click to open the Events dialog and edit it. Select an action and hit the delete key to remove the action. Hold Command (on Mac) or Control (on Windows) to multi-select actions.
- The action order. By default, actions will run one after another in the order in which you created them. You can also change them to run at the same time or after a duration you specify. Drag and drop an action to move its position in front of or behind other actions.
- Add another action with the same trigger.
How-tos: learn how to design common use cases step-by-step
Check out the examples below and learn how to build common UX/UI interactions with events in Justinmind.
You’ll use the Events dialog to define triggers, which are how you interact with a prototype (click, mouse over, etc.) and actions, which are what happens after the trigger (change color, move, etc.).
You can visualize all of the interactions you create by simulating your prototypes.
Swipe through screens
Use gesture triggers and transition effects to build smooth and lifelike screen navigation.
- Create a mobile or tablet prototype with two screens.

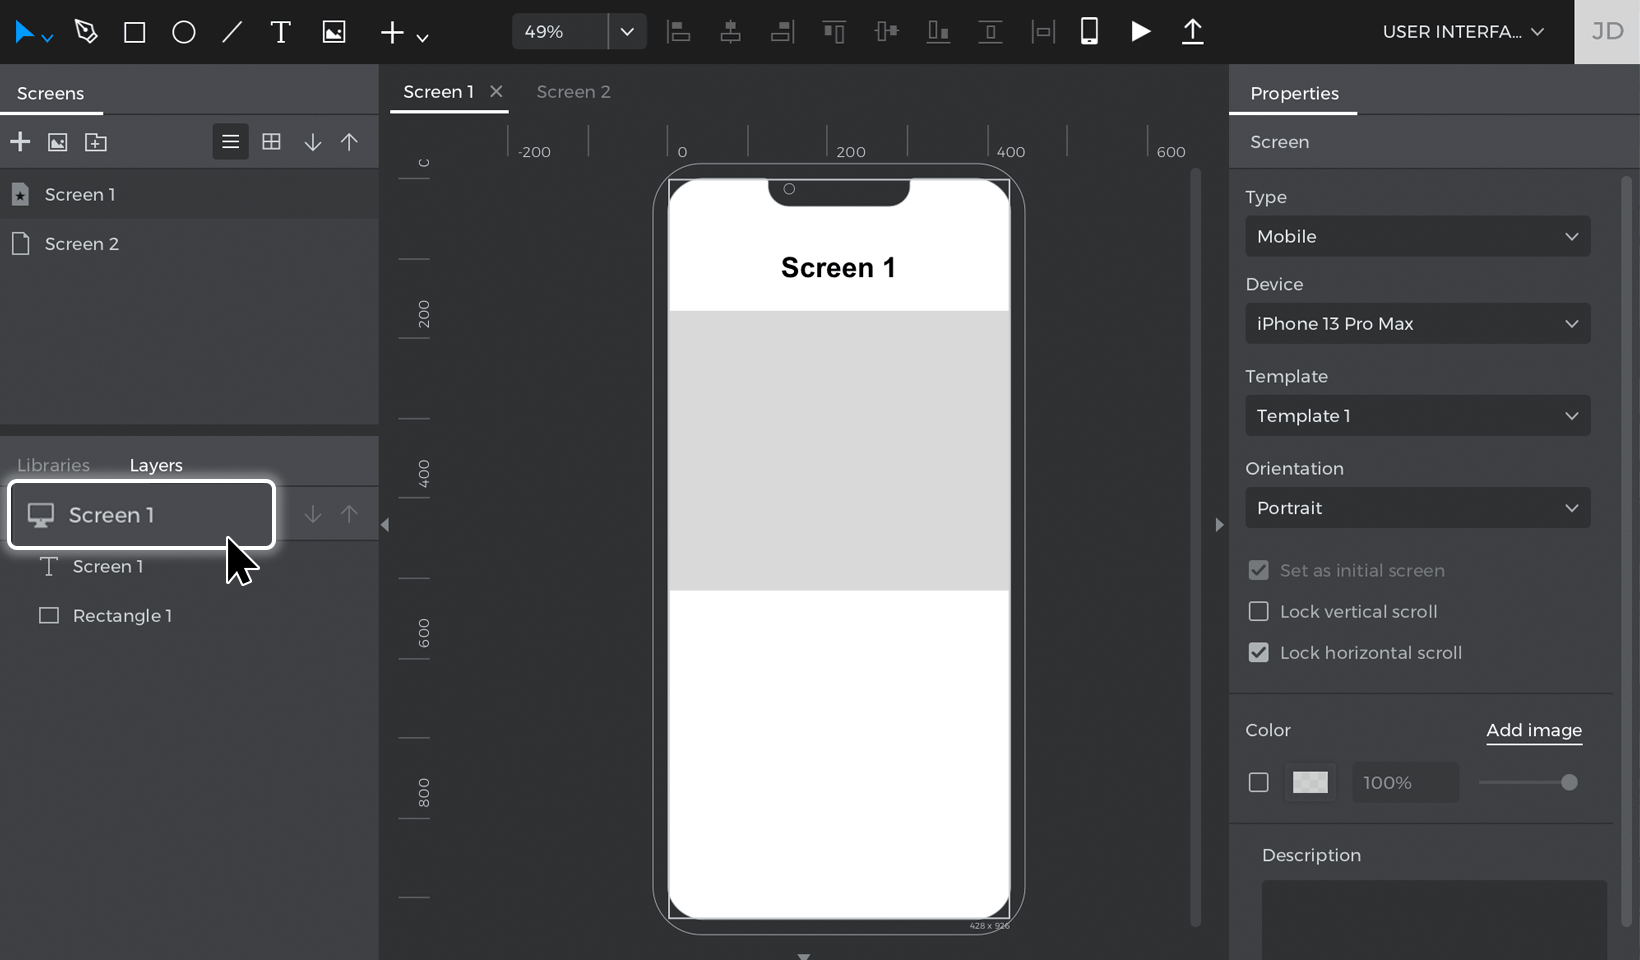
- Go to Screen 1 and double-click on the Canvas, or select the screen in the Layers palette. This will select the base screen Canvas.

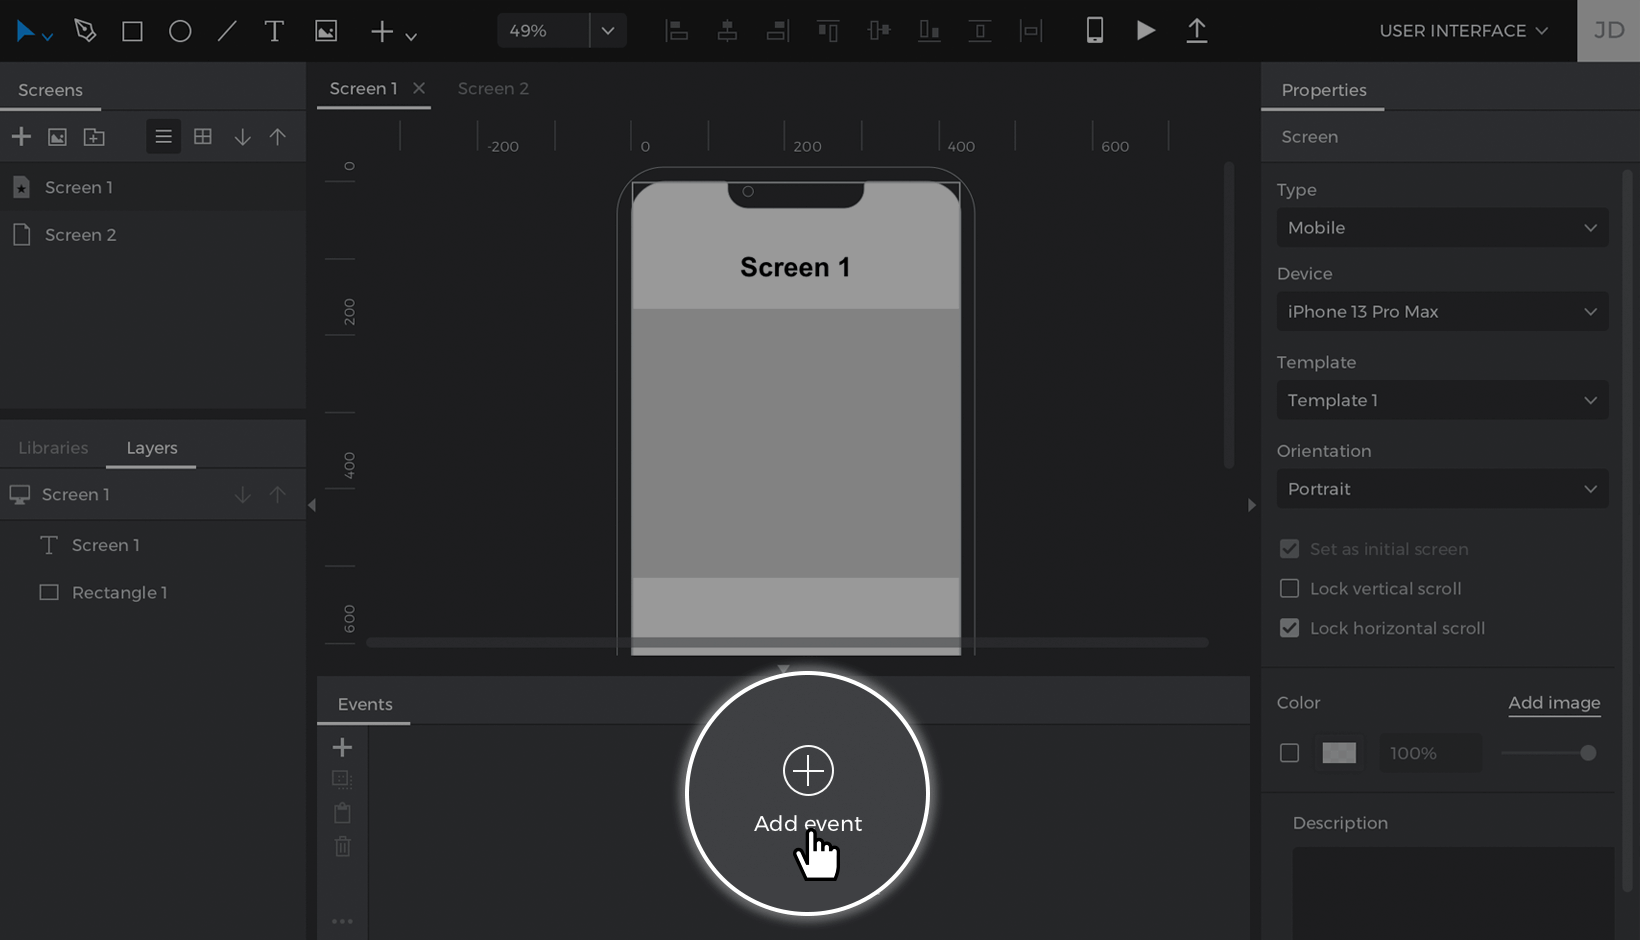
- Look to the Events palette and click ‘Add event’, which will open the Events dialog. This is where you’ll build the link between screens.

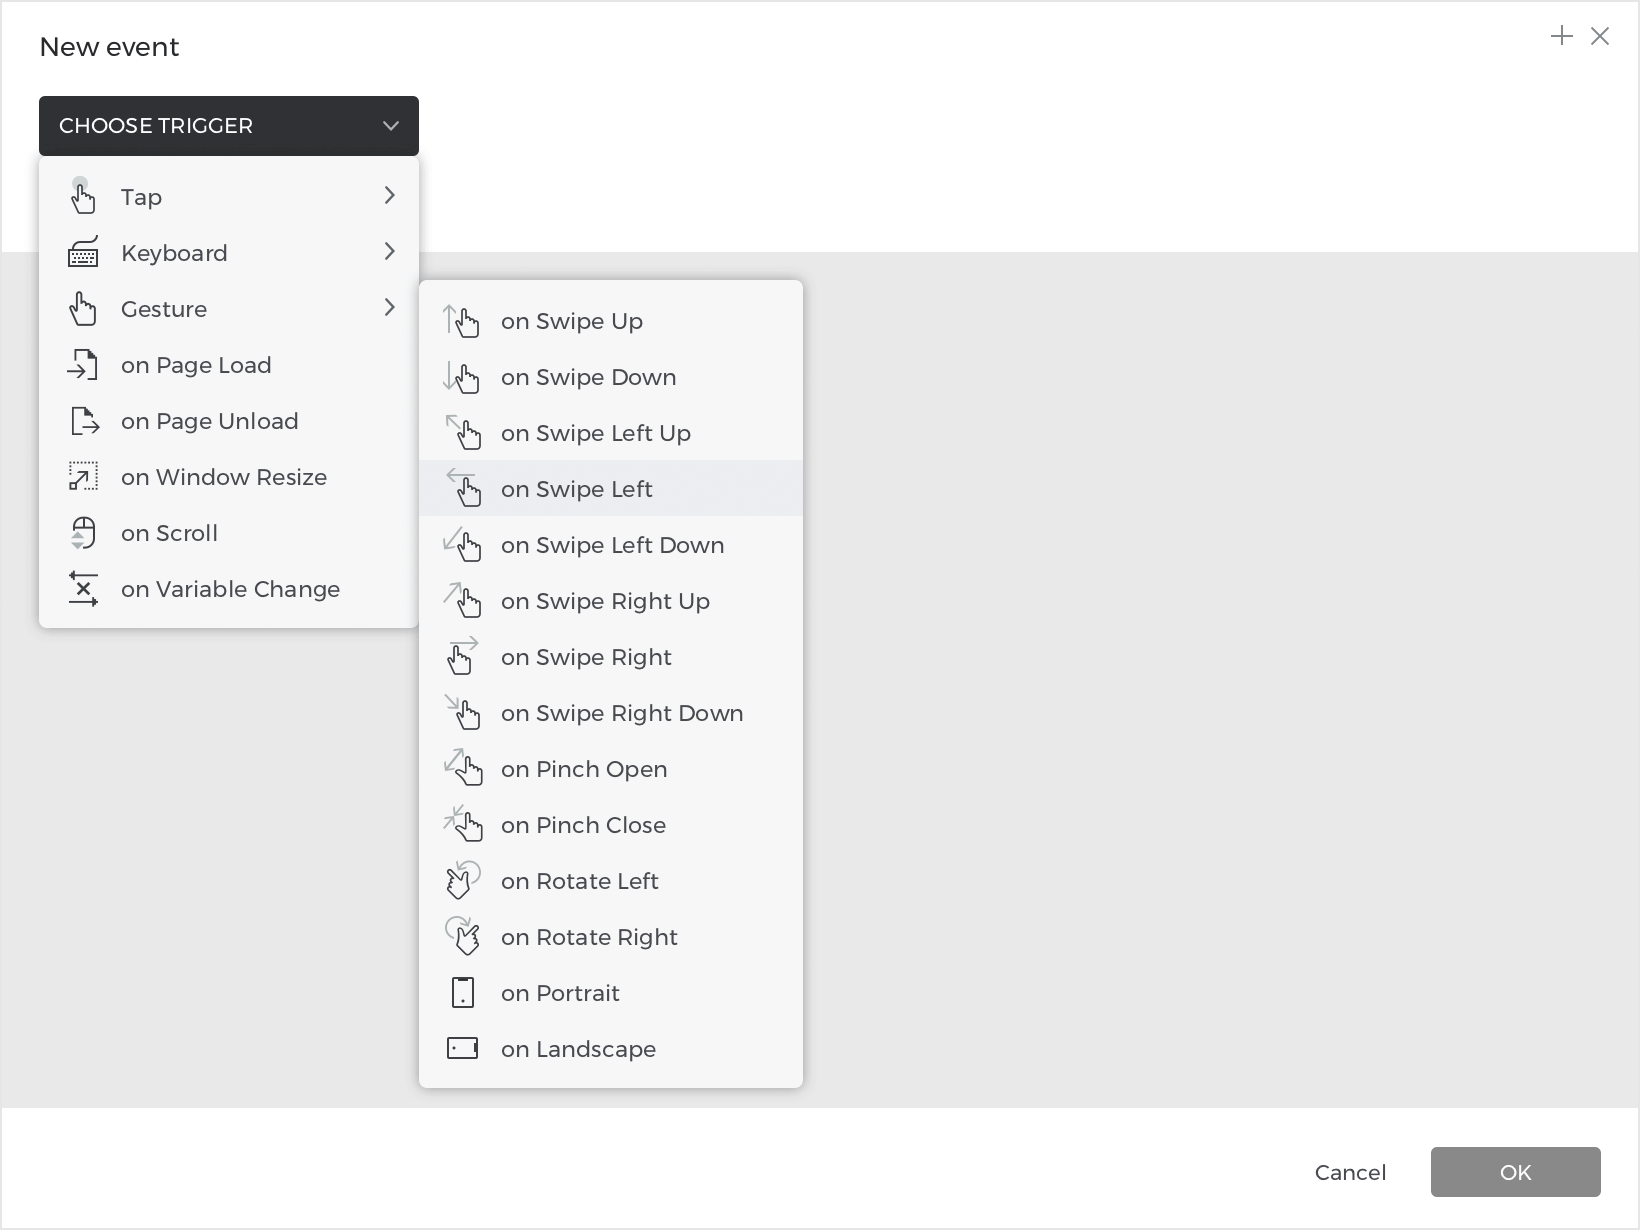
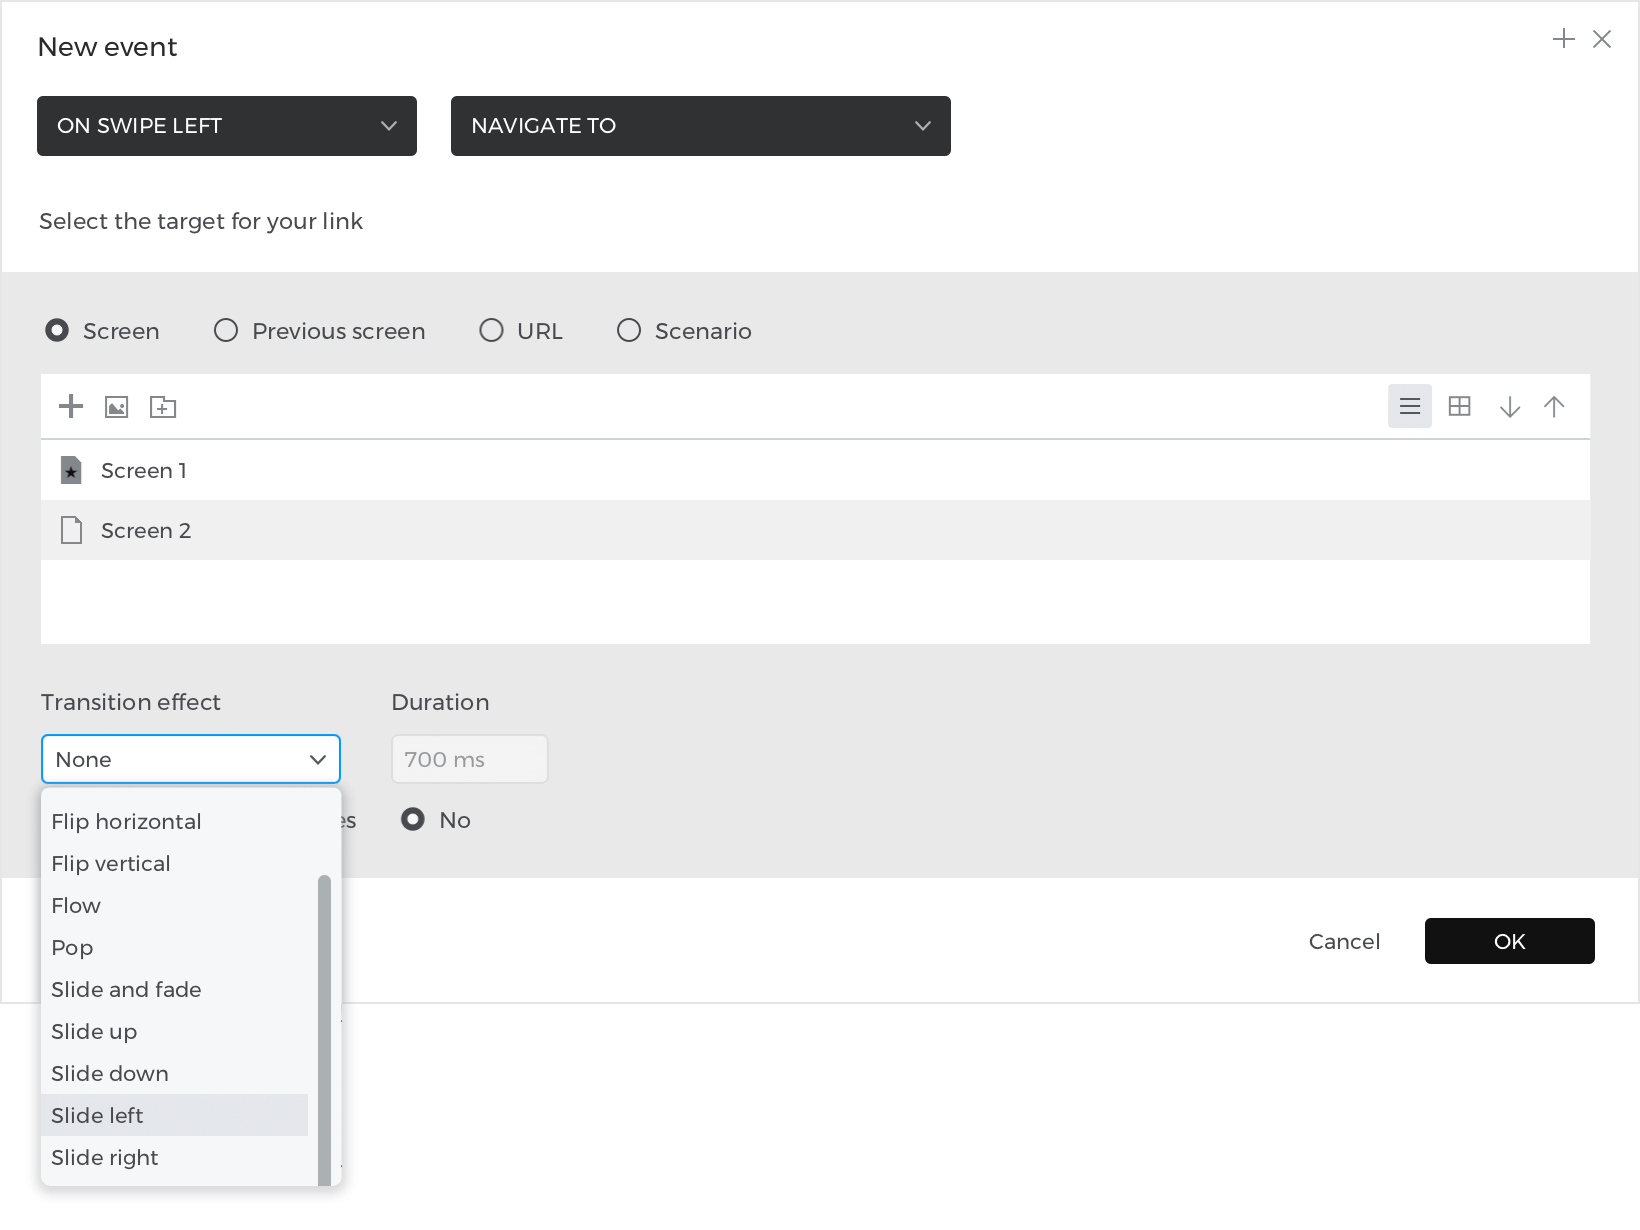
- From the ‘Choose Trigger’ dropdown, hover over the Gestures section and pick the On Swipe Left trigger.
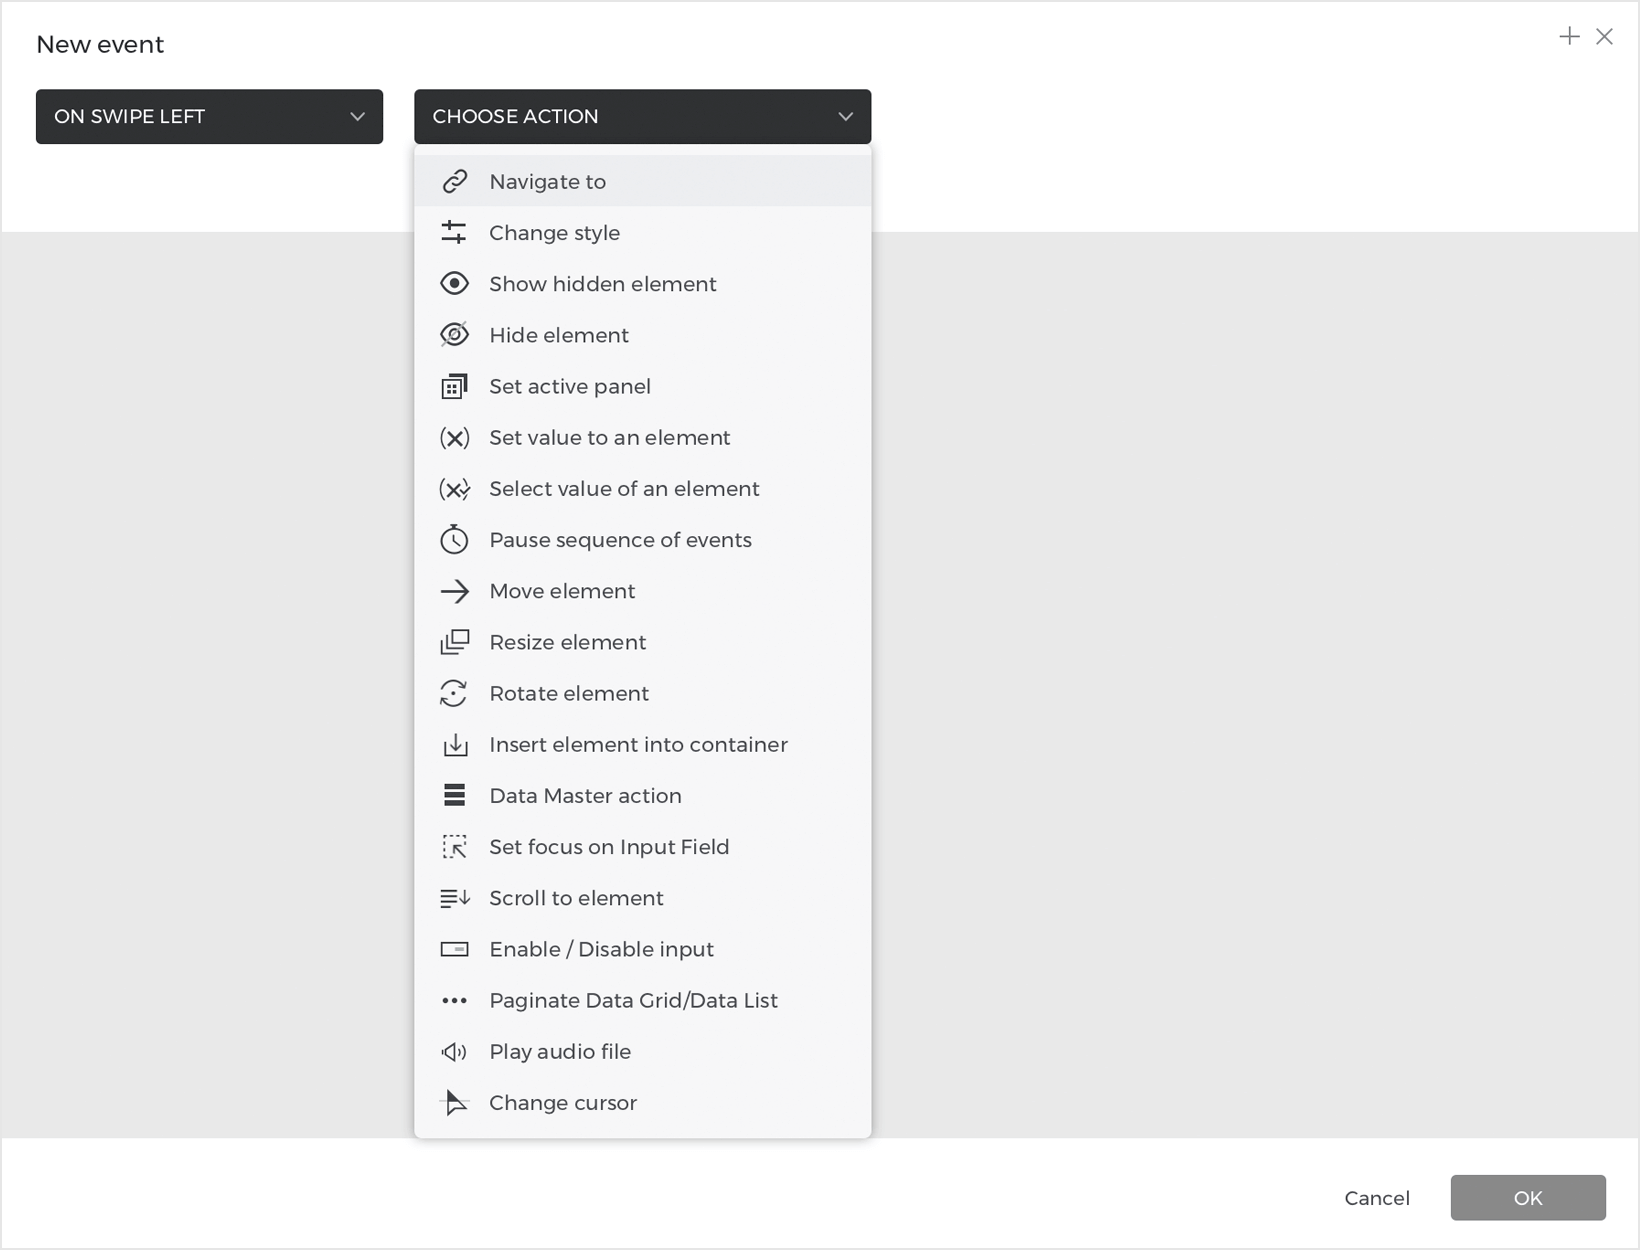
- You’ll see the ‘Choose Action’ dropdown appear next. Click on it and choose the Navigate To action.

- Choose Screen 2 from the list of screens below. Then, select the ‘Slide left’ transition effect. Click ‘OK’ to finish building the event.

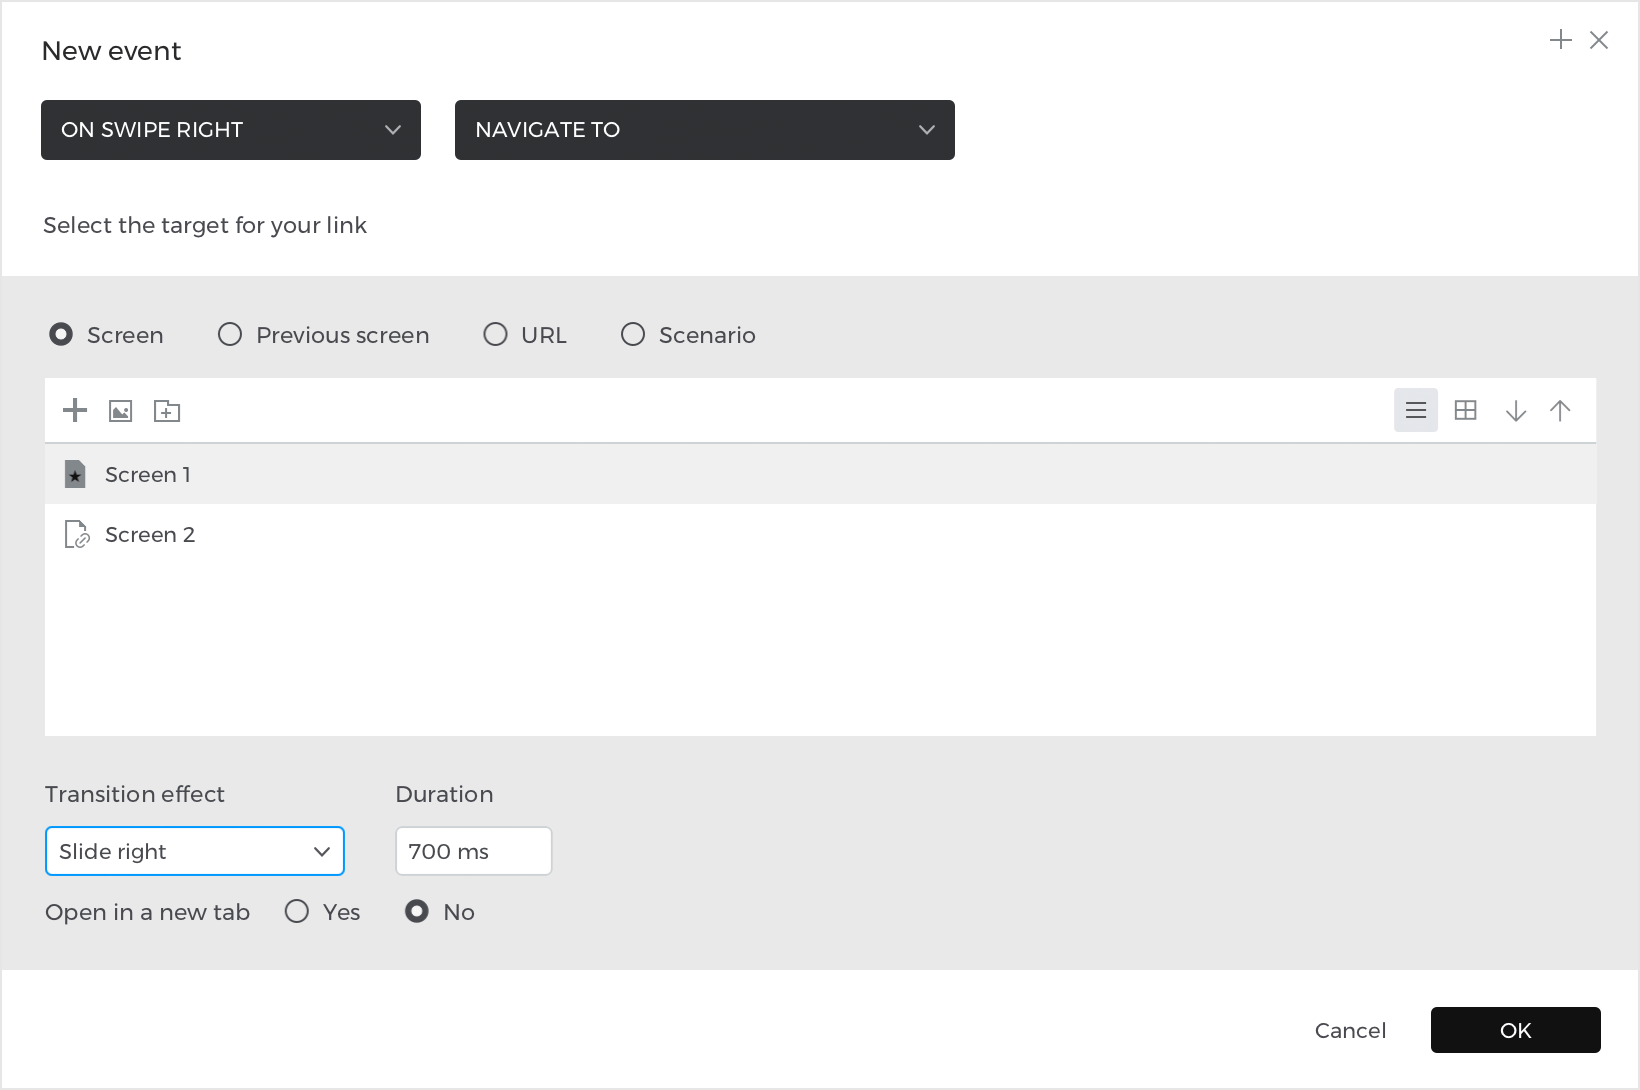
- Go to Screen 2 and select the base screen. Go to the Events palette and click ‘Add event’.
- Pick an On Swipe Right trigger and a Navigate To action, and choose Screen 1 to link to. Add a ‘Slide right’ transition effect, and click ‘OK’ to finish building the event.


You should now have two events in total – one on Screen 1 that links you to Screen 2, and one on Screen 2 that links you to Screen 1.
Click the ‘Play’ button to simulate your prototype and check out how you can swipe between the screens.
Hide content
Next, you’ll learn how to create events to hide elements on the screen.
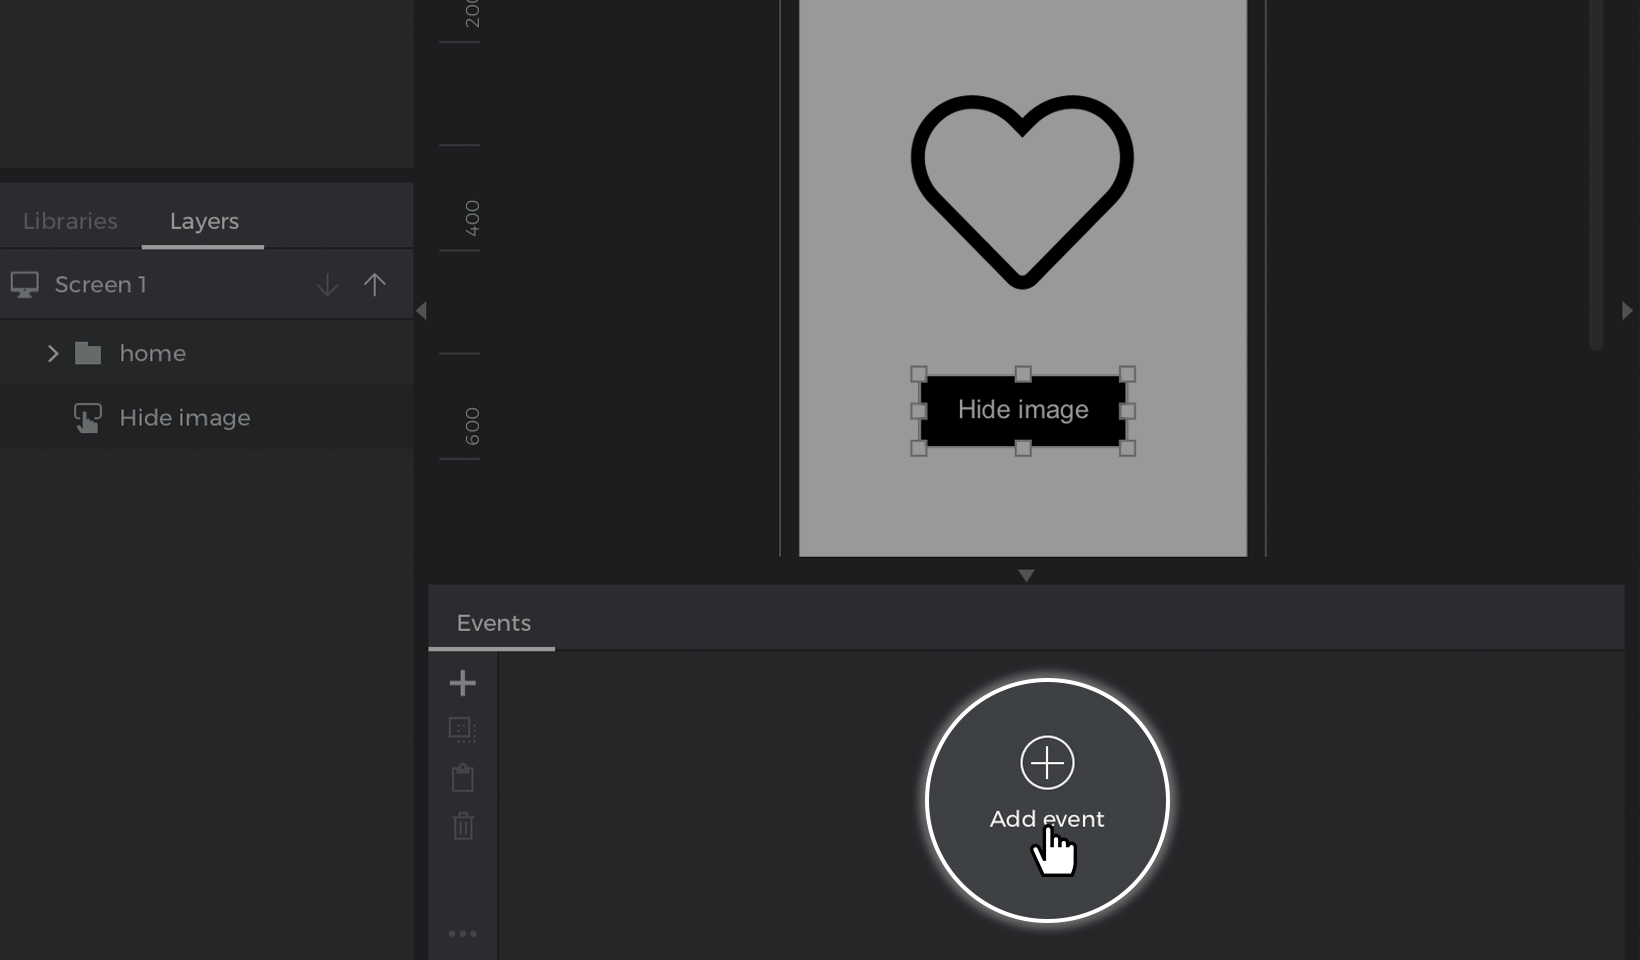
- Place a Button B and an Image I on the Canvas and style them as preferred. You can find them in the Toolbar.Label the button “Hide image”.
- Select the “Hide image” button, go to the Events palette and click “Add event”.

- Follow the steps below to build the event:
- a. From the Trigger dropdown, hover over the Tap section and pick an On Tap trigger.
Note: if you’re using a Web prototype, On Tap will be listed as On Click instead.
- b. From the Action dropdown, pick the Hide Element action. You’ll then see a preview of the Canvas appear.
- c. This is where you can select the target of the action – the element that you want to hide when you tap on the “Hide image” button. Select the image you created earlier. Click ‘OK’ to finish building the event.
- a. From the Trigger dropdown, hover over the Tap section and pick an On Tap trigger.

Click the ‘Play’ button to simulate your prototype. Tap the “Hide image” button and see how the image disappears.
Mouse-over effects
Here, you’ll learn how to create an On Mouse Over event and change the appearance of a button.
- Create a new Web prototype. Mobile and Tablet prototypes won’t work for this example since you can’t mouse over a touch screen.
- Place a Button B on the Canvas and style it as preferred.
- With the button selected on the Canvas, go to the Events palette and click ‘Add event’.
- Follow these steps to build the event:
- a. From the Trigger dropdown, hover over the Mouse section and choose the On Mouse Over trigger.
- b. In the Action dropdown, pick the Change Style action.
- c. Select the button as the target of the action in the Canvas preview. You’ll see a dropdown appear below where you can specify the styles of the element you’d like to change.
For this example, change the background color.
Click ‘OK’ to finish building the event.
Click the ‘Play’ button to simulate your prototype. Mouse over the button and see how it changes color. Move your mouse away and you’ll see the button revert back to its original color.
Drag and drop
You can also create interactions to drag and drop elements on the Canvas. Here’s how:
- Place a Rectangle R on the Canvas and style it as preferred.
- With the rectangle still selected, go to the Events palette and click ‘Add event’.
- Follow these steps to build the event:
- a. From the Trigger dropdown, hover over the Mouse section (On Tap for Mobile/Tablet) and choose the On Drag trigger.
- b. In the action dropdown, select the Move element action.
- c. You’ll see a Canvas preview appear, where you can choose the rectangle as the target of the action.
- d. Look to the bottom of the dialog, where you’ll now find two dropdowns where you can define where you want to move the rectangle when you drag it.Click on the X (horizontal movement) dropdown and select the ‘With cursor’ option.Click on the Y (vertical movement) dropdown and select the ‘With cursor’ option as well.Both of these options will allow you to move the rectangle with your mouse when you simulate. Tap ‘OK’ to finish building the event.
Click the ‘Play’ button to simulate your prototype. Start dragging the rectangle to move it around the screen. Drop the rectangle to stop its movement.