Create a fluid table
A fluid table is an easy way to add many elements to the screen and distribute them evenly and responsively.
Here’s how to create one:
- Drag a Table widget onto the Canvas.
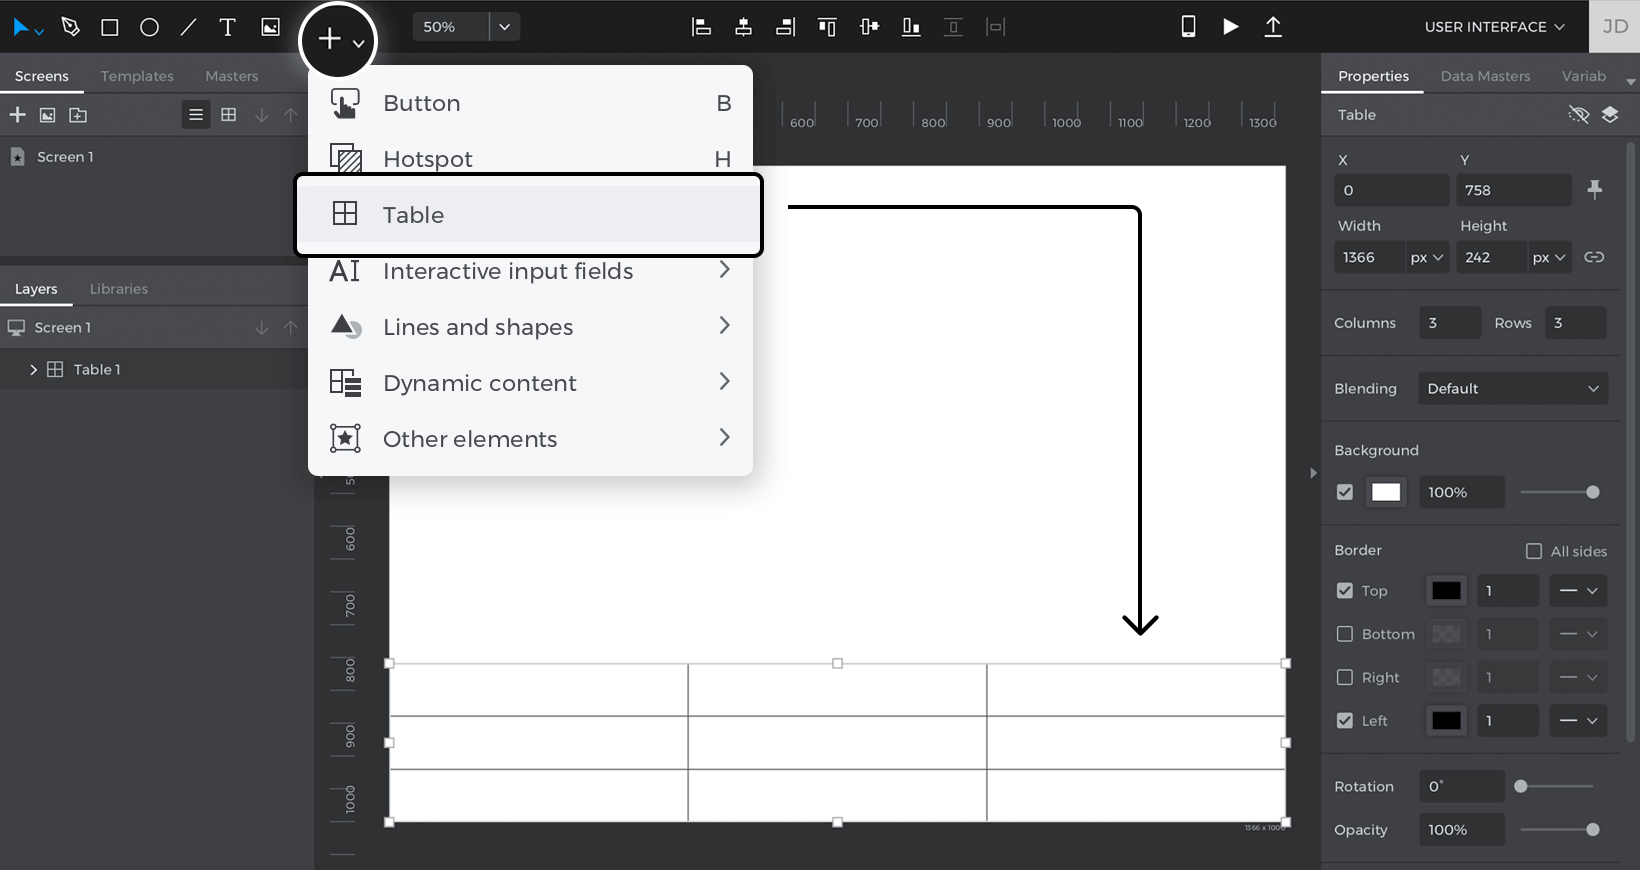
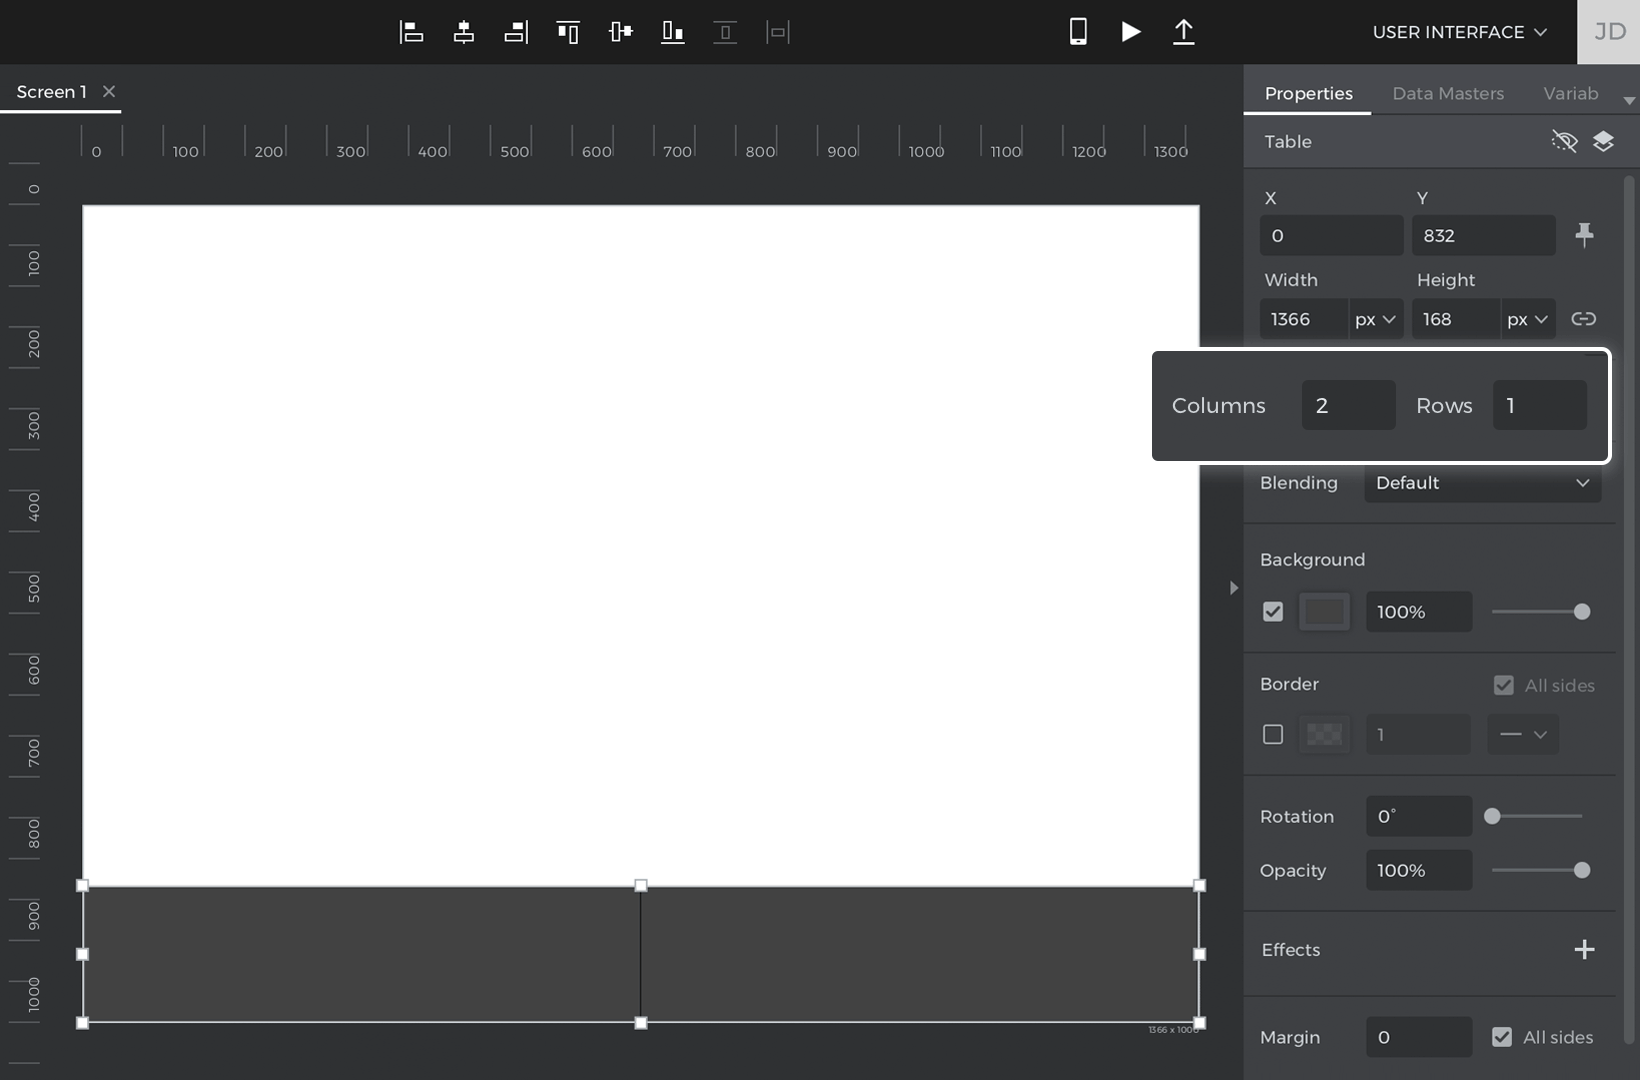
- Change its columns and rows to reflect the different spaces where you’d like to place elements. In our example, our table is acting as a footer, so we have two columns and one row.

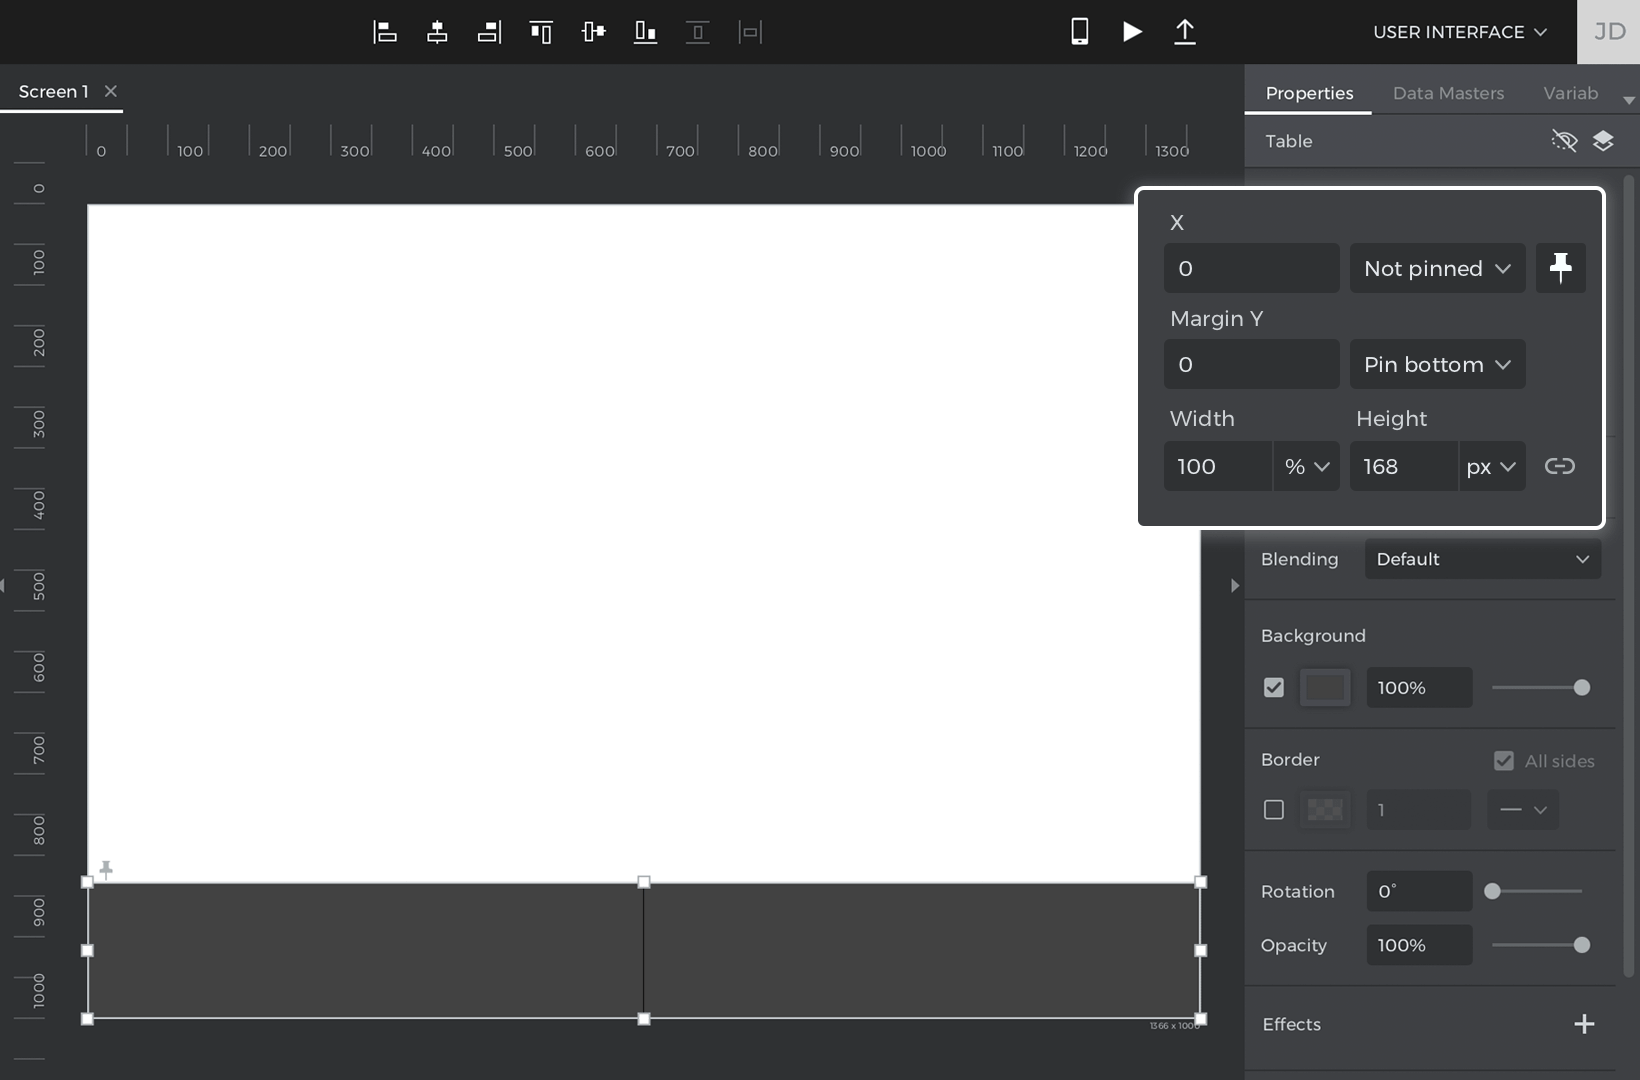
- Since our Table is a footer, pin it to the bottom of the screen and set its width to 100%.

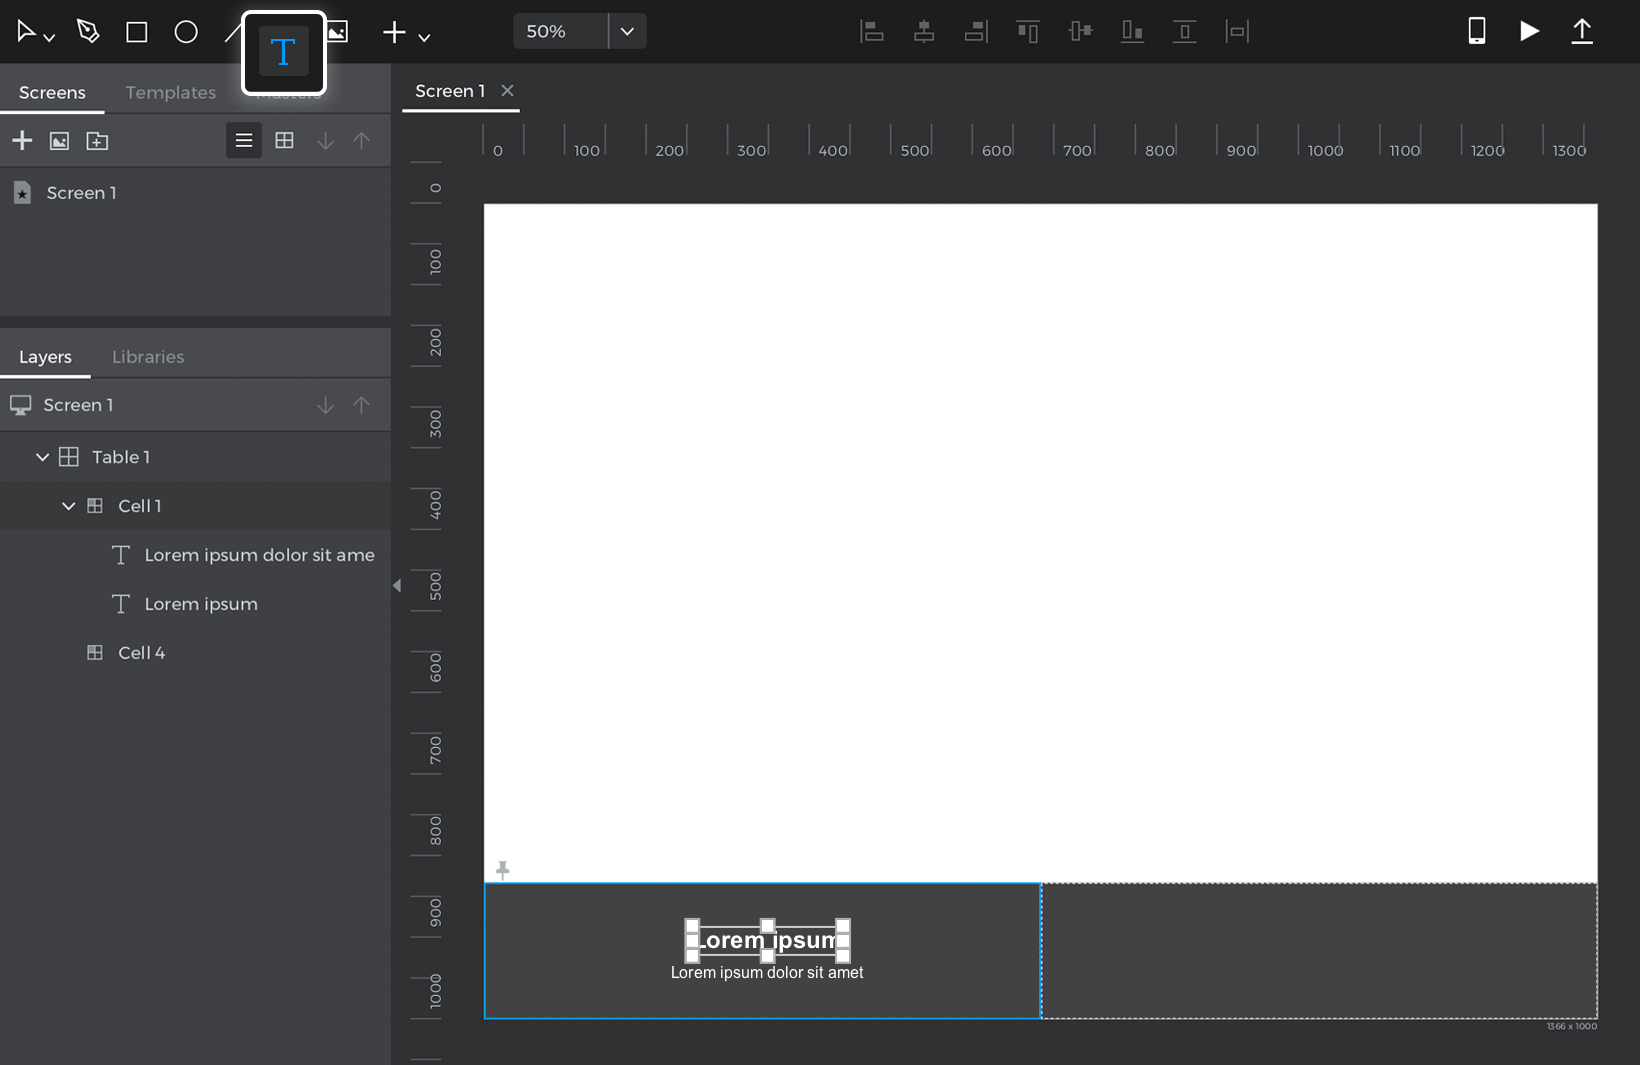
- In Cell 1, change its Layout to vertical, and then drag two Text widgets into the cell. One will automatically be placed on top of the other.

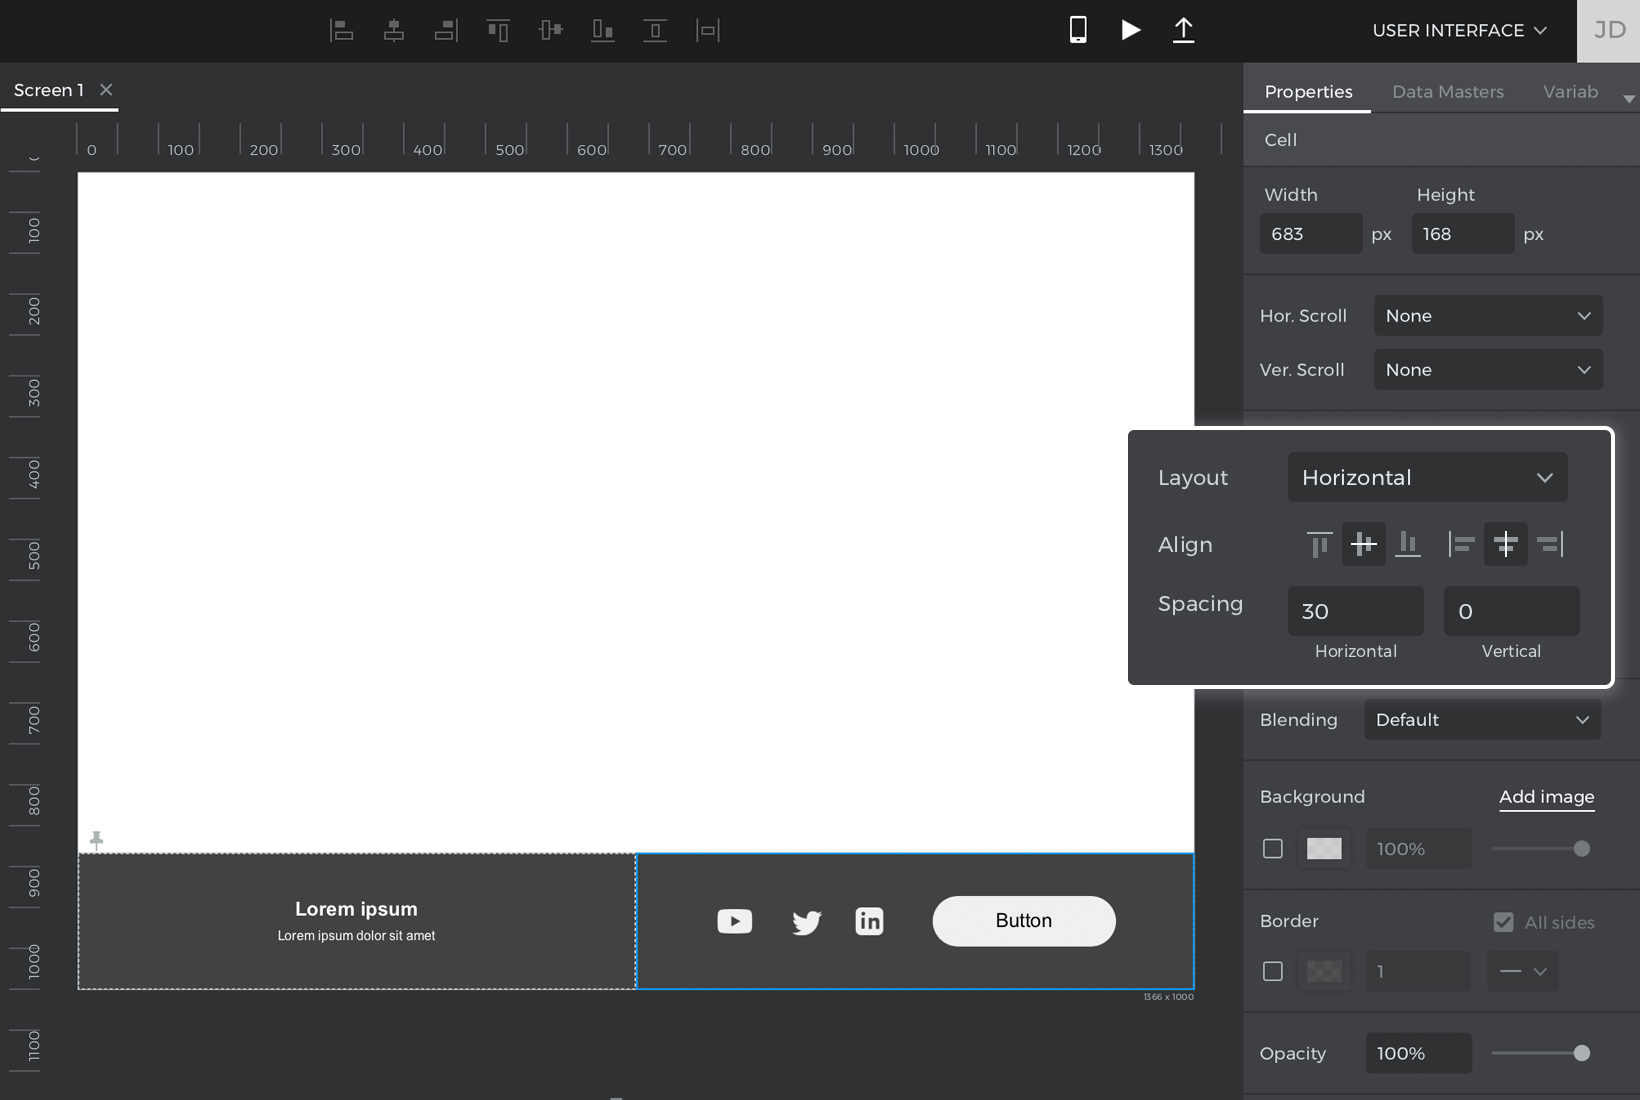
- In Cell 2, change its Layout to horizontal and its Alignment to center. Change its horizontal spacing to 30. Drag a few icons and a Button widget into this cell. They will automatically be placed right next to each other with a 30px space between them.

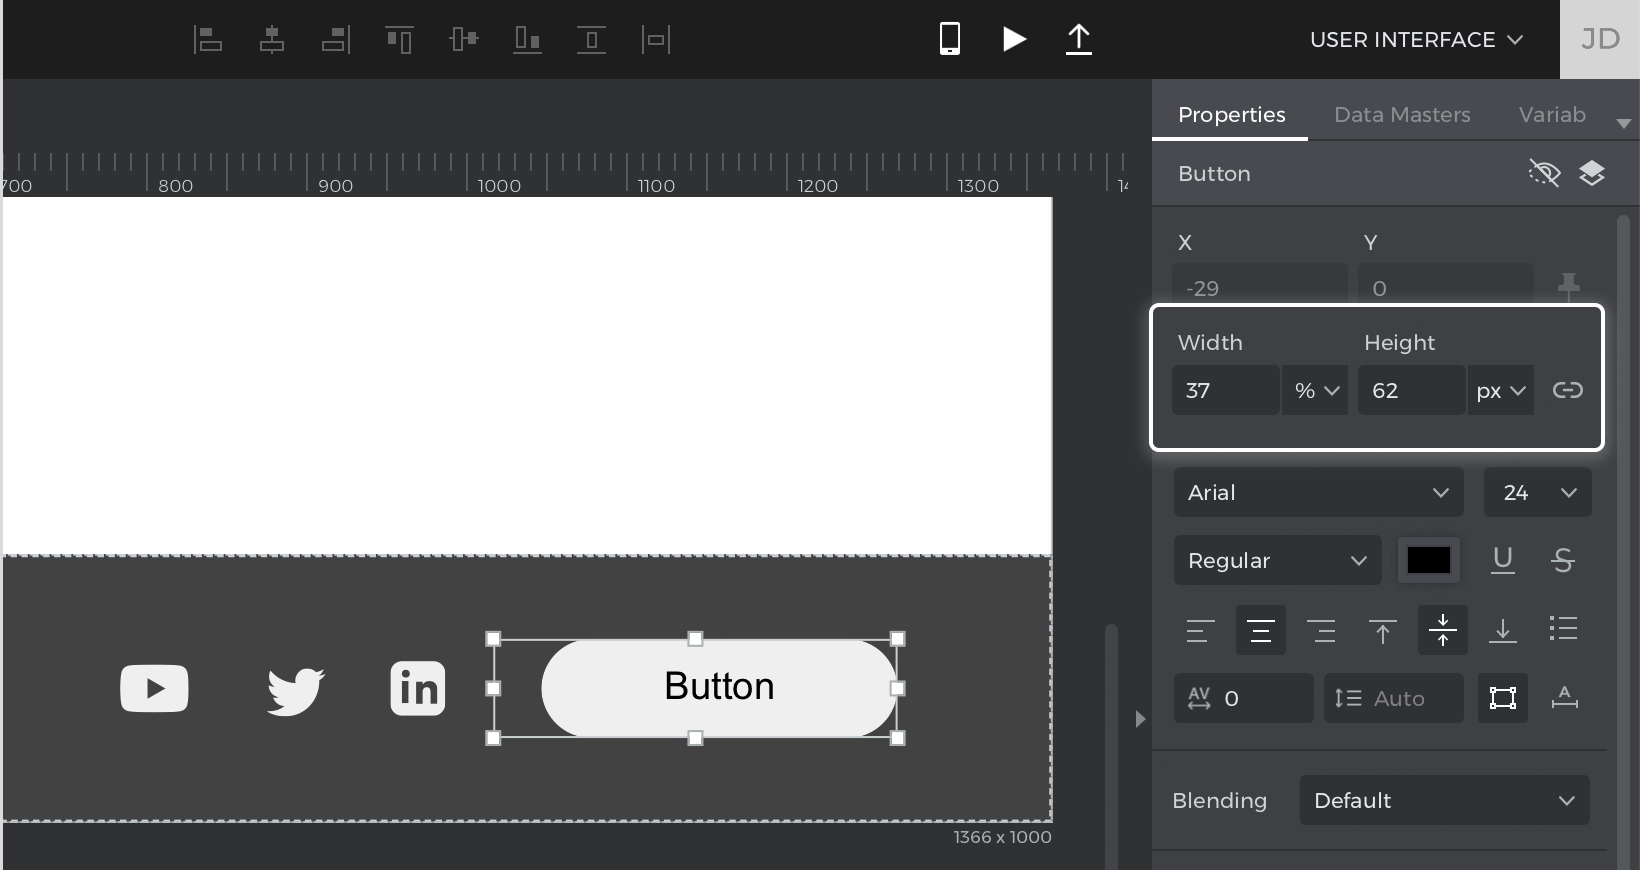
- Select the Button widget and change its width to 37%. You can also add a margin around the Button if you would like it to have more spacing from the icons.
- With the Button still selected, create an “On Window Resize” + “Hide” event, and select the Button as the target to be hidden.
- Create a condition for this action, so that it will only hide the button when the Screen is too small. Click on the “Add condition” text. The Conditional Expression builder will appear.Follow these steps to create the condition:
1. Click on the “Constants” tab. Drag the ‘Window Width’ icon into the open space in the expression
2. Click on the “Functions” tab and look to the “Comparators” section. Drag a ‘Less Than’ (‘<’) icon next to the ‘Window Width’ icon
3. Lastly, in the open space that appears next to the ‘Less Than’ (‘<’) icon, double click and type in 900
4. Click OK to finish building the condition - Click the “Else” text, which will open the Events dialog. Create an “On Window Resize” + “Show” event, and select the Button as the target to be shown. Click OK to finish building the event. There’s no need to create a condition for this event.


That’s it! Click “Simulate” and change the window width to see your fluid table work.
Note: Simulation settings must be set to expand to the browser width. You can specify this in simulation settings, or in the simulation window.

You can download our example here.