Managing cloud projects
In this article your’ll learn how to create and manage your cloud projects.
Home dashboard
The Home dashboard is the first screen you see when opening Justinmind. In the sidebar of your home dashboard you can find the following tools.
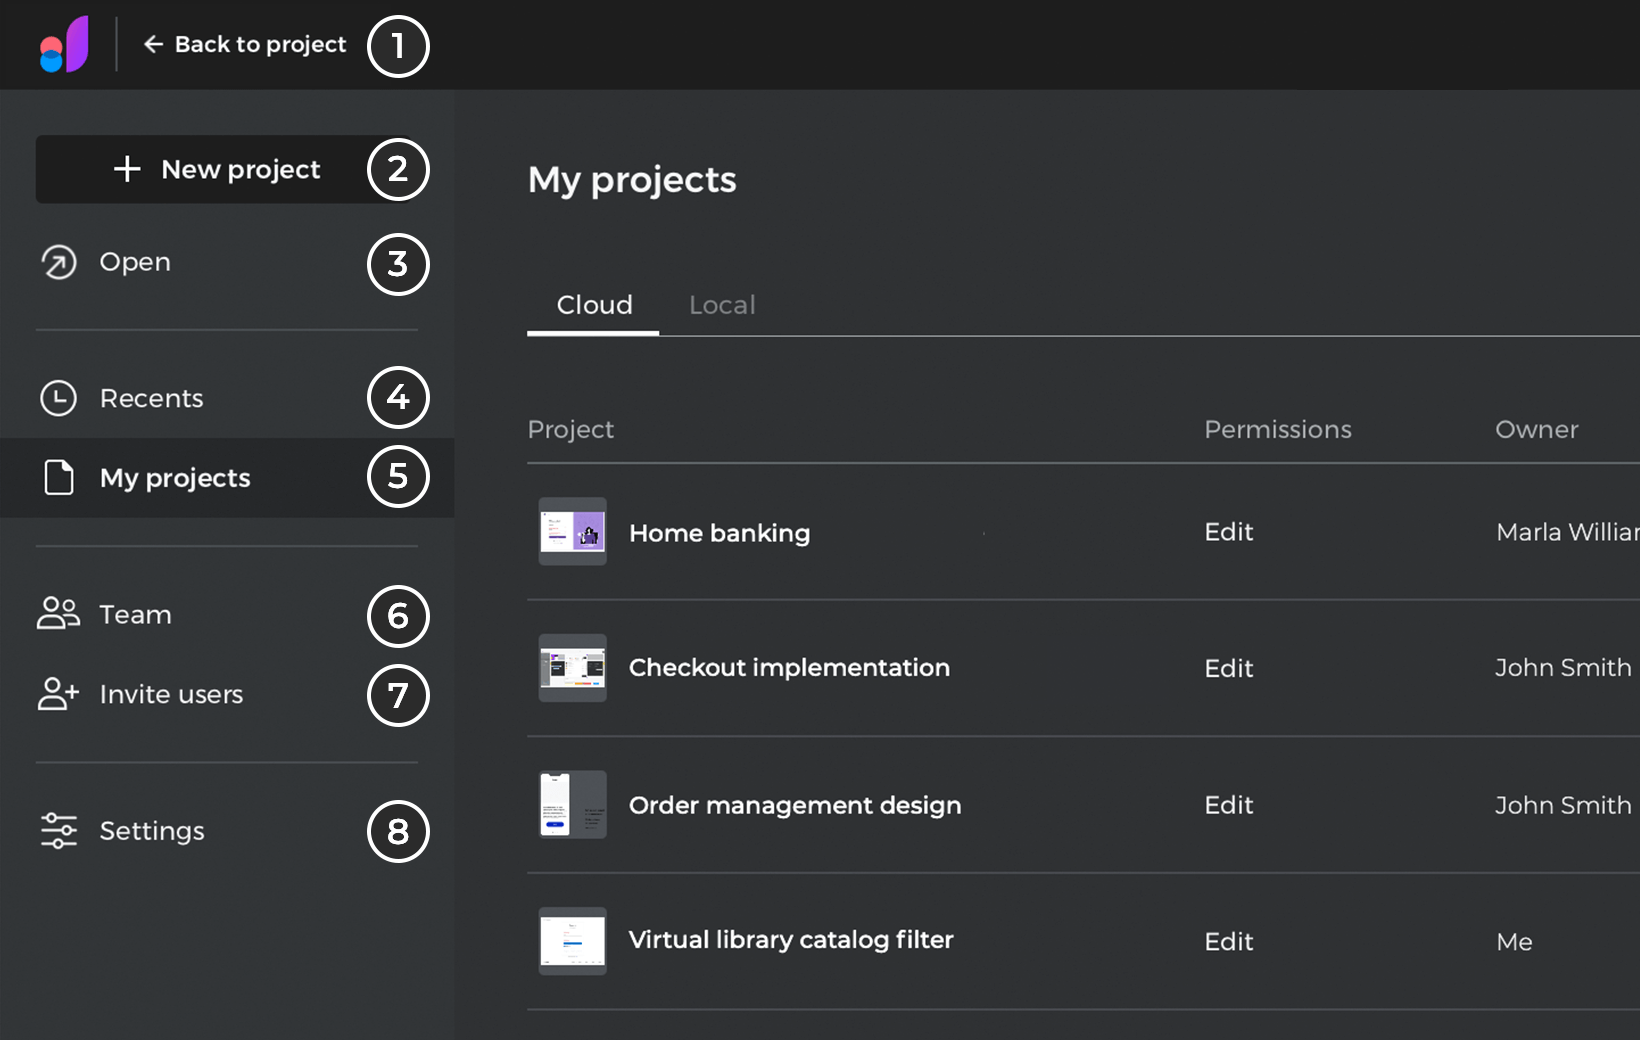
- Continue editing your project.
- Creates a new project.
- Open a saved project.
- View the list of recently opened projects.
- View the list of your cloud and local projects. Note: You can organize cloud projects in folders and access the cloud trash folder from the right side dot menu in this section.
- View and manage users, groups and permissions.
- Invite multiple users.
- Edit your preferences.
New project
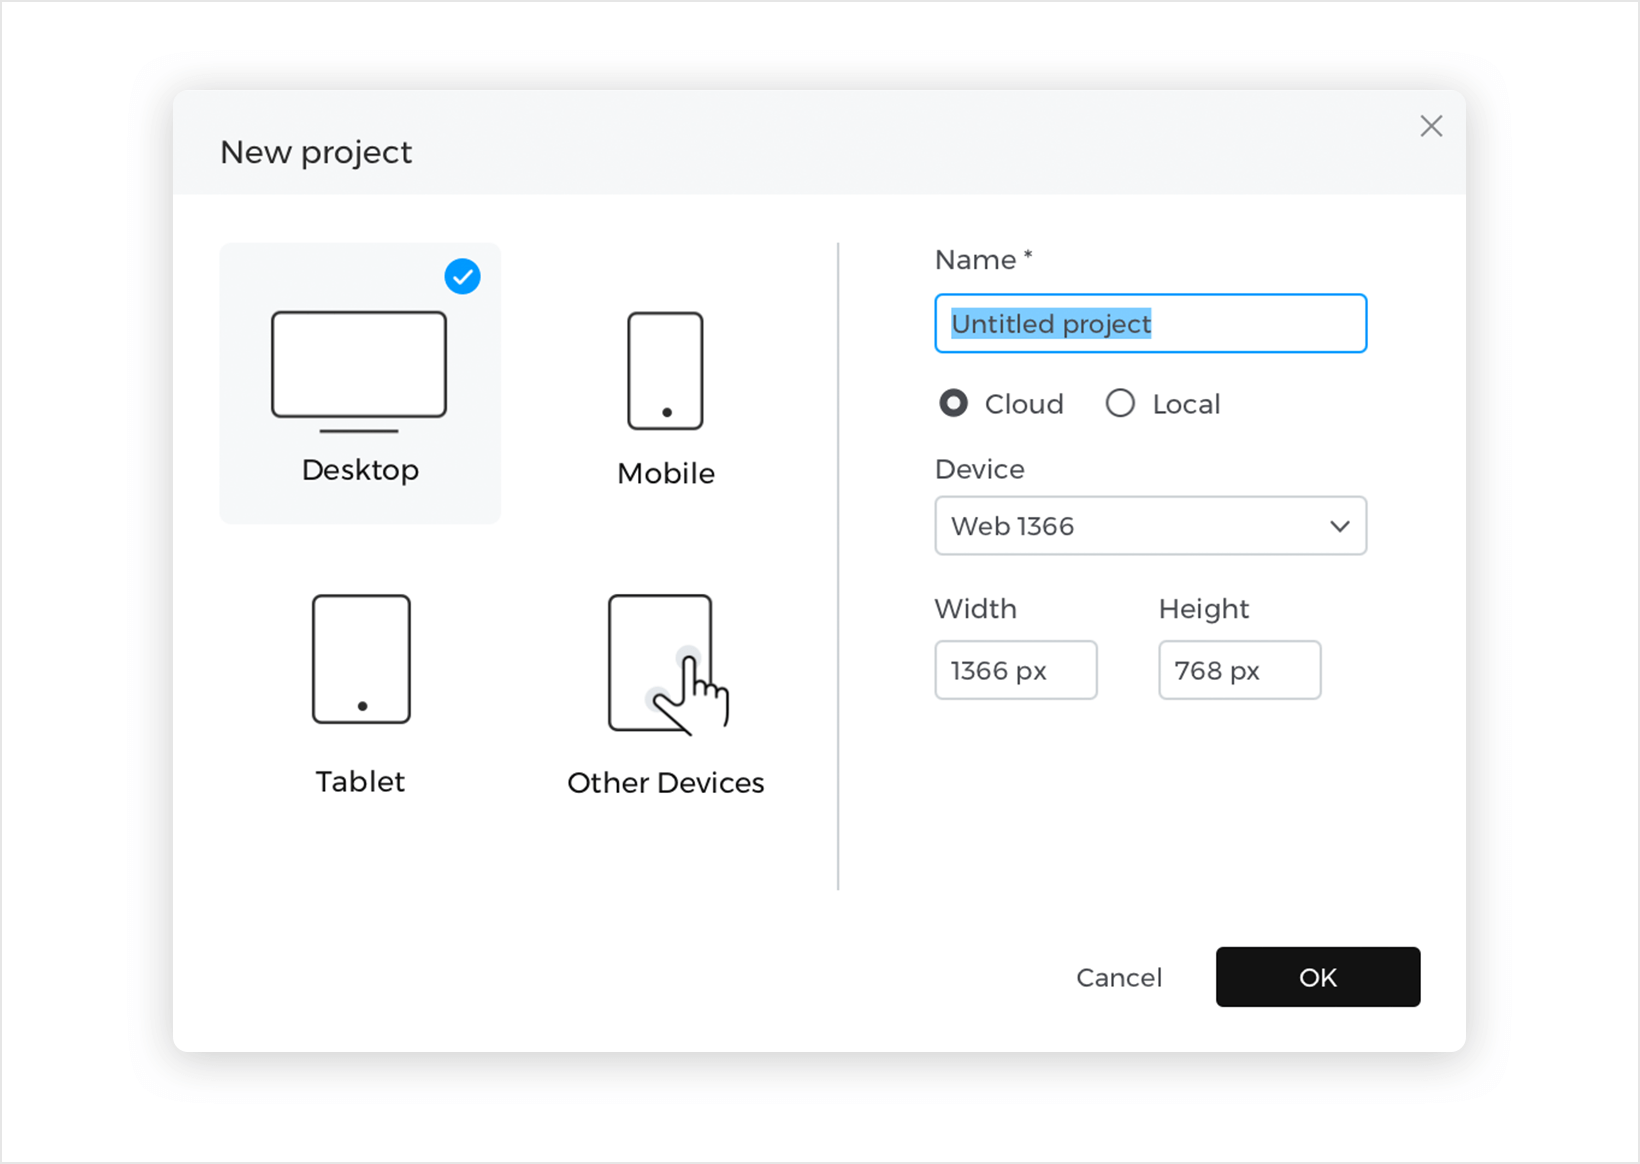
You can create new projects from the home dashboard by clicking “+ New Project”.
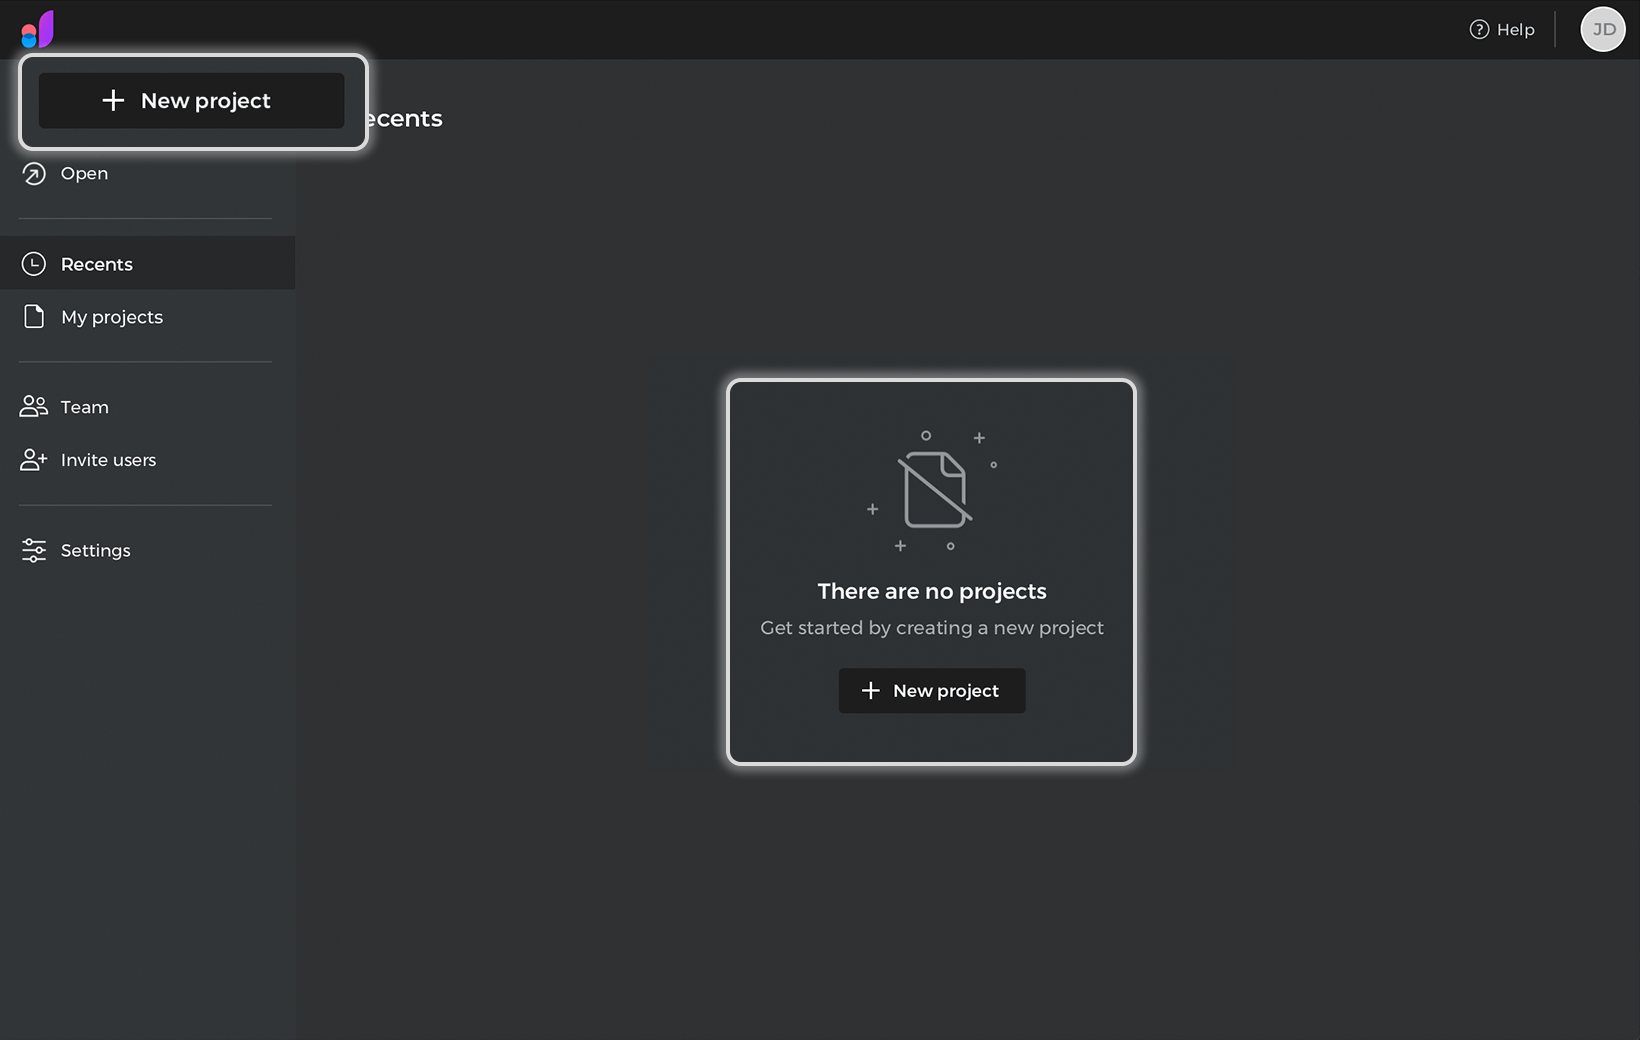
In the “New project” dialog, you can specify your project’s name, where you want to save it, the type of device you want to use and its specifications.
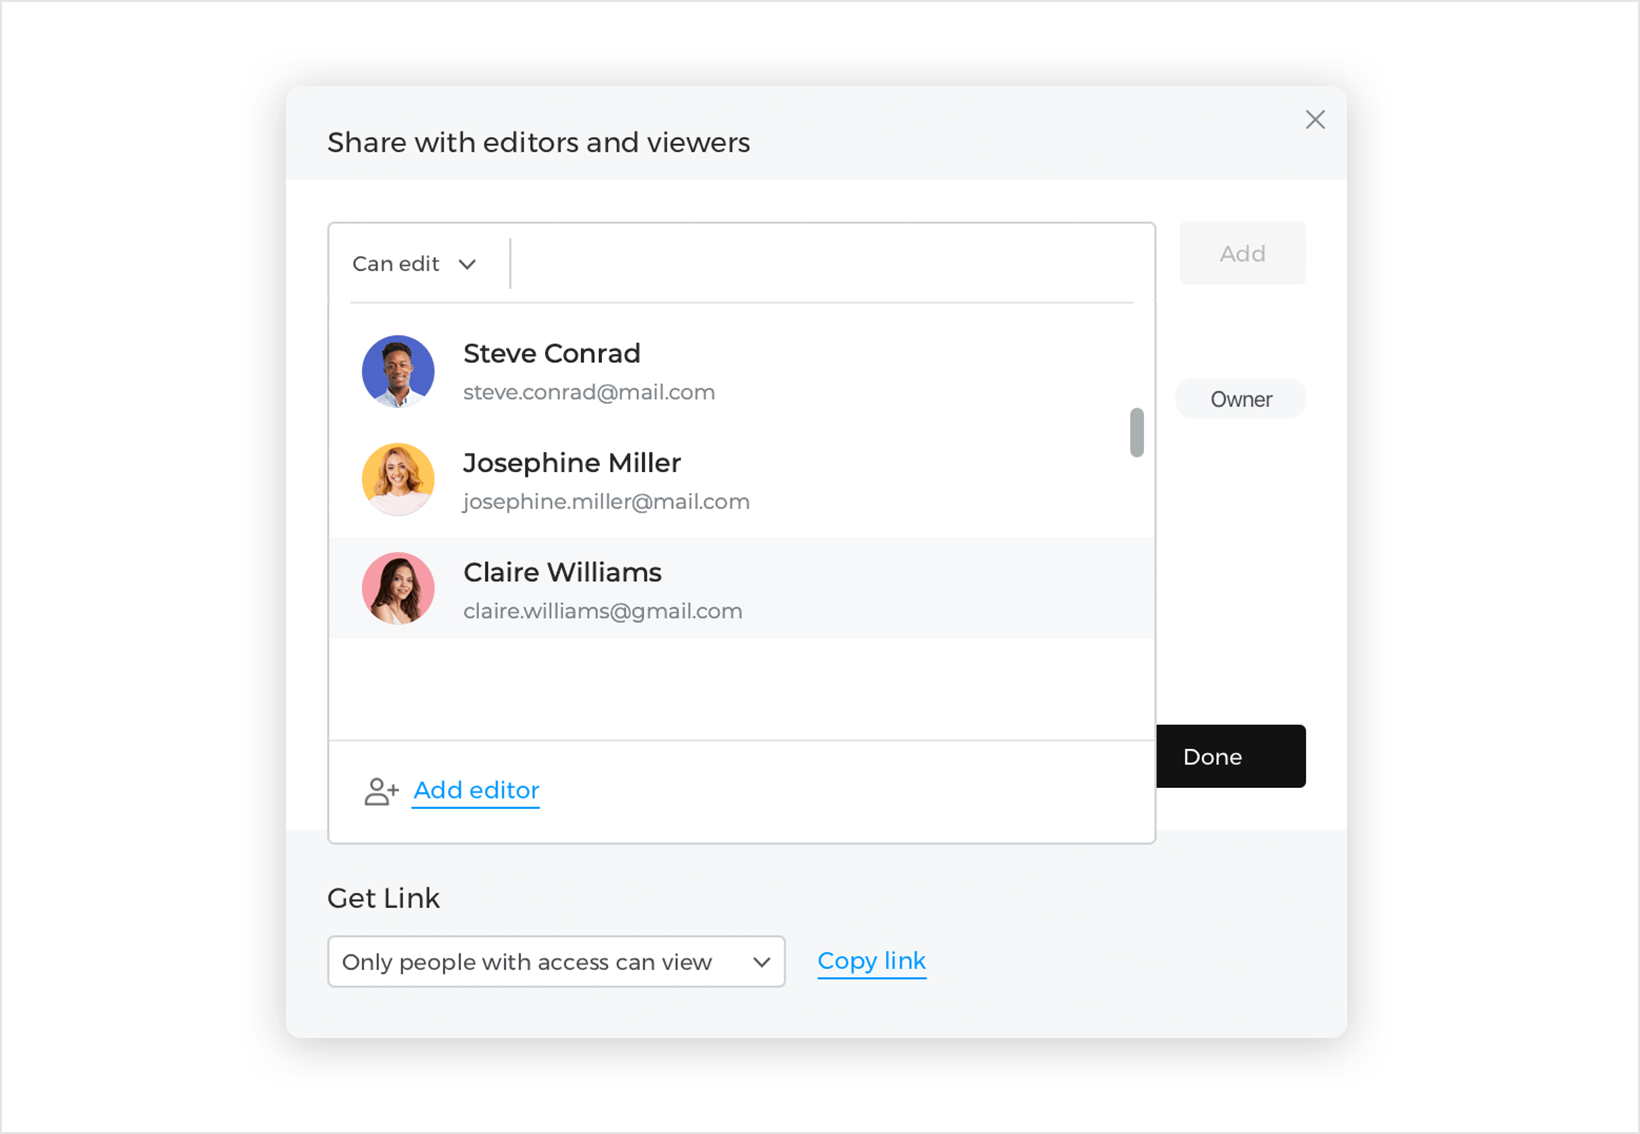
When creating a cloud project, the “Share with editors and viewers” dialog will appear; here, you can invite users and groups to edit or view your project. At the bottom of the dialog, you can also get the link to share it.
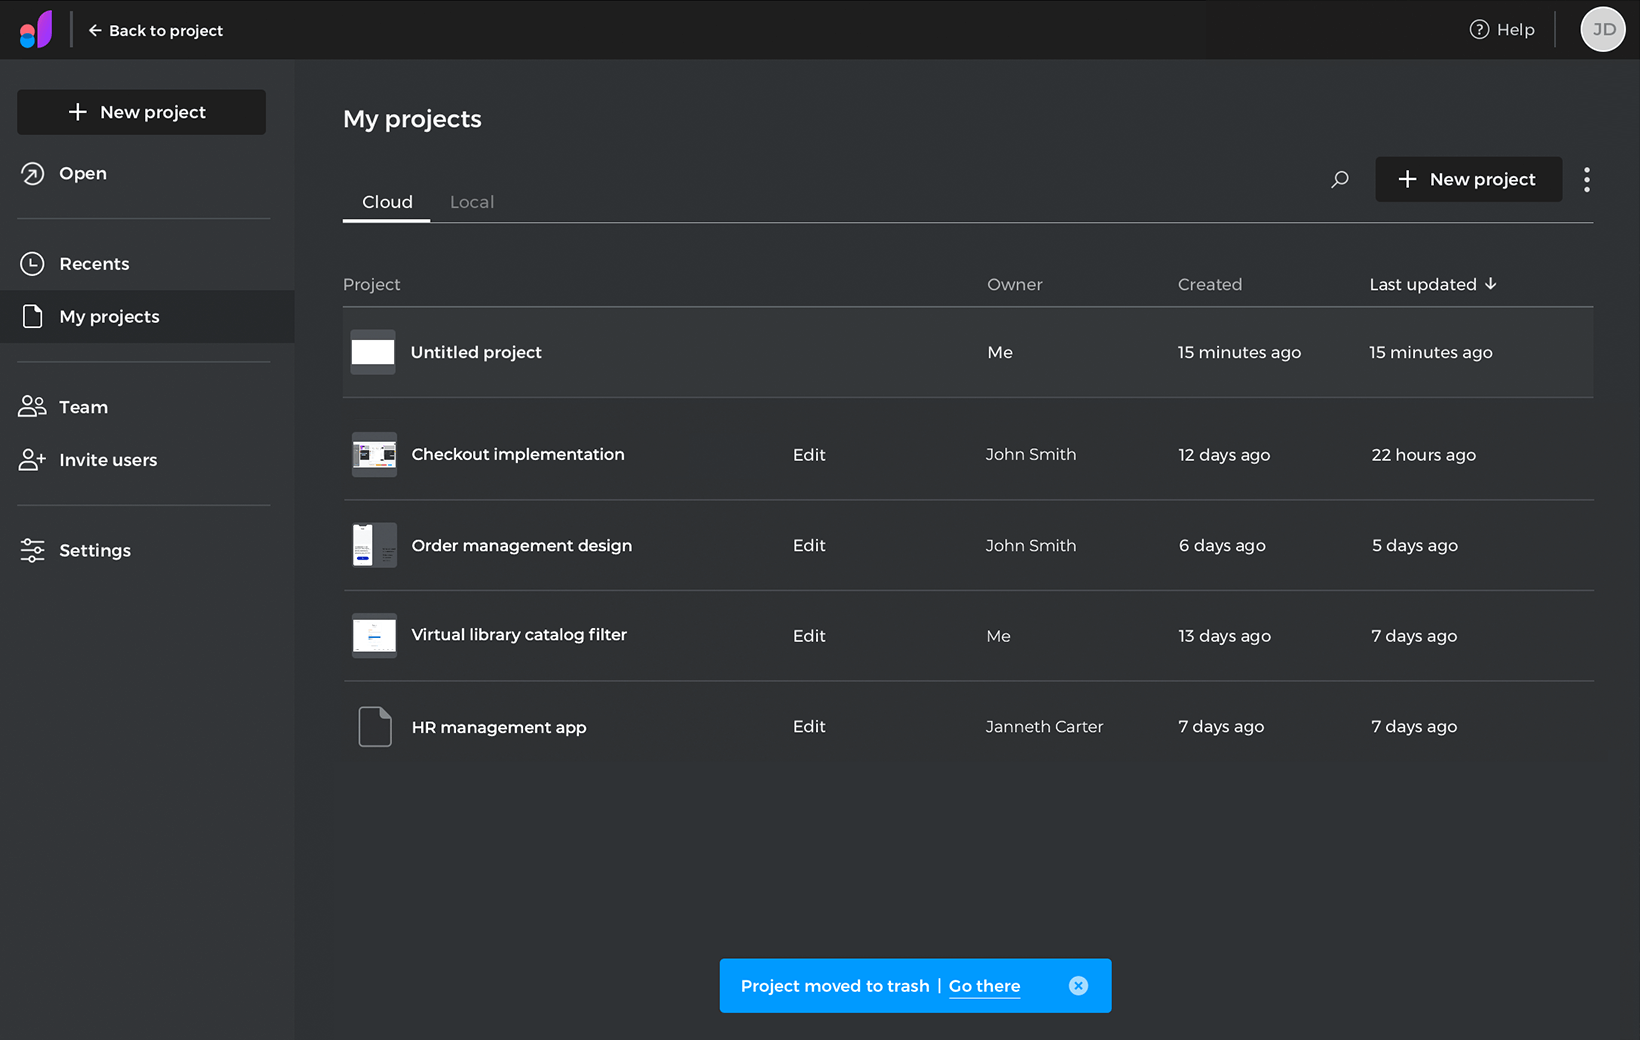
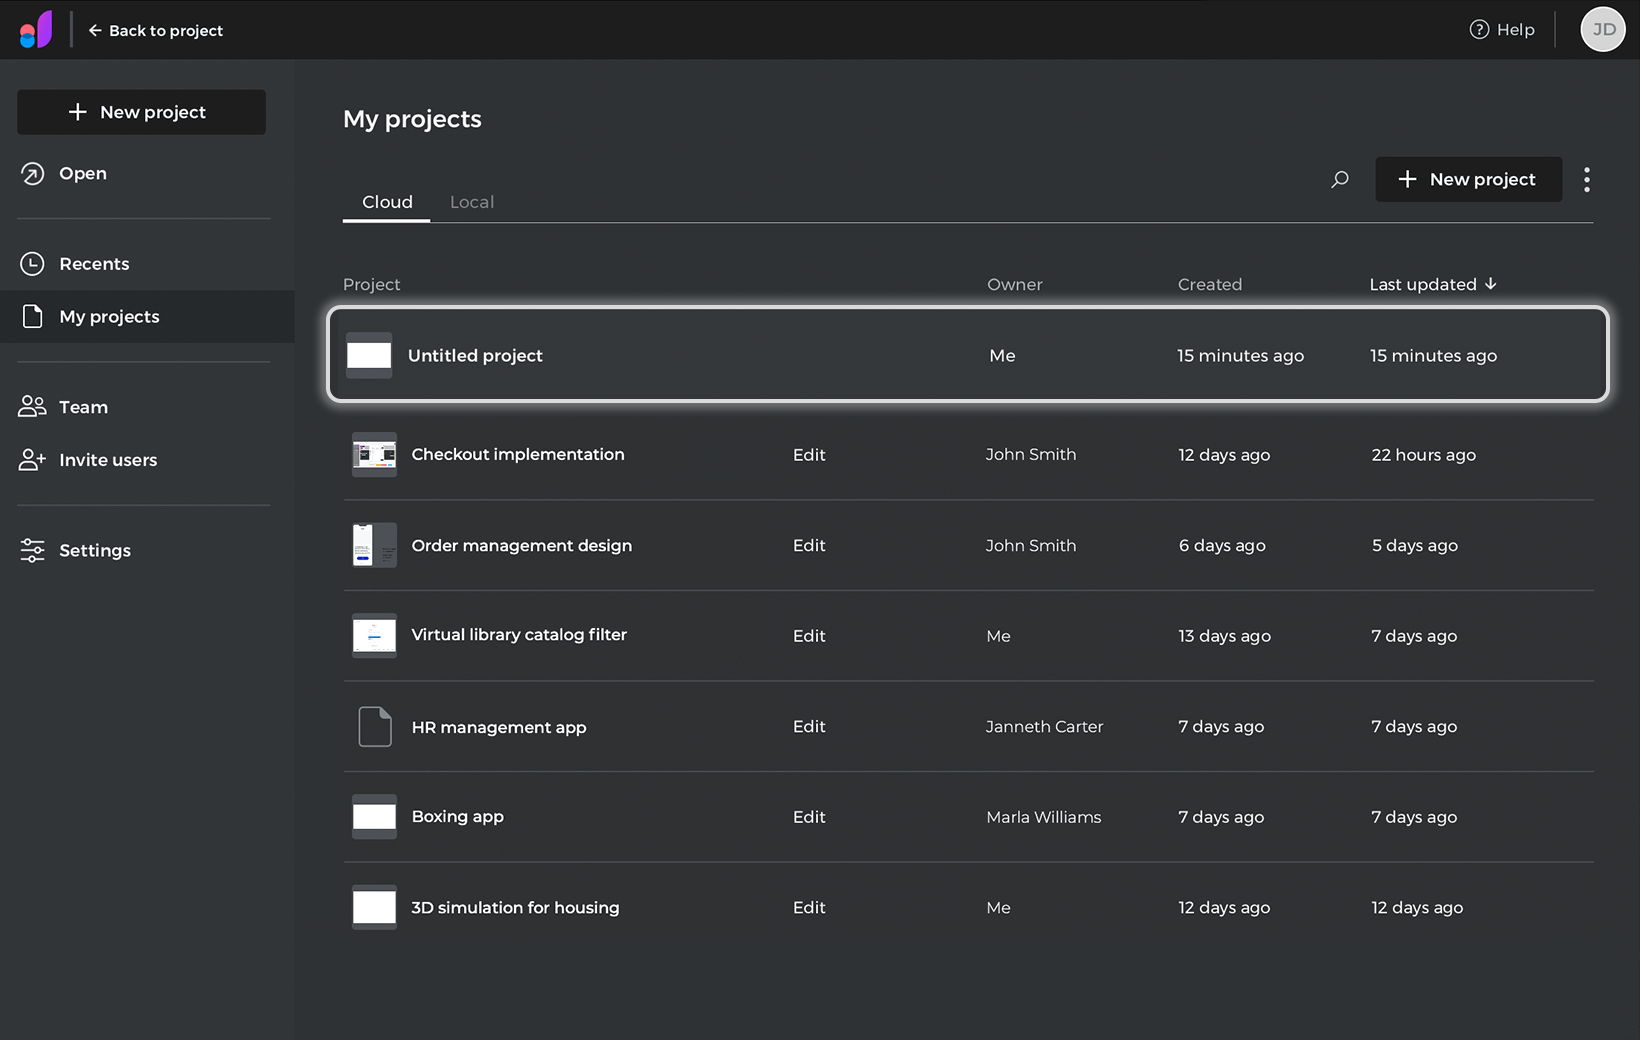
Once you have created your project, you can click the “Home” icon in the upper left corner to return to your home dashboard, there you can view and manage your projects from “My projects”.
Cloud projects options
In “My projects” right-click on a project to display the options:
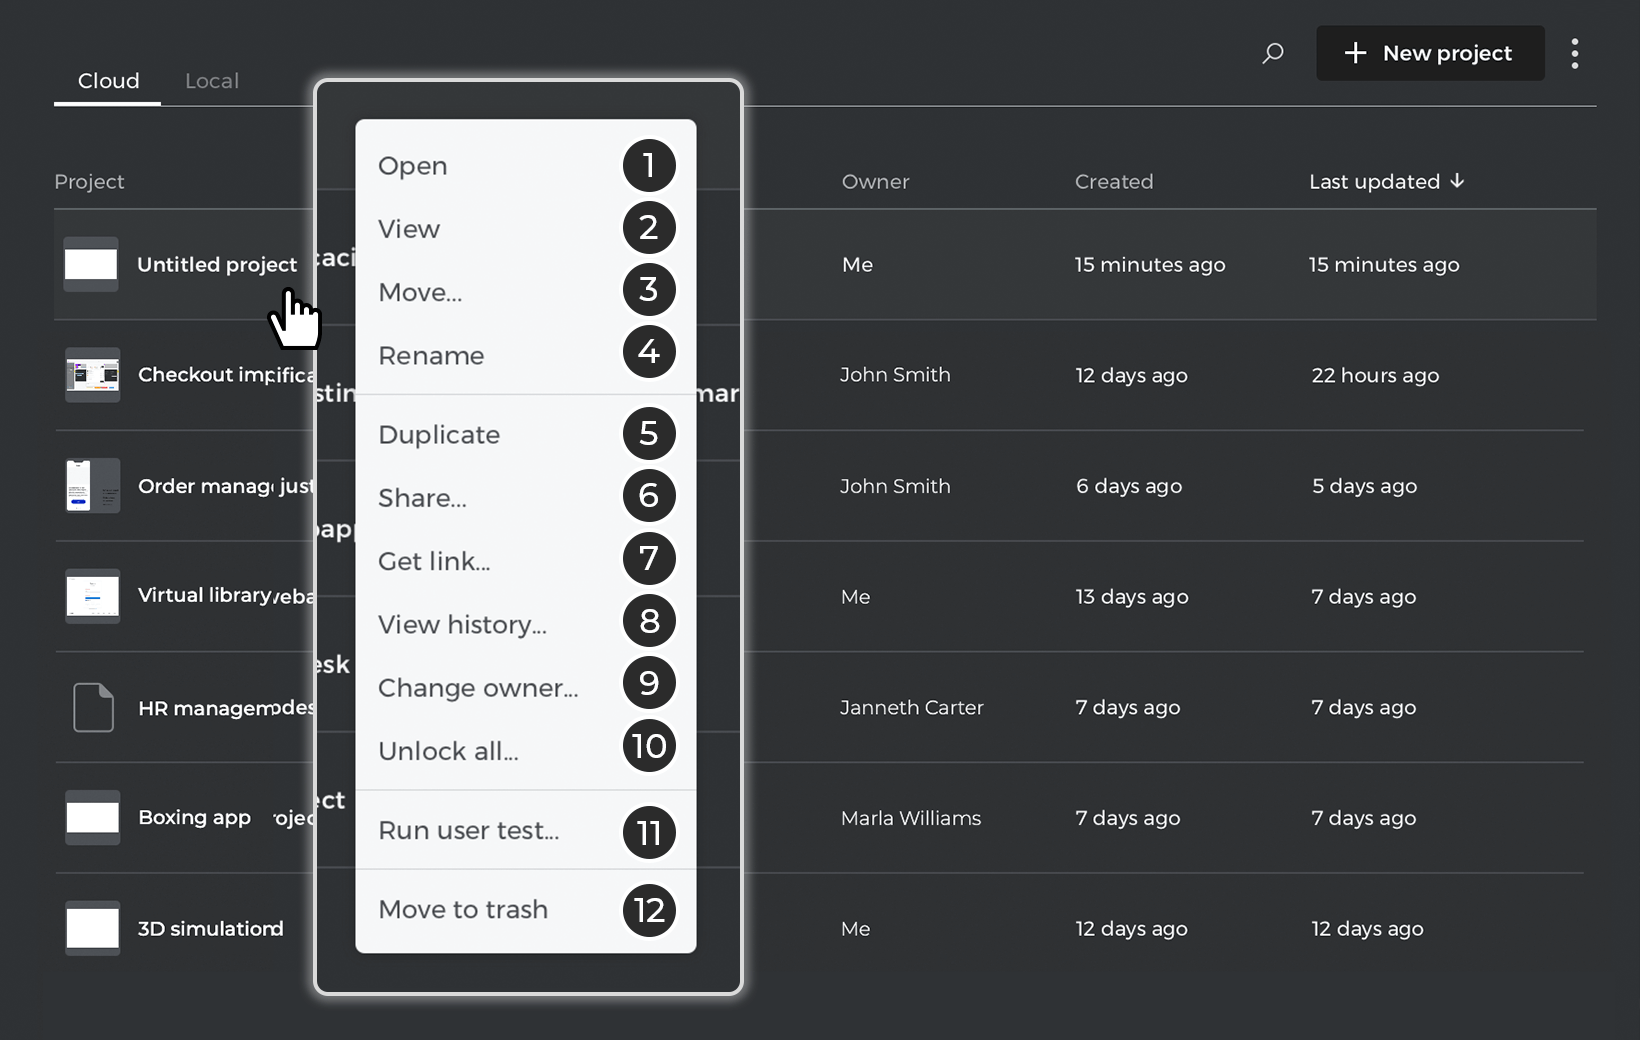
- Open: opens your project for editing.
- View: opens your project to view it in your browser
- Move: move your project to a different folder.
- Rename: rename your project or folder.
- Duplicate: generates a copy of your project.
- Share: opens a dialog where you can invite users and manage the editing or viewing permissions of the users you are sharing with. You can also get the link to share your project.
- Get link: get a link to share your project.
- View history: opens a dialog where you can see the history of changes made to your project. You can generate a copy from a previous version and make annotations in specific versions.
- Change owner: transfers ownership of your project.
- Unlock all: force the unlocking of elements, recommended for emergency use only.
- Run user test: integration with user testing tools. You can choose between different testing tools, add integration code and generate the URL to start testing your project.
- Move to trash: move a project or folder to trash.
Folders
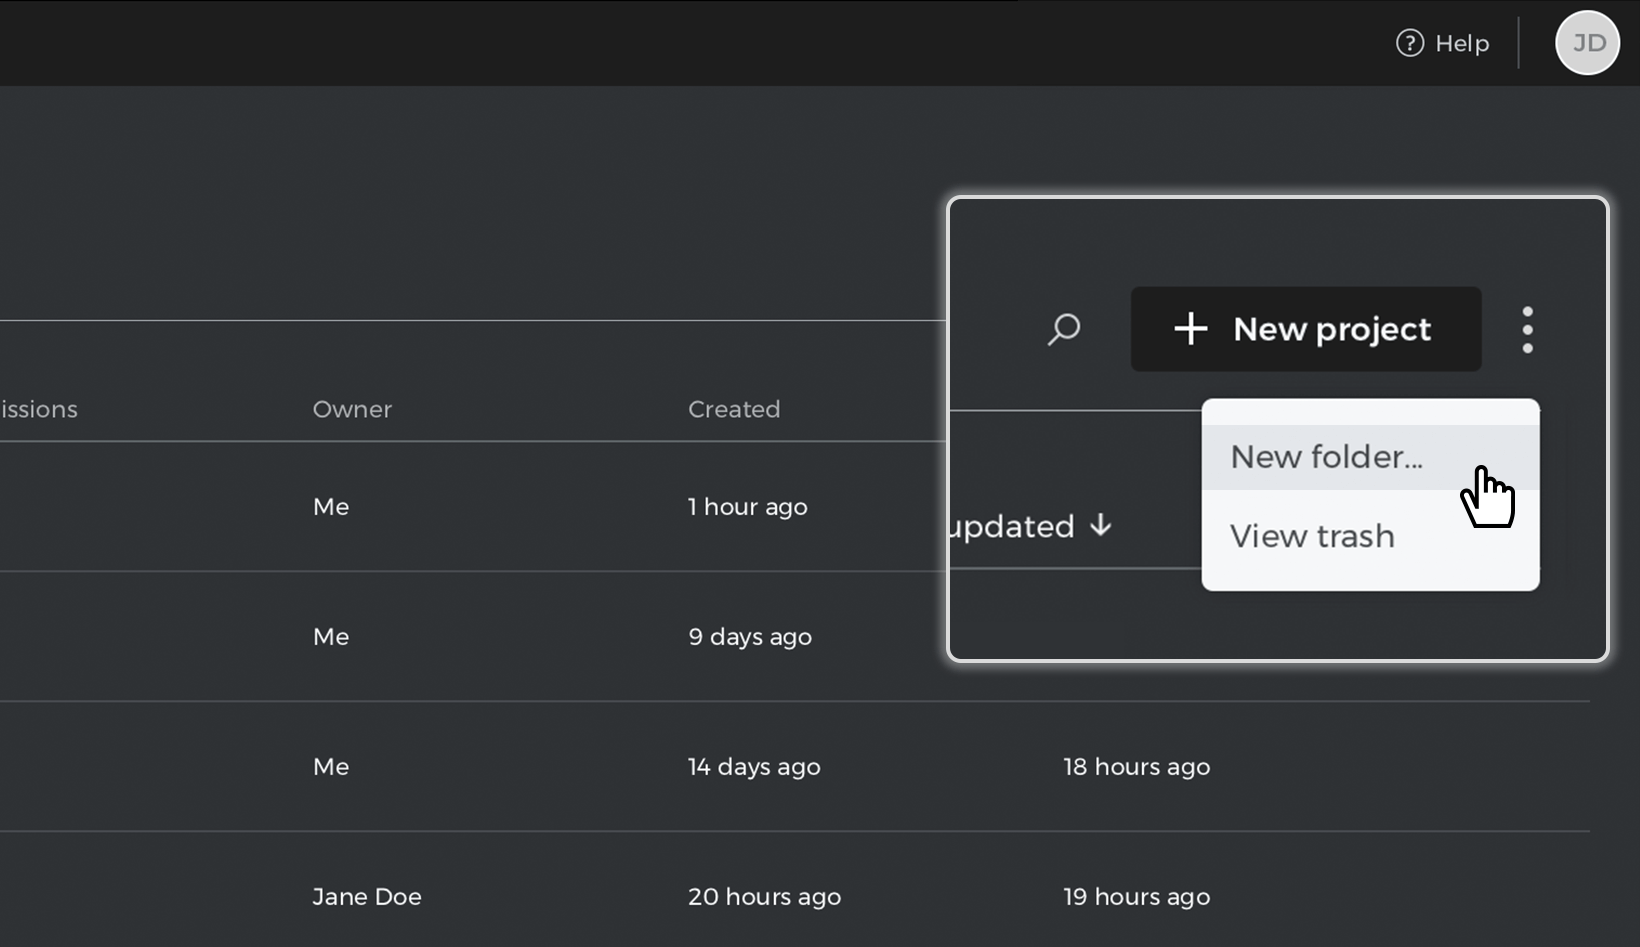
To create a folder, click on the three dot menu next to the “+ New project” button and select the “New folder” option.
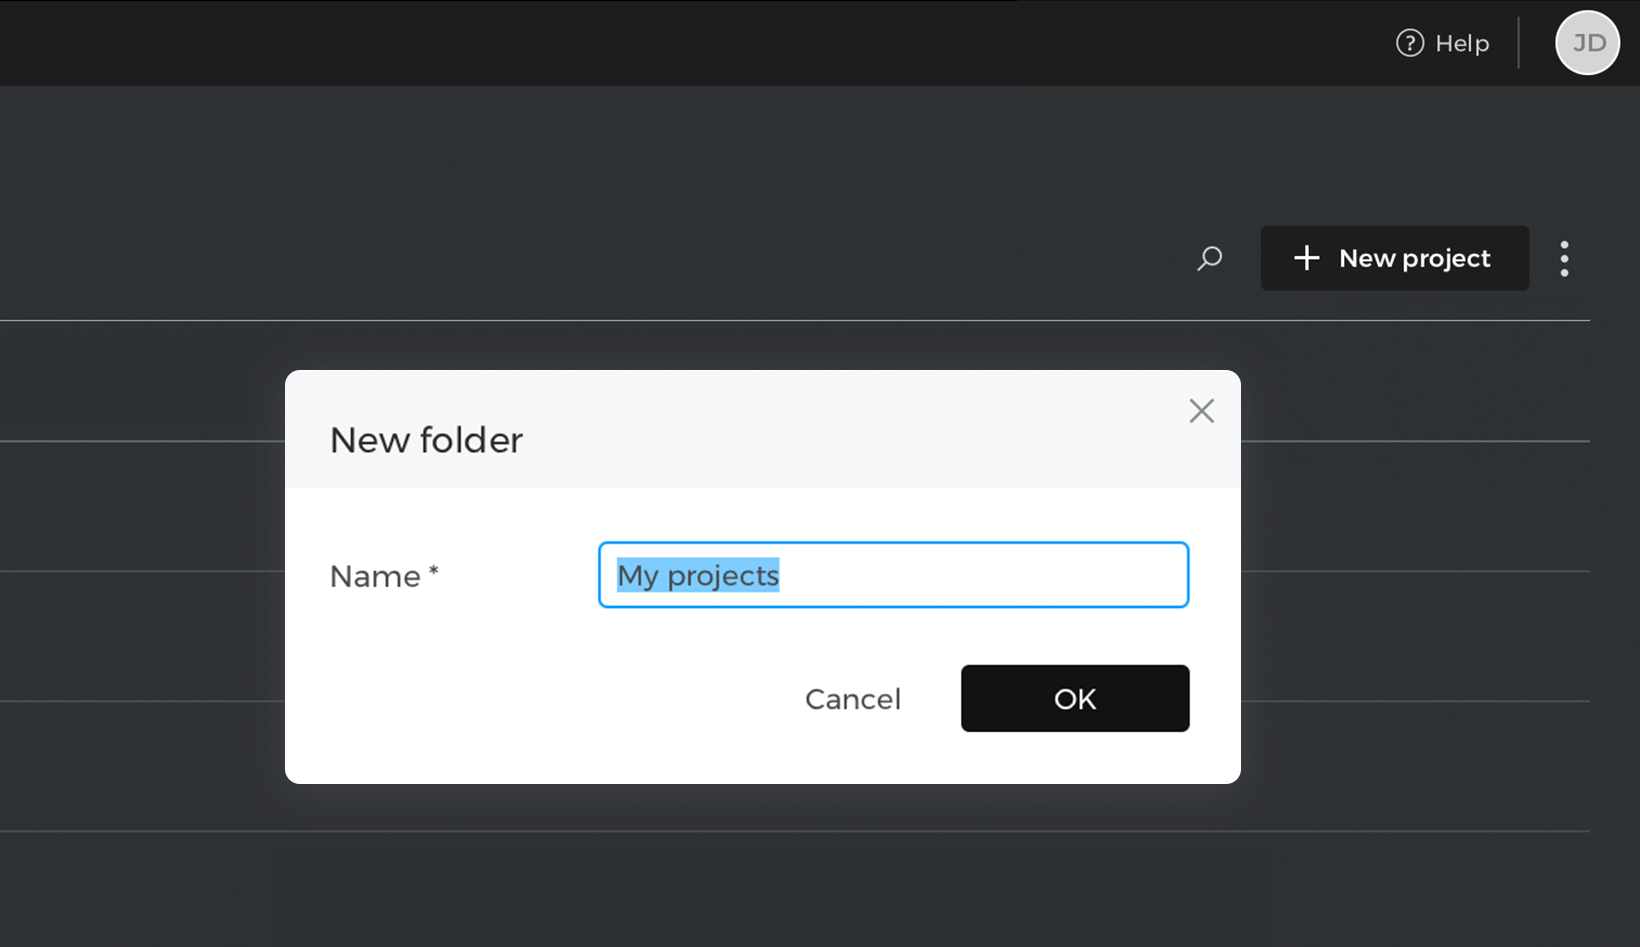
In the “New folder” dialog, name your folder and click “Ok”. You can create different folders, but you are not allowed to create folders within folders.
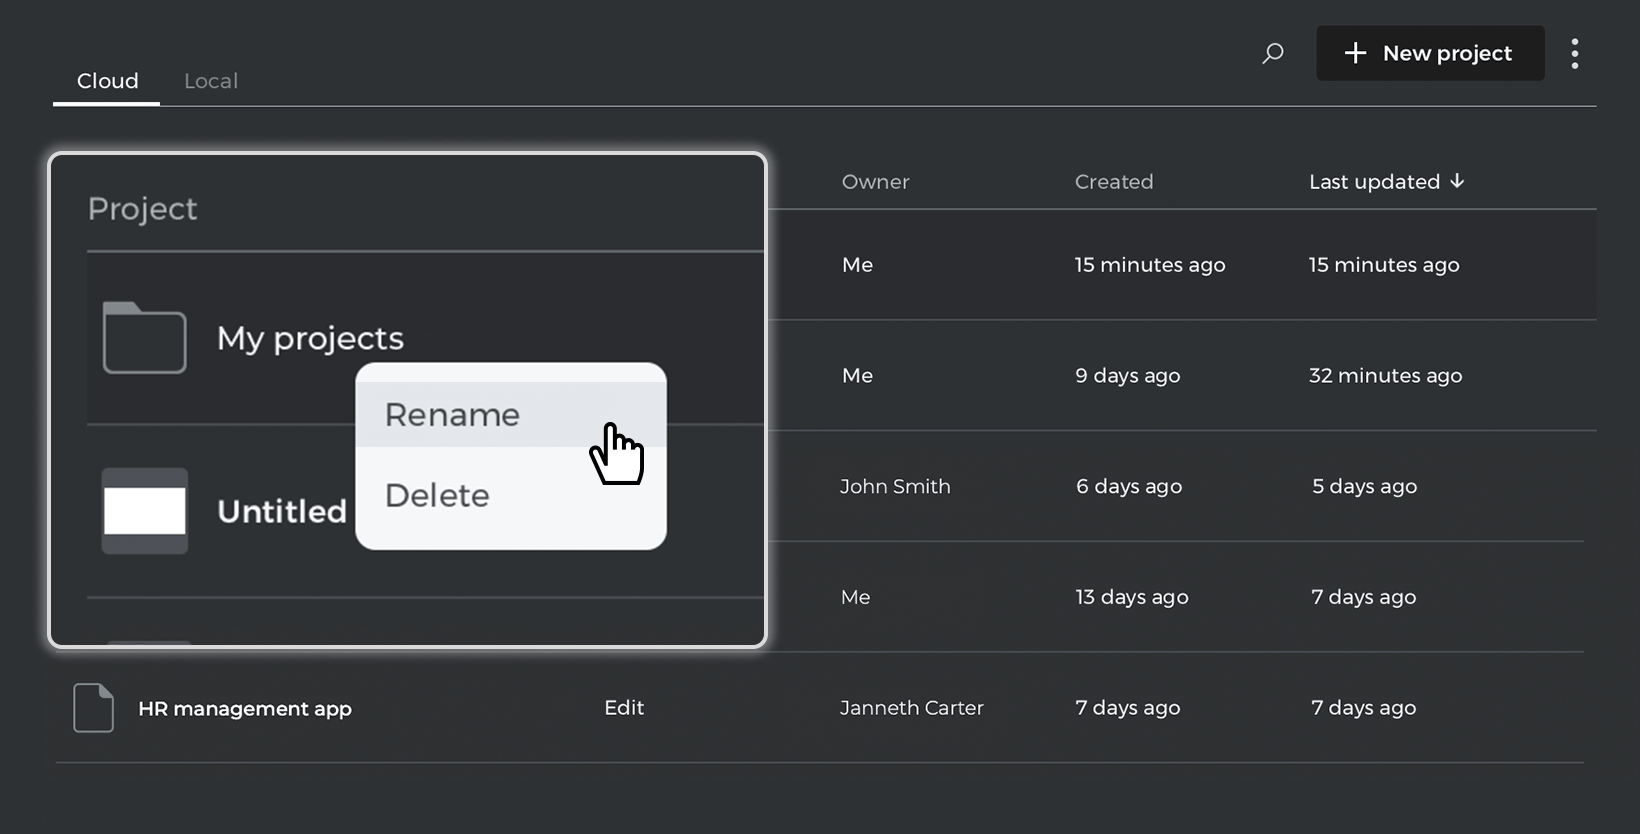
By right-clicking on a folder, you can see the options to rename it or delete it; to delete a folder you must first delete all items in the folder.
Trash
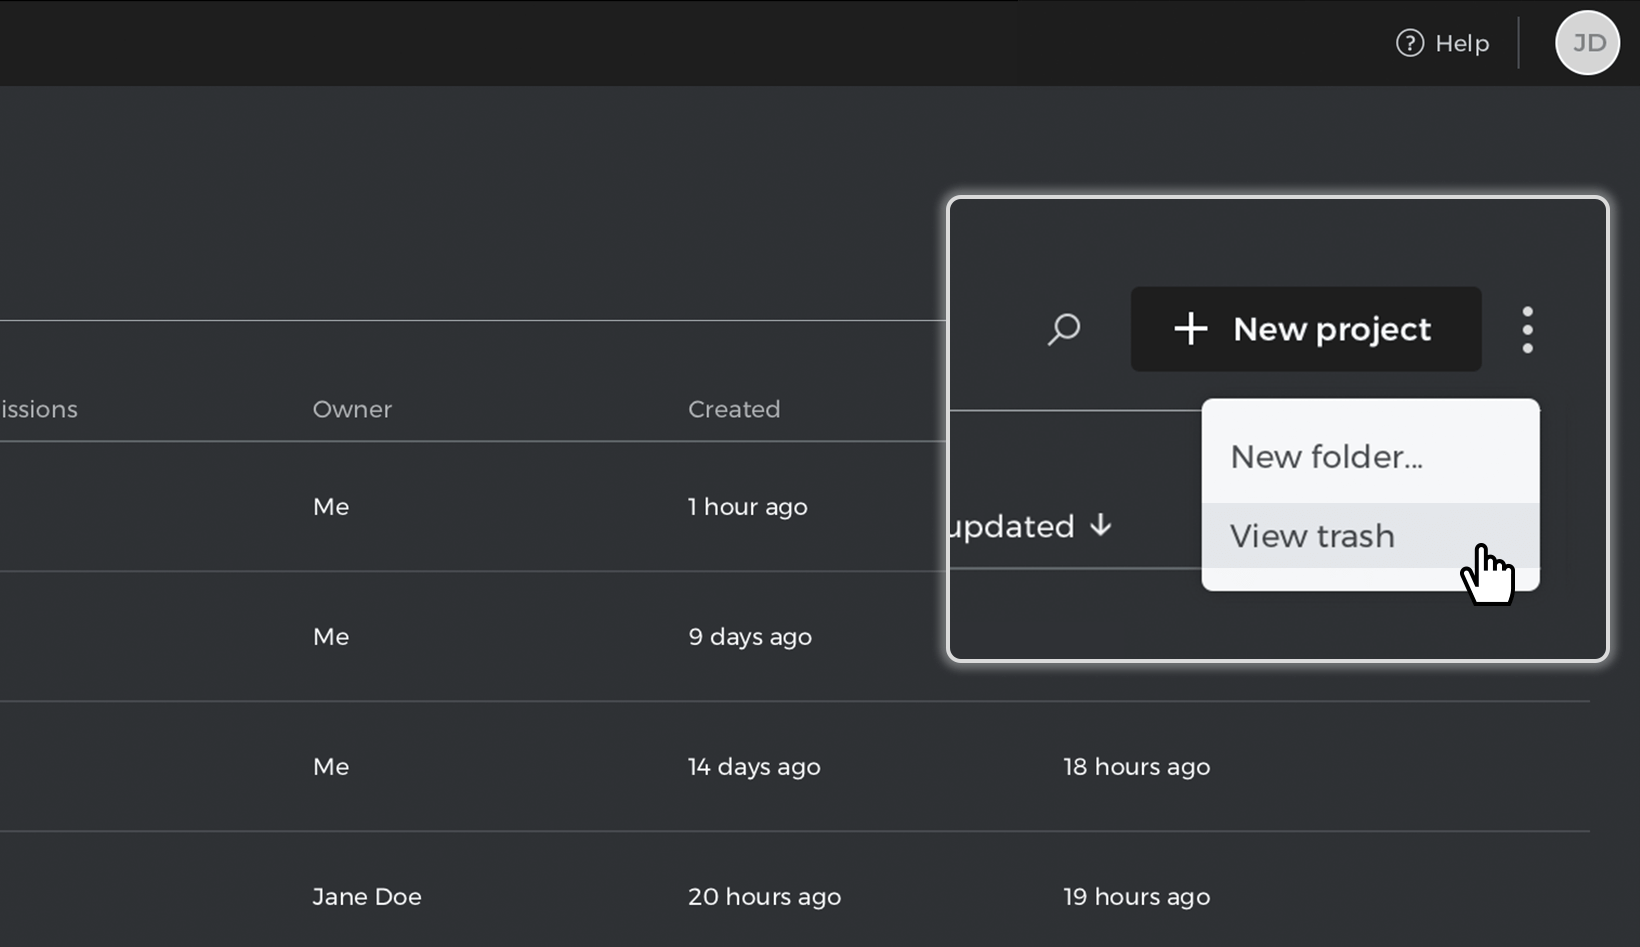
From the three dot menu, you can access the trash by selecting the “View trash” option.
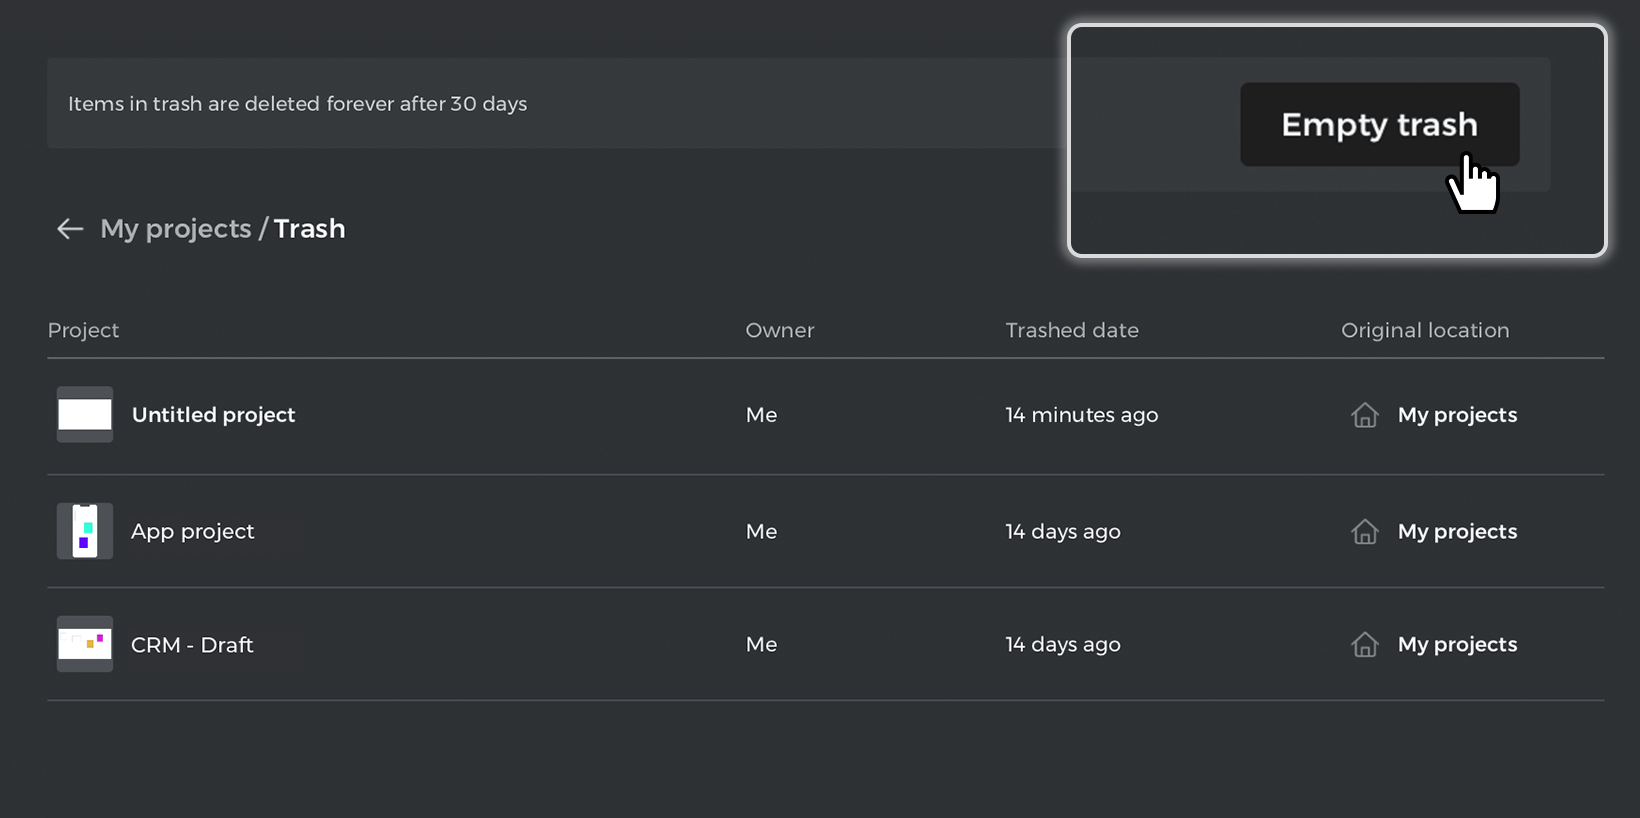
In the “Trash” folder, you can view the projects you have moved to trash. Projects in “Trash” are available for 30 days and will be permanently deleted after that period.
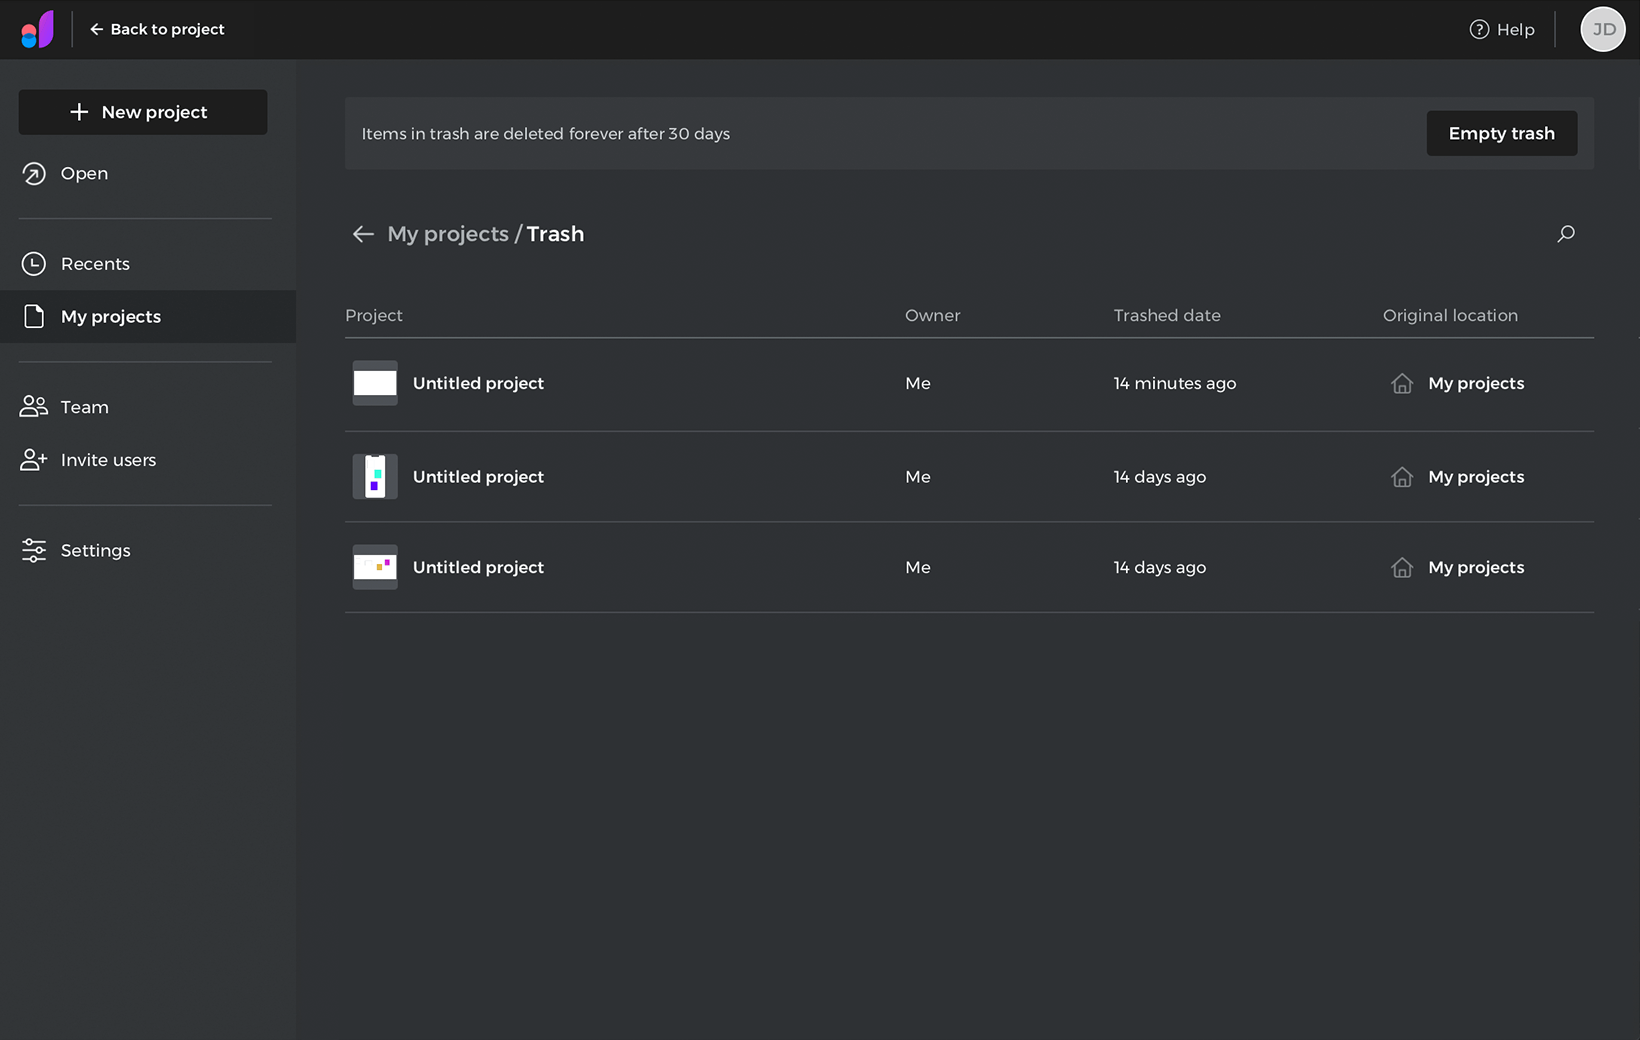
Here, You can see the project owner, when a project was moved to trash, and its original location. By right-clicking on the project, you can restore it or delete it forever.
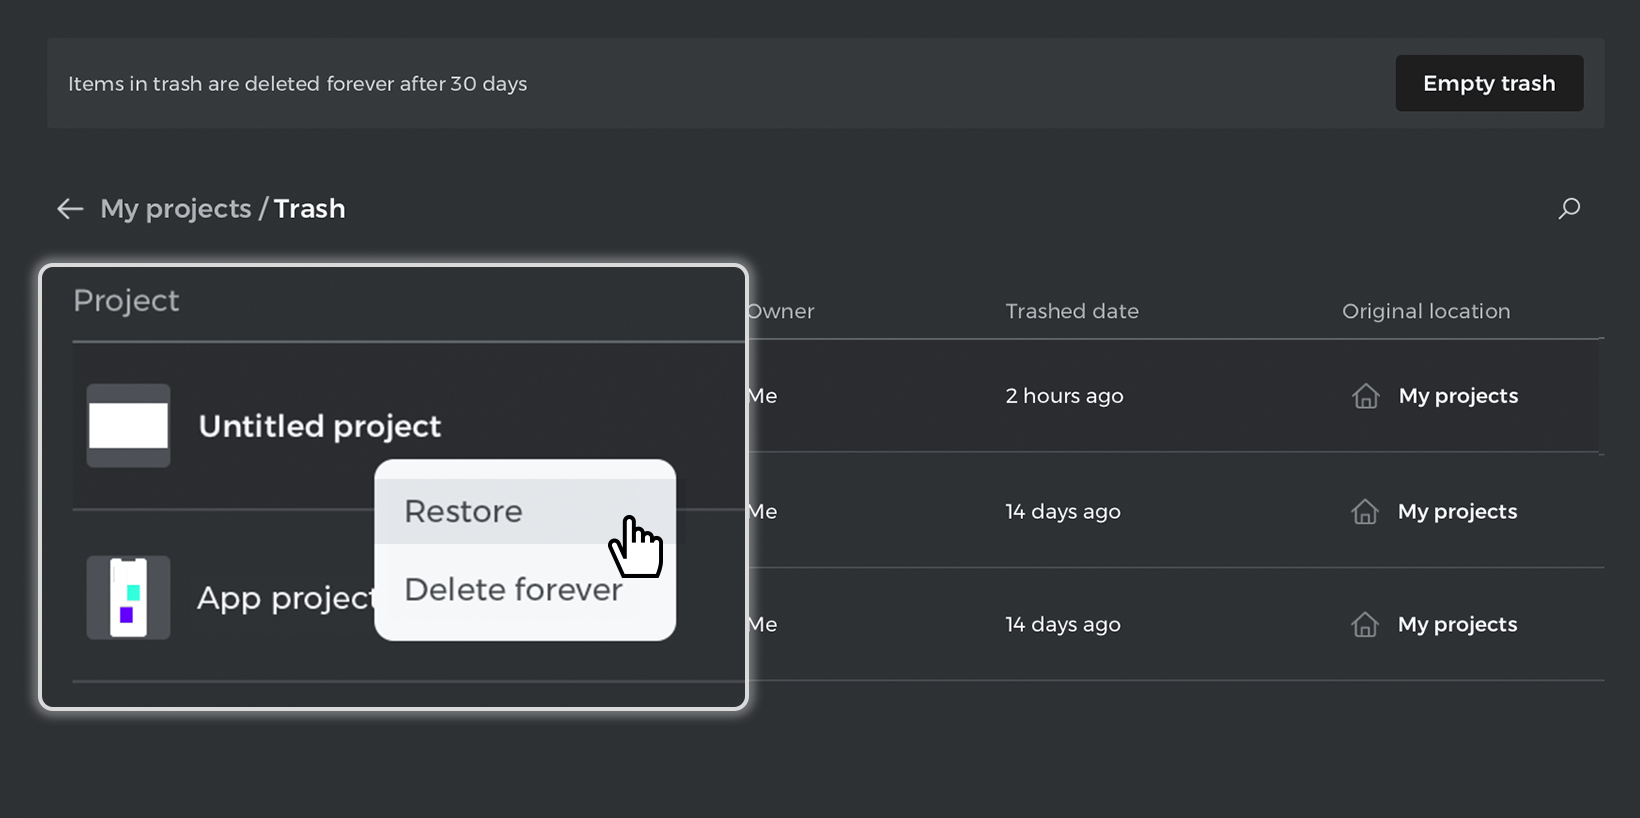
The “Empty trash” button in the upper right corner will delete all projects in the trash forever.
