User Experience
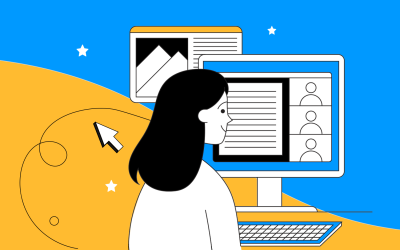 Learn how to design better e-learning platforms with user-centered UX principles, real examples, and high-fidelity prototyping tips to boost engagement and learning outcomes.13 min Read
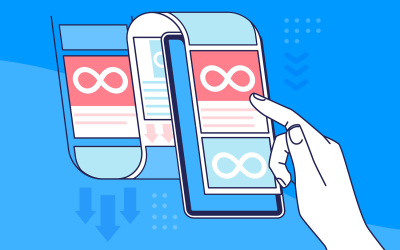
 Infinite scroll keeps users engaged, but it’s not always the best choice. This guide breaks down when to use it, when to avoid it, and how to design it right.14 min Read
 Learn how to design web and mobile app prototypes, how to test them and what to look for in a prototyping tool in this complete guide.15 min Read
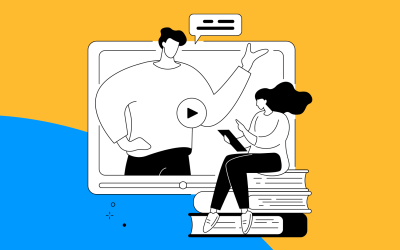 UX research can be a driving force in design. But what methods are there? How do we approach it? Find out in this post!10 min Read
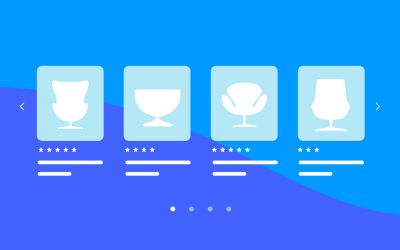 Carousels are everywhere, from hero banners to product galleries, but do they actually work? Learn best practices, alternatives, and how to design intuitive, engaging UI carousels.21 min Read
 Is your website or app underperforming? A UX audit can uncover hidden usability issues and unlock your product's true potential. Learn how to conduct a comprehensive audit, from stakeholder interviews to user testing, and transform your user experience.45 min Read
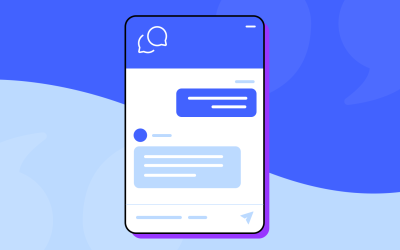 Want to build a chatbot that feels natural and actually helps users? This guide covers chatbot design, UI, AI, and conversation flow to make it seamless.22 min Read
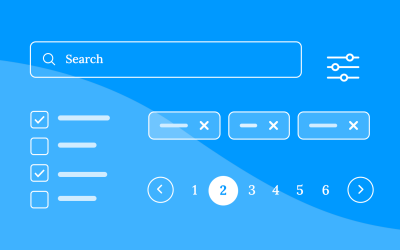 Learn how to design seamless search experiences with smart search boxes, intuitive filters, and user-friendly results pages that help users find what they need faster.32 min Read
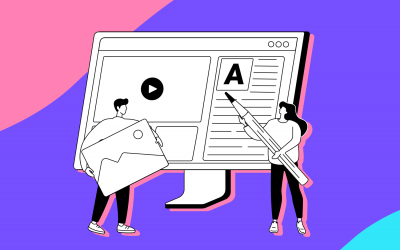 Want to know how visual storytelling can improve your website's UX? Find the best tips and examples from around the web in this post10 min Read
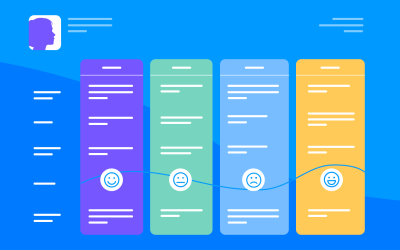 User journey mapping helps you plan the best user experience for your app or website and leads to happier users. Find out how they can work for you!15 min Read
 Microcopy may be mini, but it can have a macro impact on user experience. Check out these 15 examples and start writing great UX microcopy16 min Read
 UX design has changed all of our lives forever - but what does it entail, exactly? What do designers do to create incredible products? Read on and find out!15 min Read
 Progressive disclosure is about helping users get invested before getting to the nitty gritty. Read this post to discover a new way to approach complex features!8 min Read
 Step into a world of innovative UX ideation techniques to help you get your creative juices flowing. We explore a range of methods to help you generate fresh ideas and solve complex design challenges through mind mapping, role-playing, dot voting, and more.19 min Read
 Calendar app design can be simple or complex. In this post, we show you 25 of our favorites and how you can make a start on your own27 min Read
 Lean UX is all about changing the focus of the work and gaining perspective in the design - but why is it so popular? What does it mean in practice? Read on to find out!34 min Read
 In this guide, we explore the best UI/UX design tools for prototyping, wireframing, and flowcharts. Learn about each tool’s strengths, weaknesses, and pricing to find the perfect fit for your needs.33 min Read
 How do you design and optimize a great user onboarding? Ensure user activation and user retention so your product can grow with these tips and examples!15 min Read


