The Justinmind blog
The voice of UX design
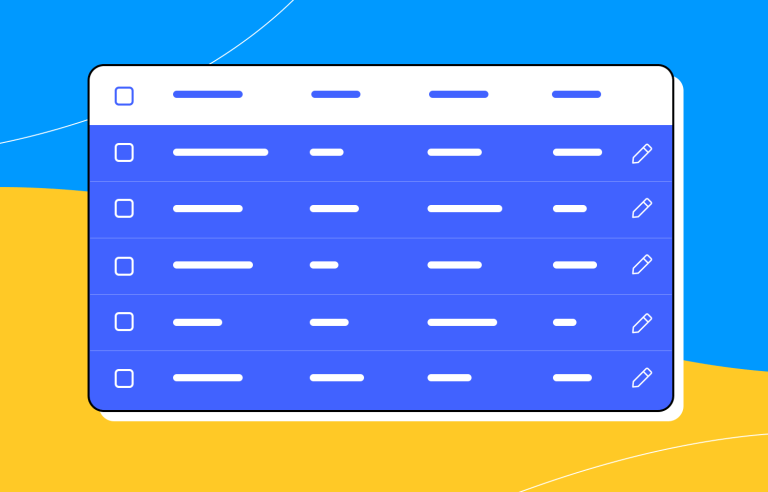
A fun look at different data table designs, from basic lists to smart, interactive ones, based on how complex the data is and what users need.
18 min Read
Subscribe to our blog
 Learn how to design better e-learning platforms with user-centered UX principles, real examples, and high-fidelity prototyping tips to boost engagement and learning outcomes.13 min Read
 Before you build anything, understand who you're building for. This is your guide to user-centered MVP development. Dive in to discover how to put your users at the heart of your product!
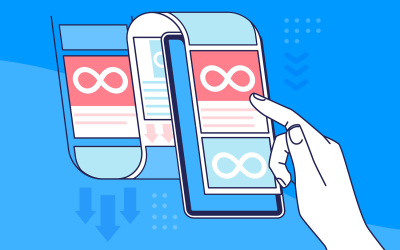 Infinite scroll keeps users engaged, but it’s not always the best choice. This guide breaks down when to use it, when to avoid it, and how to design it right.14 min Read
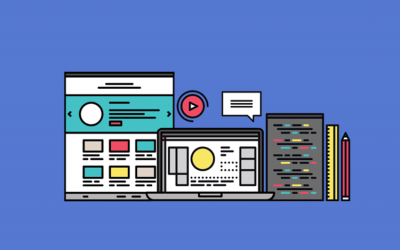 Single page design v multi-page design – everything you need to help you choose the right design for your site’s content18 min Read
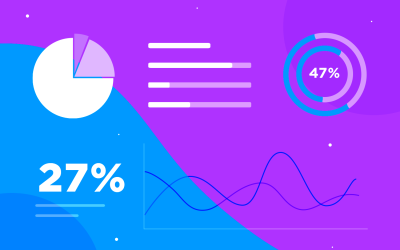 What is data visualization, and why is it useful? This post explains how turning complex data into simple visuals like charts and graphs helps you understand and use information better.28 min Read
 Learn how to design web and mobile app prototypes, how to test them and what to look for in a prototyping tool in this complete guide.15 min Read
 Justinmind 10.7.5 now includes Samsung Galaxy S25 & S25+ simulators, allowing designers to create high-fidelity prototypes with accurate dimensions and real-world interactions.1 min Read
 Website backgrounds can be a powerful tool in creating an experience. But what kind of experience can you convey and how? We got the full run-through for you!14 min Read
 Redesigning a website? Learn how to do it right, from planning and prototyping to testing and launching, so your site looks great and works even better.18 min Read
 UX research can be a driving force in design. But what methods are there? How do we approach it? Find out in this post!10 min Read
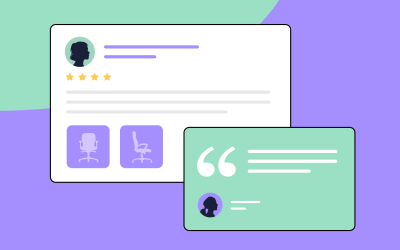 See the power of testimonials to increase trust and social proof on a website with these awesome examples, along with some top tips thrown in.10 min Read
 A great hotel website design makes a lasting impression and drives bookings. Discover 20 standout examples and essential tips to create a seamless user experience.10 min Read
 From roadmaps to user love! We're diving deep into the world of product management. Learn the secrets to building amazing products that people truly want.19 min Read
 Shopping carts may seem simple, but they have a huge impact on conversion. So, what separates a high-performing cart from the rest? Read on and find out!13 min Read
 Design thinking helps you solve real user problems with creativity and strategy. Learn the process, see examples, and explore the best tools to get started.17 min Read
 From wireframing to responsive design, this guide provides practical, actionable advice on mastering layout design for websites and mobile apps. Learn how to create visually appealing UIs that generate the results you want!42 min Read
 Carousels are everywhere, from hero banners to product galleries, but do they actually work? Learn best practices, alternatives, and how to design intuitive, engaging UI carousels.21 min Read


